How To Install Agent.H Packages in Ns2
To import Agent.H packages in Ns2, feel free to reach out to us! We’re here to provide you with top-notch implementation guidance and support on the best topics.
The Agent.h file is essential for managing communication between nodes by encapsulating various network protocols, including TCP, UDP, and routing agents like AODV or DSR. In NS-2, agents play a key role in generating and managing packets at the transport layer, which is vital for simulating end-to-end communication. This file contains the definition of the Agent class, along with methods for sending, receiving, and processing packets. Each agent typically embodies specific protocol behaviors, such as TCP congestion control or UDP datagram transmission, and is linked to nodes to facilitate data transmission and reception. Agents are responsible for creating and managing packets at the transport layer, which includes tasks like encapsulating data and forwarding it to the next network element.
The Agent class accommodates various protocols, enabling the modeling of different types of network communications. Agents interact with applications to send and receive data, managing tasks like queuing and connection handling. Users have the option to extend the Agent class to create custom protocols or modify existing ones. It sends packets to the next destination, processes incoming packets, and manages control commands for setting parameters or establishing connections. The Agent class effectively simulates transport layer protocols, ensuring proper data flow between nodes while handling connection setup, packet transmission, error detection, and congestion control based on the specific protocol in use. Users can also extend the Agent class to implement new transport layer protocols, allowing for the definition of custom behaviors related to packet transmission, congestion control, or error recovery, thus enabling versatile and robust simulations.
Read out the exciting and exclusive article with the steps that are required for the installation of Agent.h.
PRE-REQUISITES:
- Fresh installation of Ubuntu 16.04 LTS:
Screenshot:
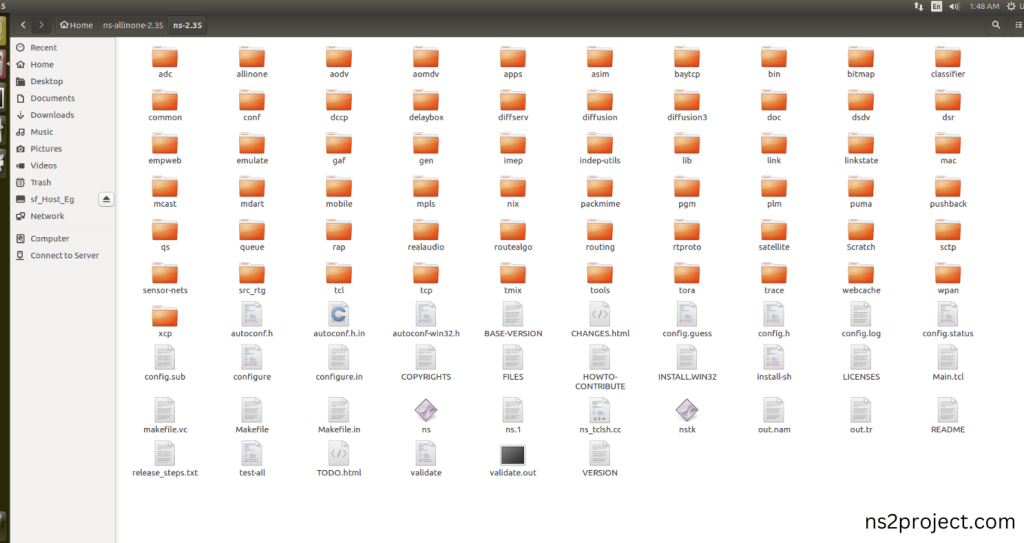
2.NS-2.35 Installation:
Screenshot:
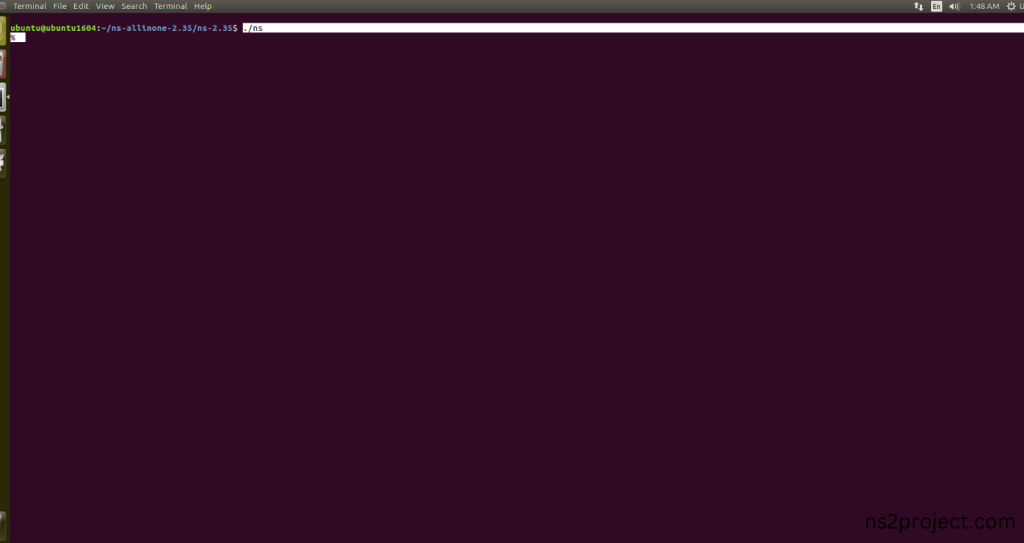
Here, Percentage (%) symbol Denotes the successful installation of the NS 2.35 Simulator.
Screenshot:
HEADER FILE VERIFICATION:
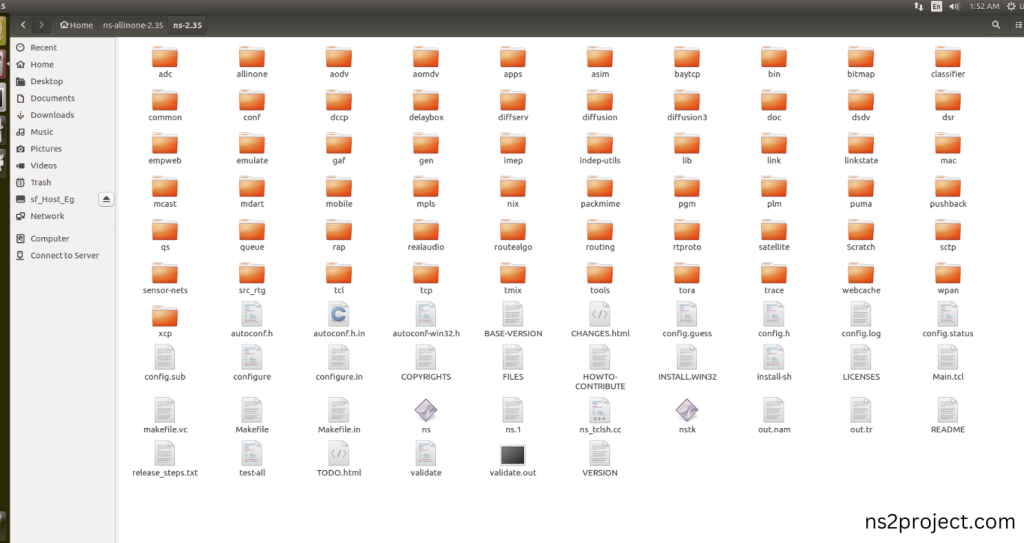
- Locate to the ns-2.35 folder:
Screenshot:
2.Create the Main.tcl file in the scratch folder:
Next we need to create the Main.tcl file by using text editor in the ns-2.35 folder.
Screenshot
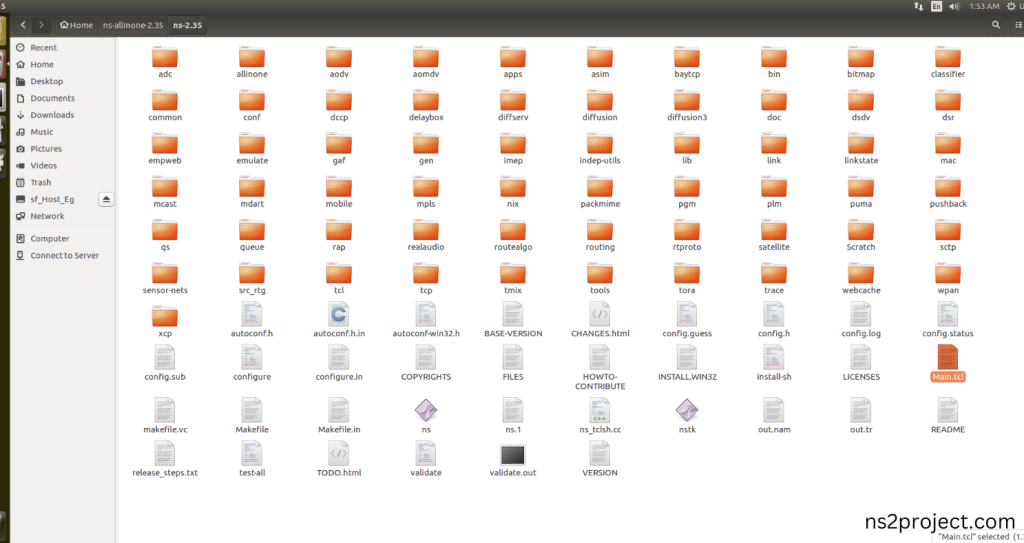
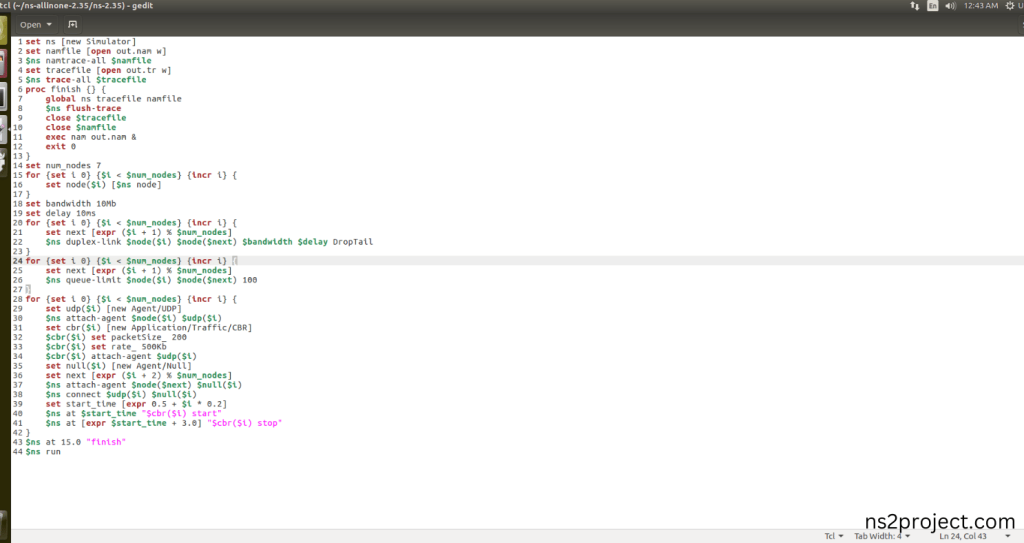
Next we need to paste the below code to the Main.tcl file and save the file in the ns-2.35 folder.
Code:
set ns [new Simulator]
set namfile [open out.nam w]
$ns namtrace-all $namfile
set tracefile [open out.tr w]
$ns trace-all $tracefile
proc finish {} {
global ns tracefile namfile
$ns flush-trace
close $tracefile
close $namfile
exec nam out.nam &
exit 0}
set num_nodes 7
for {set i 0} {$i < $num_nodes} {incr i} {
set node($i) [$ns node]}
set bandwidth 10Mb
set delay 10ms
for {set i 0} {$i < $num_nodes} {incr i} {
set next [expr ($i + 1) % $num_nodes]
$ns duplex-link $node($i) $node($next) $bandwidth $delay DropTail}
for {set i 0} {$i < $num_nodes} {incr i} {
set next [expr ($i + 1) % $num_nodes]
$ns queue-limit $node($i) $node($next) 100 }
for {set i 0} {$i < $num_nodes} {incr i} {
set udp($i) [new Agent/UDP]
$ns attach-agent $node($i) $udp($i)
set cbr($i) [new Application/Traffic/CBR]
$cbr($i) set packetSize_ 200
$cbr($i) set rate_ 500Kb
$cbr($i) attach-agent $udp($i)
set null($i) [new Agent/Null]
set next [expr ($i + 2) % $num_nodes]
$ns attach-agent $node($next) $null($i)
$ns connect $udp($i) $null($i)
set start_time [expr 0.5 + $i * 0.2]
$ns at $start_time “$cbr($i) start”
$ns at [expr $start_time + 3.0] “$cbr($i) stop”}
$ns at 15.0 “finish”
$ns run
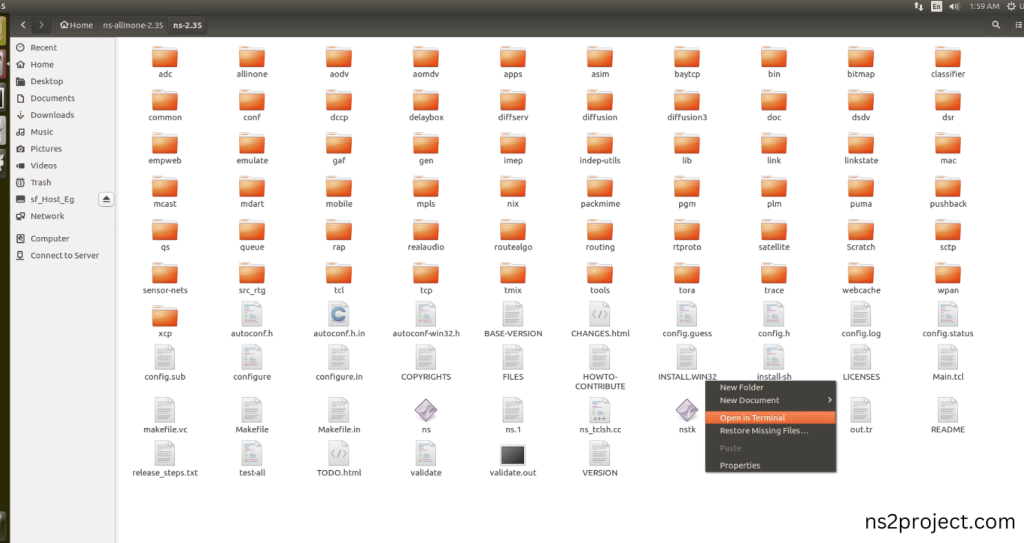
3.Open the Terminal:
Next, we need to launch the terminal by right clicking the mouse in the ns-2.35 location.
Screenshot:
Screenshot:
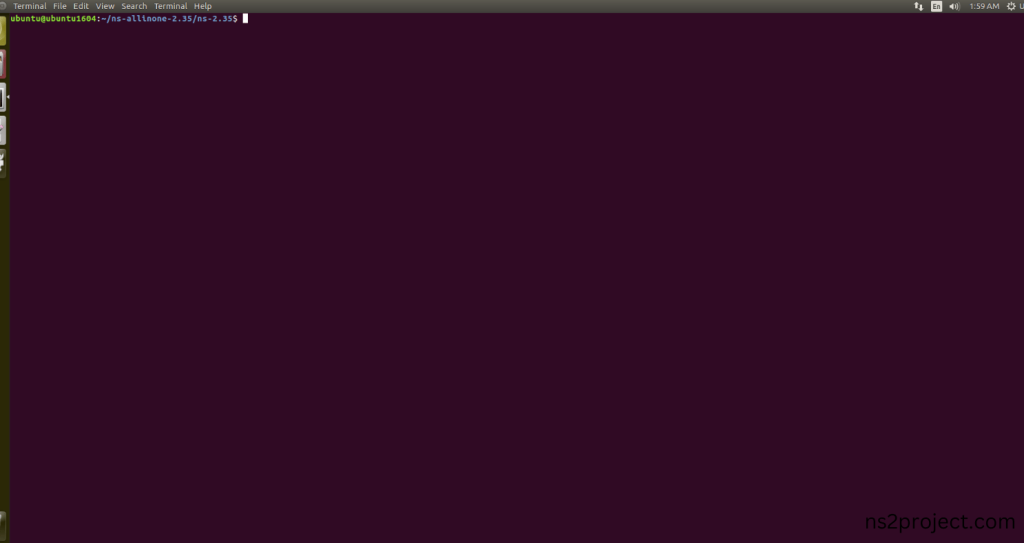
4.NS-2.35 Configuration && Building Process:
Next, we need to configure and build the ns-2.35 folder to make the Created files need to work in ns-2.35 configuration.
Command: “./make”
Screenshot:
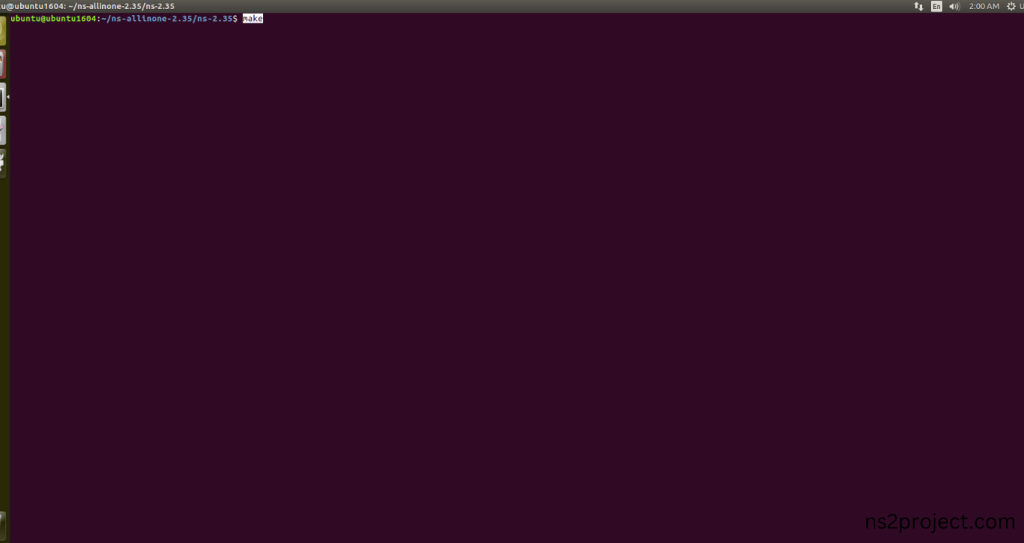
Screenshot:
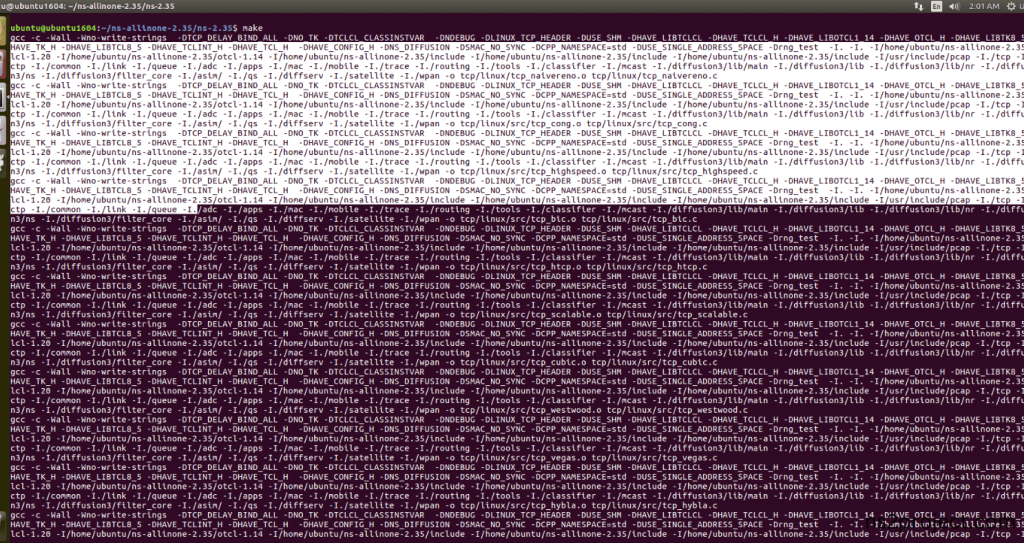
Screenshot:
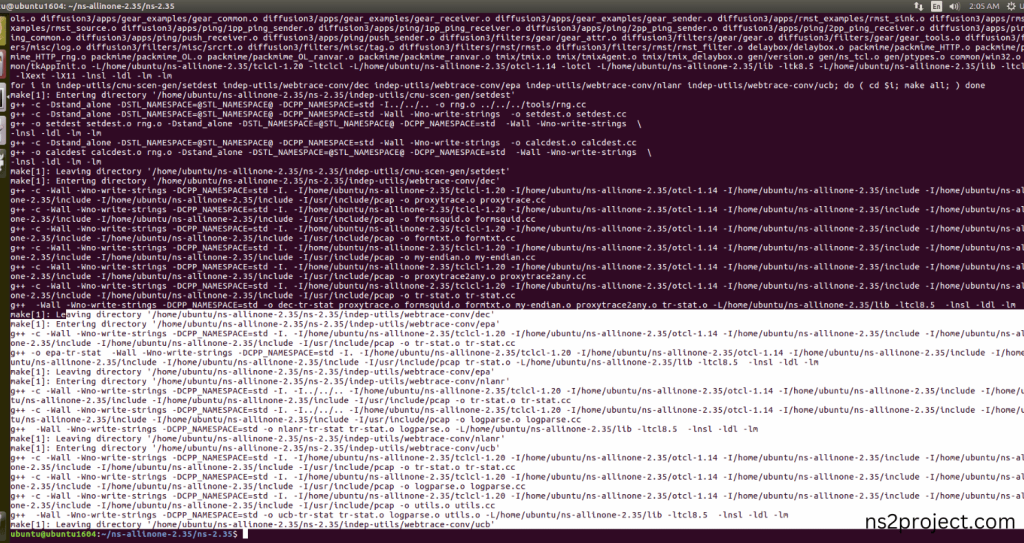
Here, NS-2.35 Building process completed successfully.
5.Importing Agent.h:
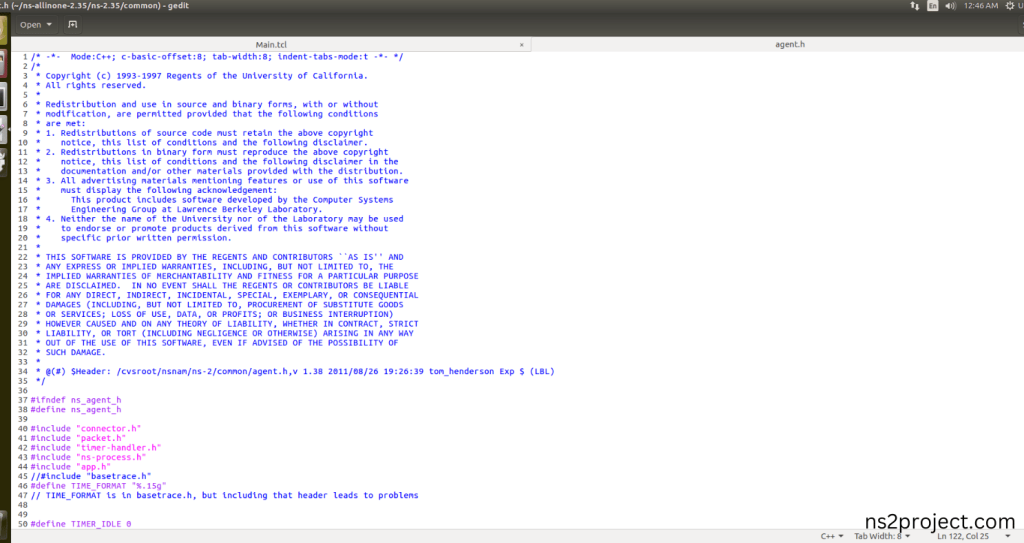
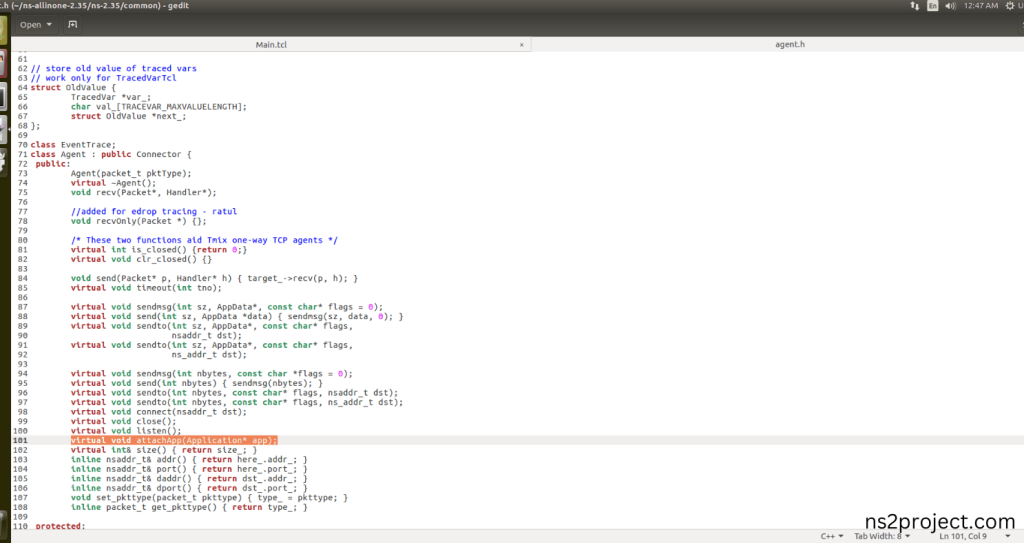
Here we imported the Agent.h header file code indirectly accessed the Agent class used in the Tcl script that we had highlighted lines that agents are attached to nodes and used to simulate communication between endpoints in the UDP Network in this example program. Here we highlighted the code line that highlighted which is internally accessed Agent.h, we will show class file that used in this code via Common folder.
Screenshot:
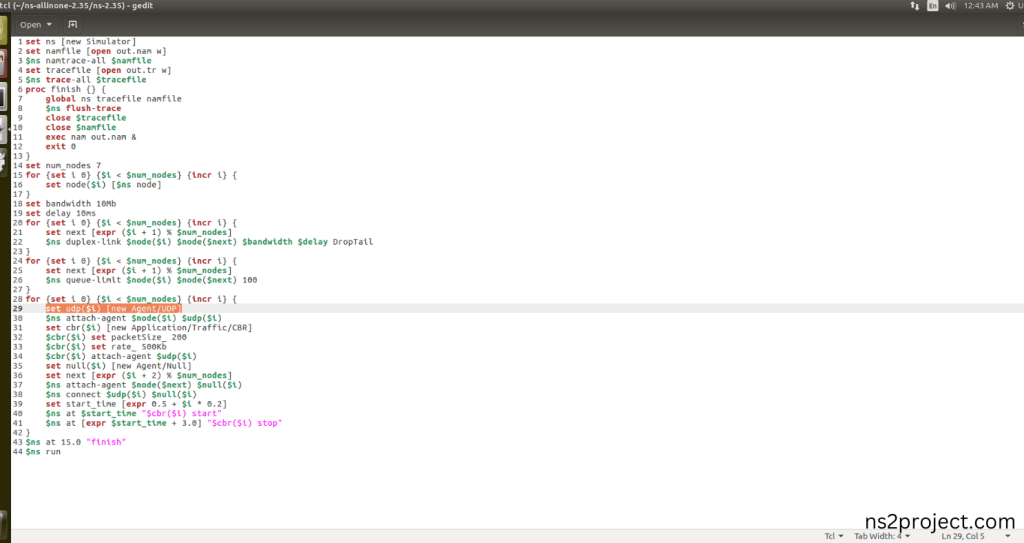
Screenshot:
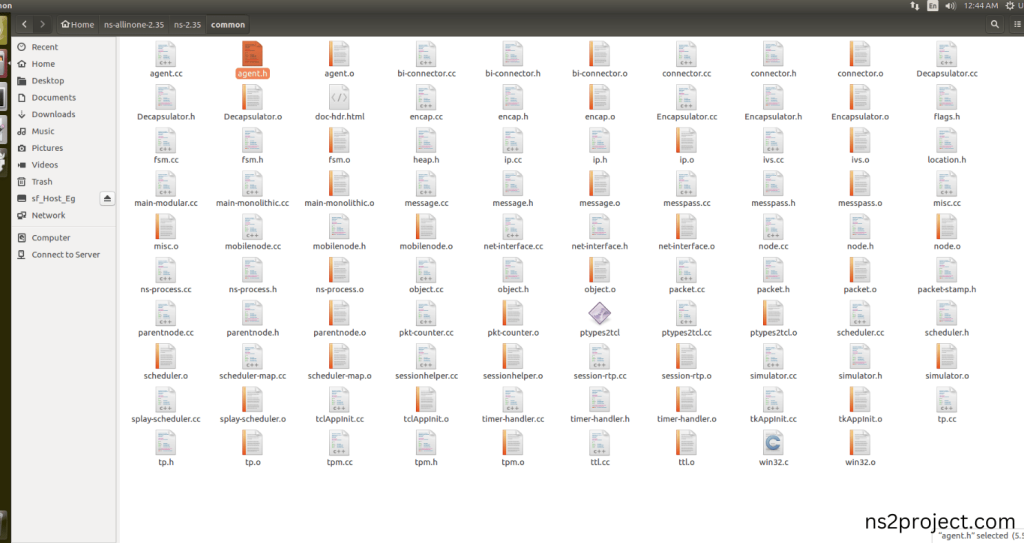
Here we will show the header file by opening Agent.h file to show the class or function imported from the Agent.h in the example code. This Tcl Script Line are configured by agents are attached to nodes and used to simulate communication between endpoints in the UDP Network with each node in this example program.
Screenshot:
Screenshot:
6.Executing the Example Program for Agent Header:
Then we need to run the Example program for Agent Header to view output of the program.
Command: “./ns Main.tcl”
Screenshot:
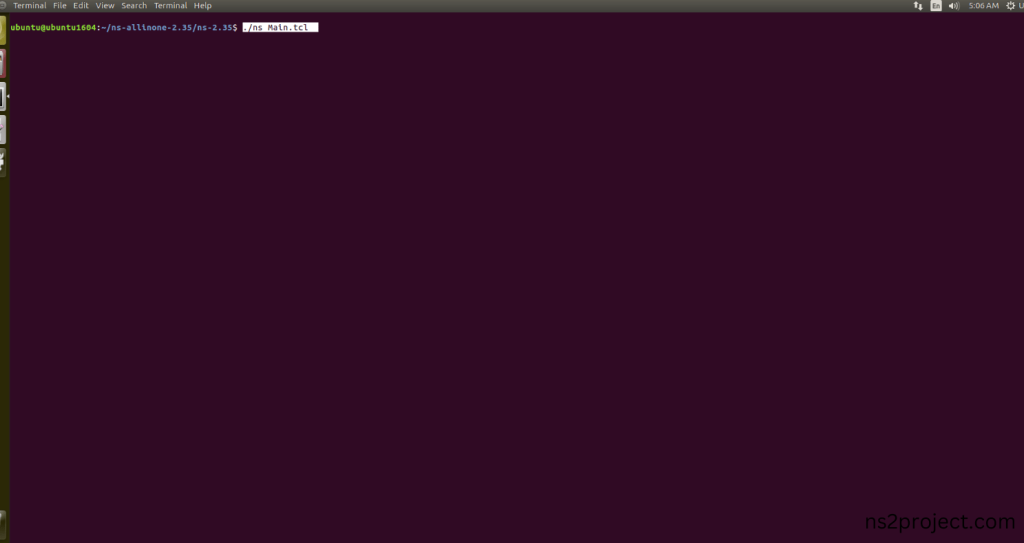
Here we shown the output of the example program by using Agent.h.
Screenshot:
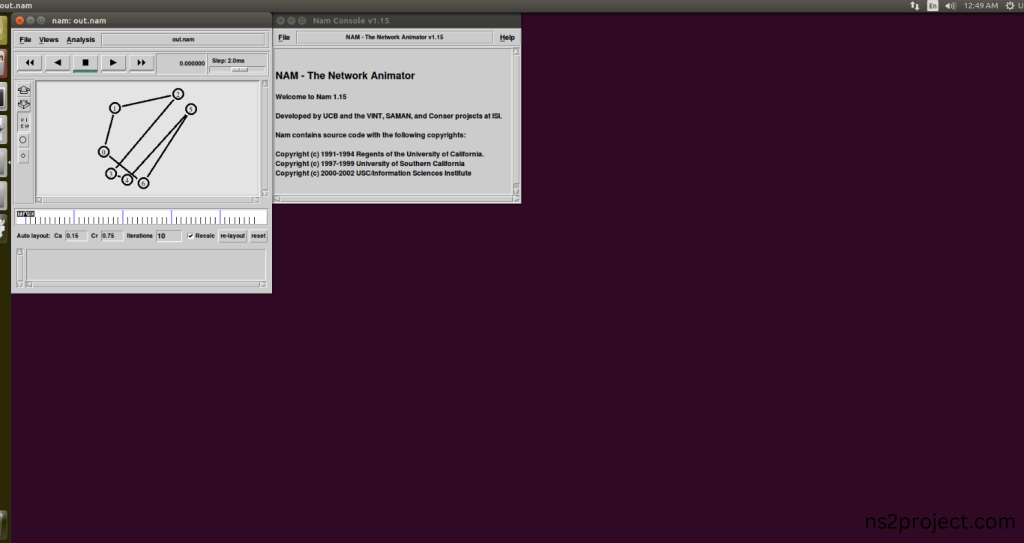
Screenshot:
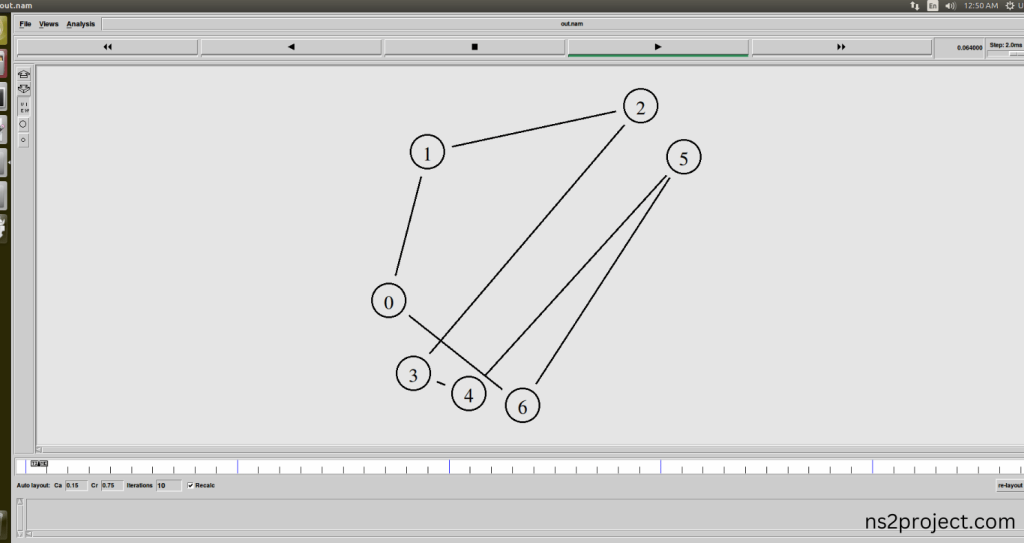
Screenshot:
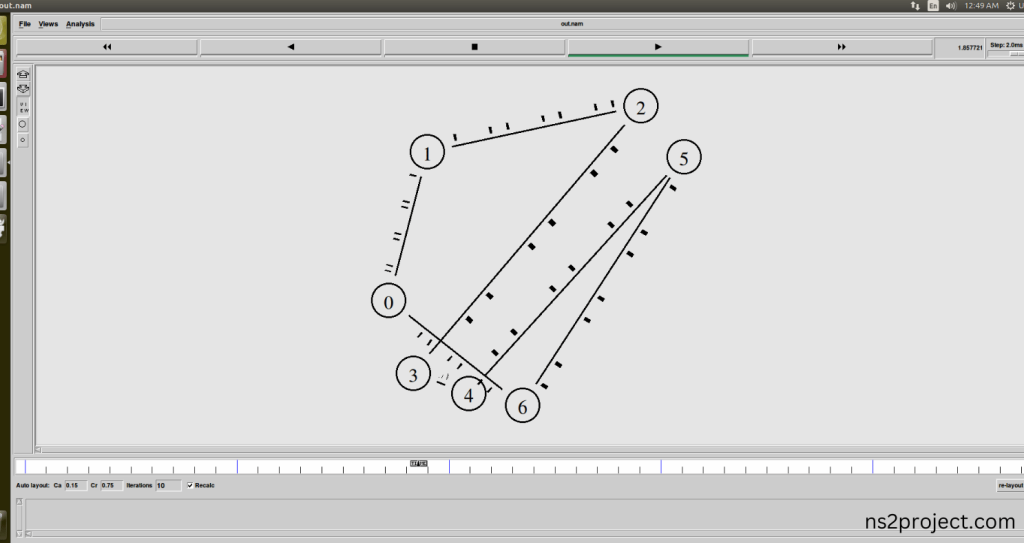
In the NS 2.35 Simulation Example Program, the Agent.h Header file is successfully imported.
Share the details of your project related to all categories of Agent.h_Importation. Our team is committed to assisting you in achieving optimal results. You can obtain customized research services by visiting ns2projects.com.


