How To Install DROP TAIL.H Packages in Ns2
To import DROP-TAIL.H PACKAGES IN NS2 tool we are there to help you with best solution stay in touch with our Research team will help you with best ideas and topics. we have all the needed tools and resources to guide you on the right time. get customized research services at ns2projects.com. do you require further guidance on DROP-TAIL.H PACKAGES, don’t hesitate to reach out to us! our developing team will assist you in achieving the best results.
Drop-tail.h is a widely utilized and straightforward method for managing network packets. This file includes the definition of the DropTail class, which employs a basic First-In-First-Out (FIFO) queuing mechanism, discarding incoming packets when the queue reaches its capacity. It is commonly implemented in network simulations to represent a simple, static buffering behavior for network interfaces. The DropTail class is integrated into NS-2’s queue management framework, which governs how packets are stored before being either forwarded or discarded. As a tail-drop queue, it drops any additional packets that arrive once the buffer is full, until space becomes available. The DropTail mechanism follows a FIFO principle, ensuring that packets are processed in the order they were received. New packets are only discarded at the tail of the queue when it is completely full, which is the origin of the term “DropTail.” This method exclusively drops packets when the buffer is at maximum capacity. Due to its lack of complex calculations or dynamic thresholds, DropTail is efficient and has minimal computational demands, making it ideal for simulations that prioritize simplicity.
PRE-REQUISITES:
- Fresh installation of Ubuntu 16.04 LTS:
Screenshot:
2.NS-2.35 Installation:
Screenshot:
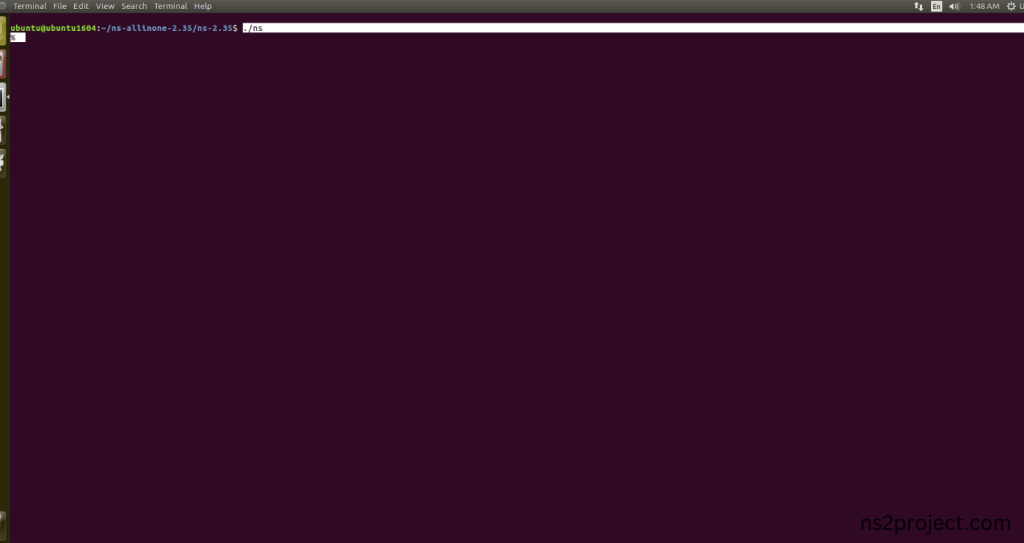
Here, Percentage (%) symbol Denotes the successful installation of the NS 2.35 Drop-tail.
Screenshot:
HEADER FILE VERIFICATION:
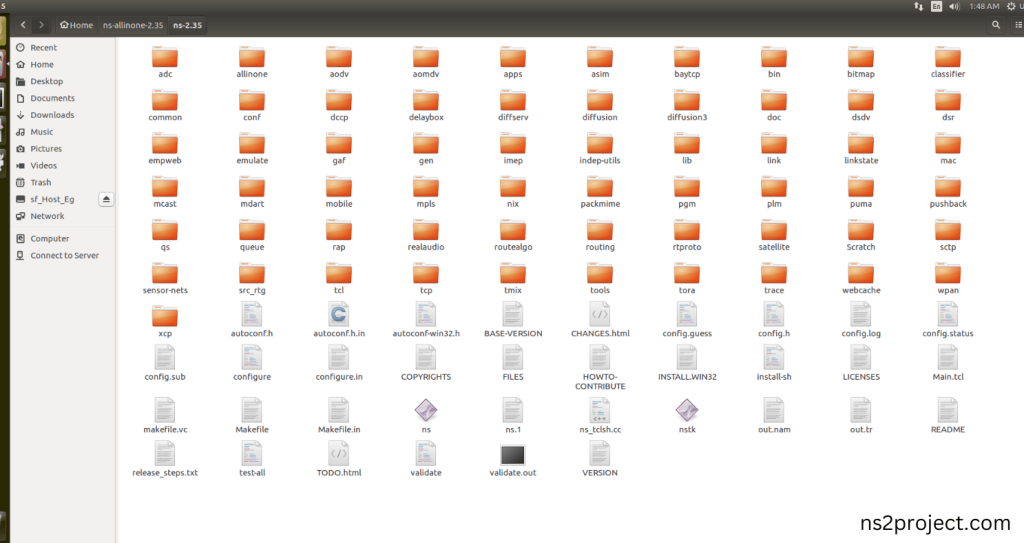
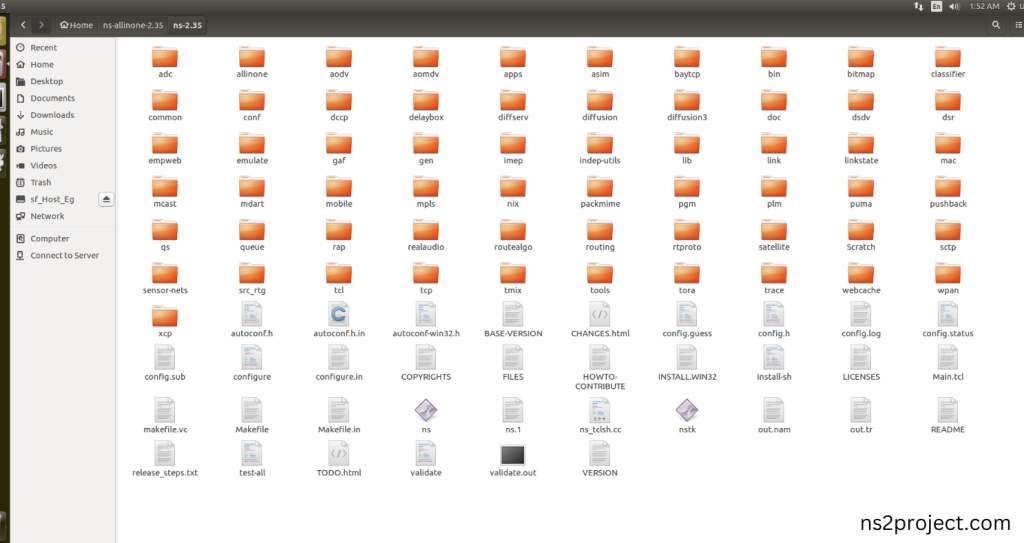
- Locate to the ns-2.35 folder:
Screenshot:
2.Create the Main.tcl file in the scratch folder:
Next we need to create the Main.tcl file by using text editor in the ns-2.35 folder.
Screenshot
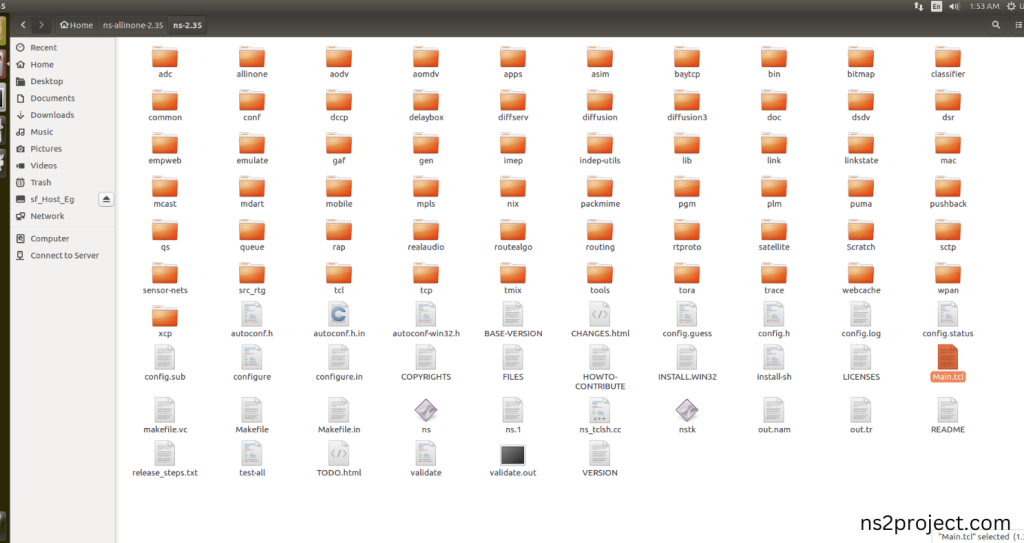
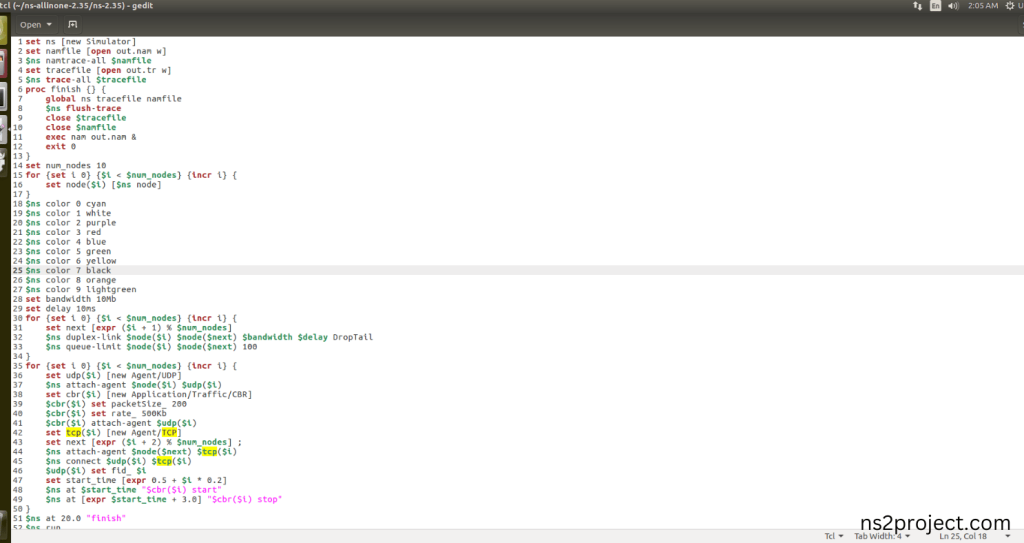
Next we need to paste the below code to the Main.tcl file and save the file in the ns-2.35 folder.
Code:
set ns [new Simulator]
set namfile [open out.nam w]
$ns namtrace-all $namfile
set tracefile [open out.tr w]
$ns trace-all $tracefile
proc finish {} {
global ns tracefile namfile
$ns flush-trace
close $tracefile
close $namfile
exec nam out.nam &
exit 0
}
set num_nodes 10
for {set i 0} {$i < $num_nodes} {incr i} {
set node($i) [$ns node]
}
$ns color 0 cyan
$ns color 1 white
$ns color 2 purple
$ns color 3 red
$ns color 4 blue
$ns color 5 green
$ns color 6 yellow
$ns color 7 black
$ns color 8 orange
$ns color 9 lightgreen
set bandwidth 10Mb
set delay 10ms
for {set i 0} {$i < $num_nodes} {incr i} {
set next [expr ($i + 1) % $num_nodes]
$ns duplex-link $node($i) $node($next) $bandwidth $delay DropTail
$ns queue-limit $node($i) $node($next) 100
}
for {set i 0} {$i < $num_nodes} {incr i} {
set udp($i) [new Agent/UDP]
$ns attach-agent $node($i) $udp($i)
set cbr($i) [new Application/Traffic/CBR]
$cbr($i) set packetSize_ 200
$cbr($i) set rate_ 500Kb
$cbr($i) attach-agent $udp($i)
set tcp($i) [new Agent/TCP]
set next [expr ($i + 2) % $num_nodes] ;
$ns attach-agent $node($next) $tcp($i
$ns connect $udp($i) $tcp($i)
$udp($i) set fid_ $i
set start_time [expr 0.5 + $i * 0.2]
$ns at $start_time “$cbr($i) start”
$ns at [expr $start_time + 3.0] “$cbr($i) stop”
}
$ns at 20.0 “finish”
$ns run
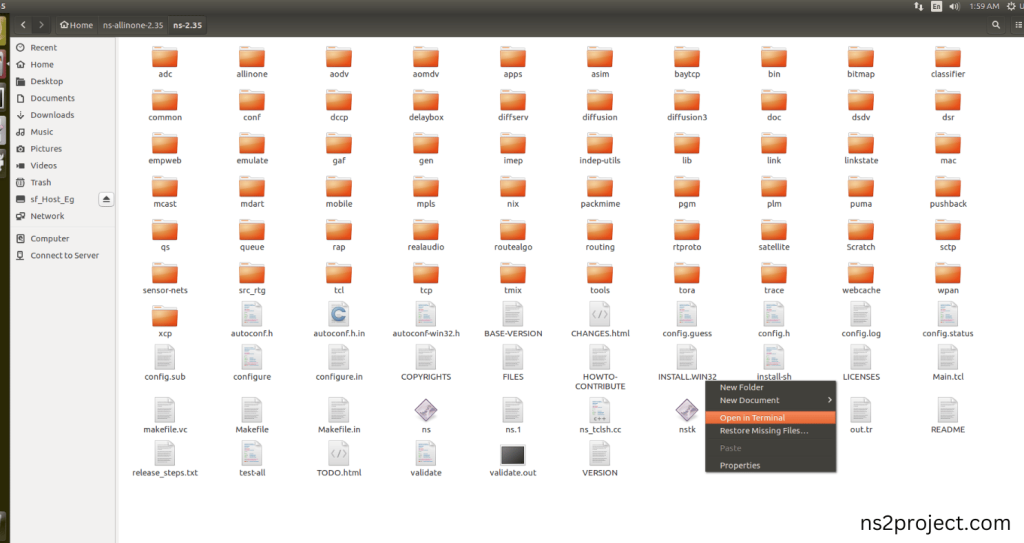
3.Open the Terminal:
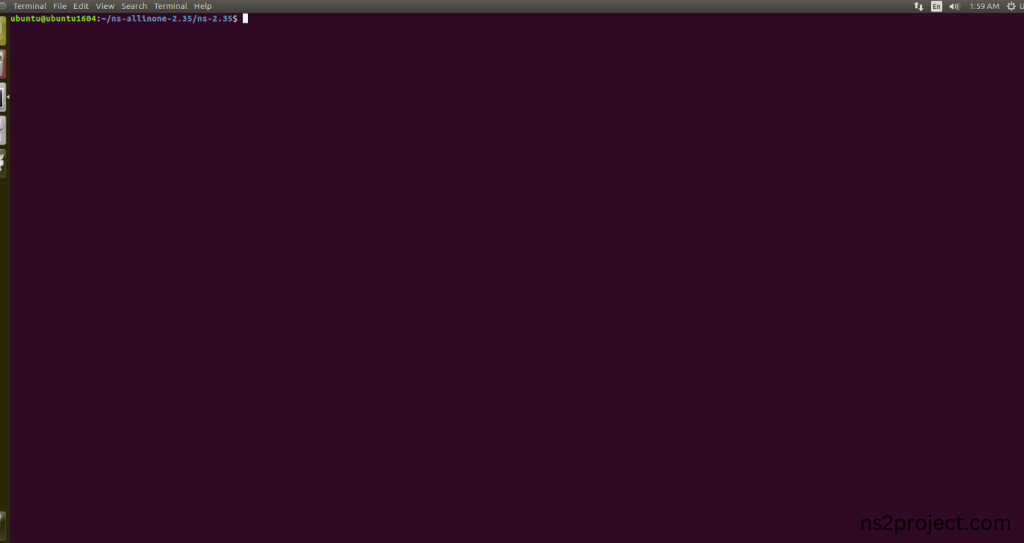
Next, we need to launch the terminal by right clicking the mouse in the ns-2.35 location.
Screenshot:
Screenshot:
4.NS-2.35 Configuration && Building Process:
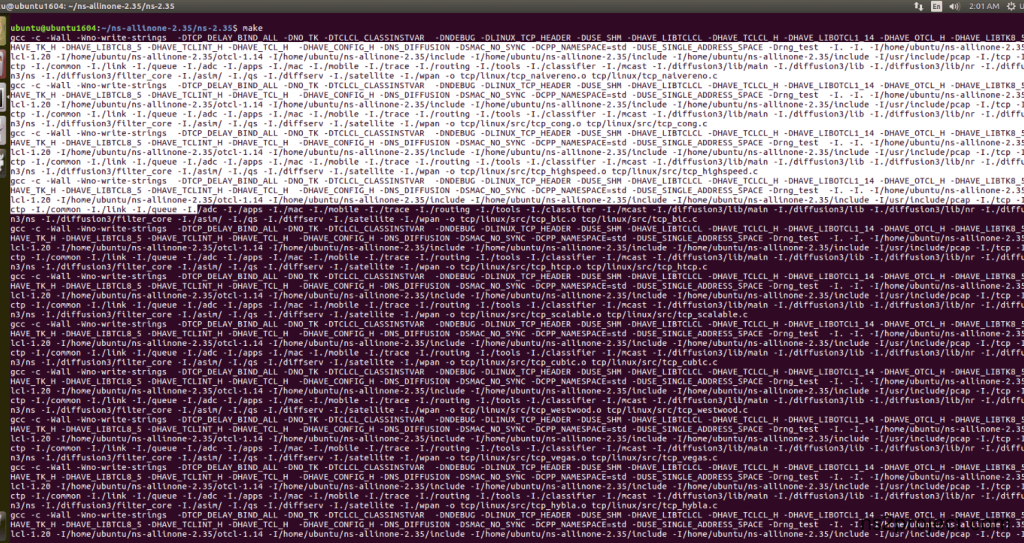
Next, we need to configure and build the ns-2.35 folder to make the Created files need to work in ns-2.35 configuration.
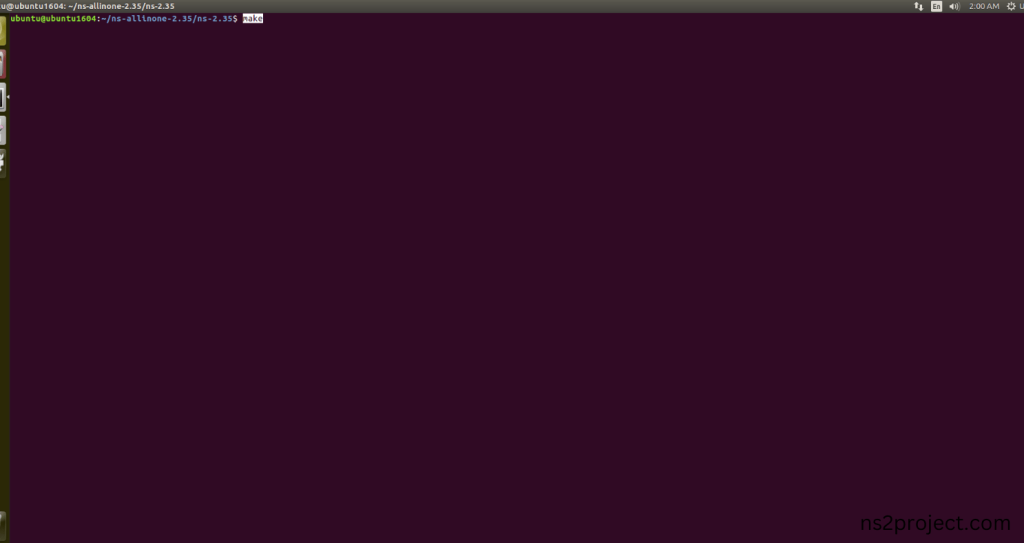
Command: “./make”
Screenshot:
Screenshot:
Screenshot:
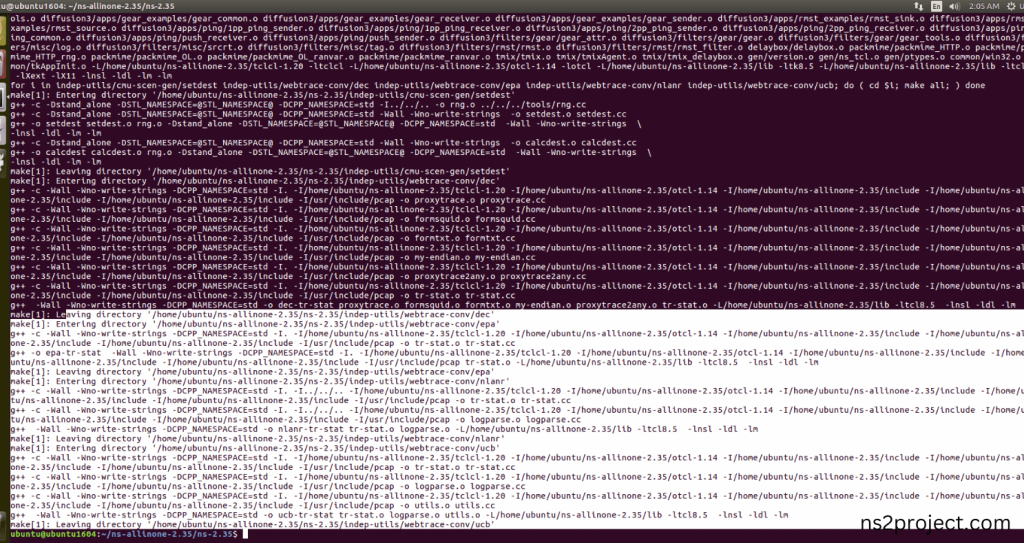
Here, NS-2.35 Building process completed successfully.
5.Importing Drop-tail.h:
Here we imported the Drop-tail.h header file code indirectly accessed the Drop-tail class used in the Tcl script that we had highlighted lines that manages the queue management strategy at the link’s interfaces and FIFO queue handles incoming packets by dropping them if the buffer is full in this network example program. Here we highlighted the code line that highlighted which is internally accessed Drop-tail.h, we will show class file that used in this code via Queue folder.
Screenshot:
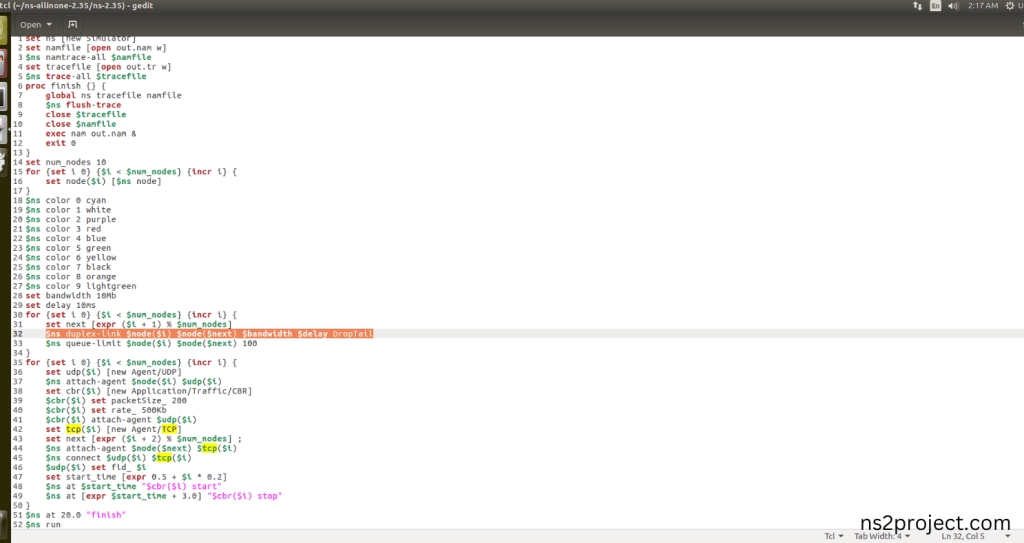
Screenshot:
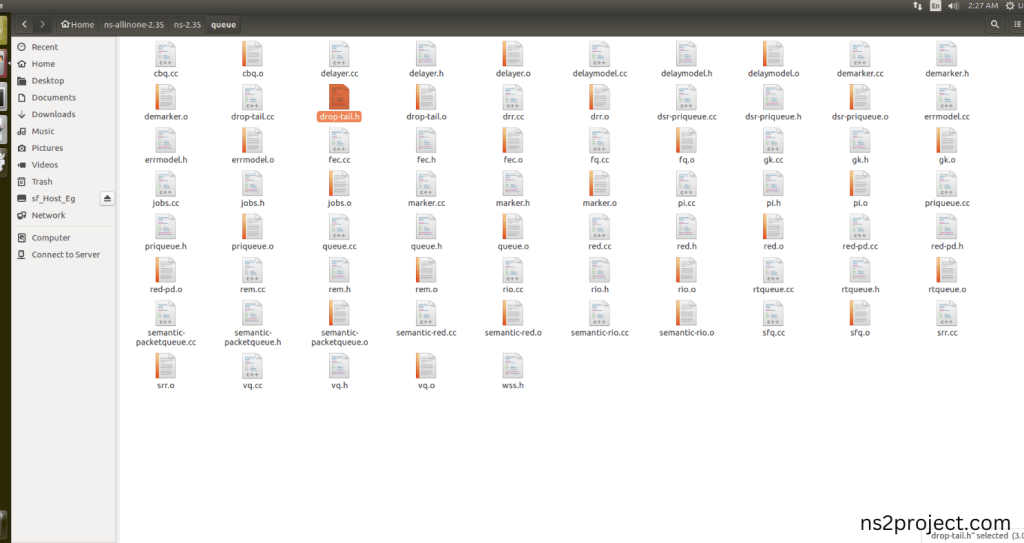
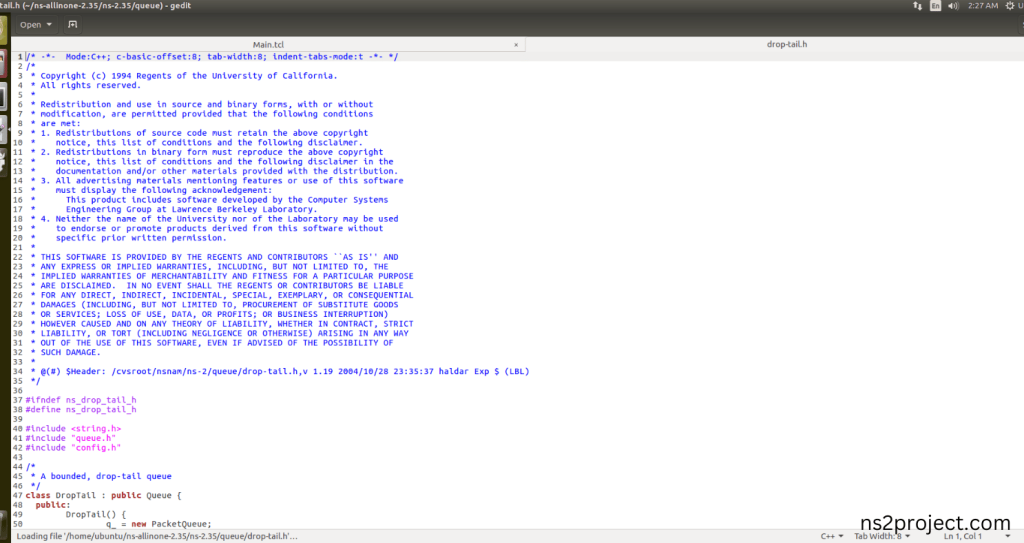
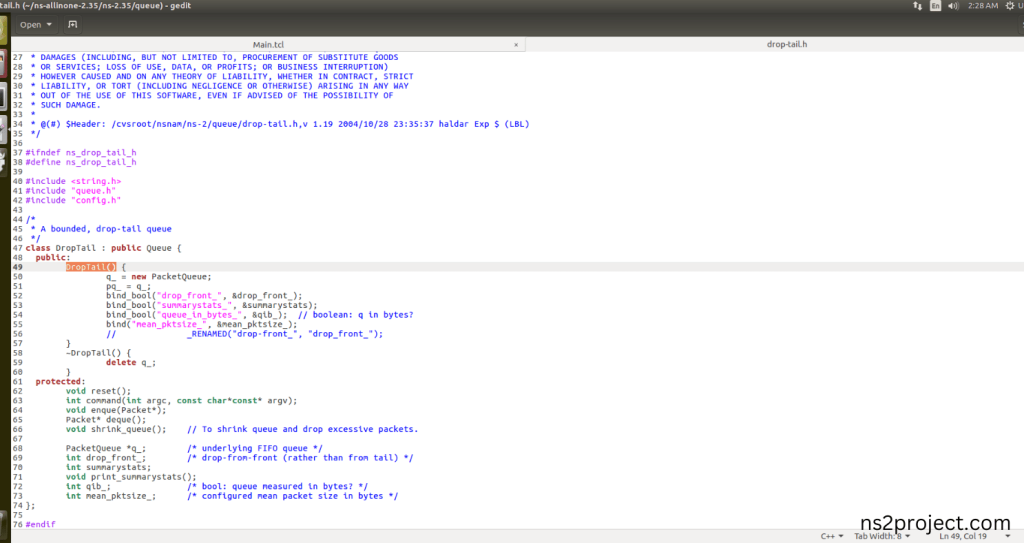
Here we will show the header file by opening Drop-tail.h file to show the class or function imported from the Drop-tail.h in the example code. This Tcl Script Line are managing the queue management strategy at the link’s interfaces and FIFO queue handles incoming packets by dropping them if the buffer is full in this network example program.
Screenshot:
Screenshot:
6.Executing the Example Program for Drop-tail Header:
Then we need to run the Example program for Drop-tail Header to view output of the program.
Command: “./ns Main.tcl”
Screenshot:
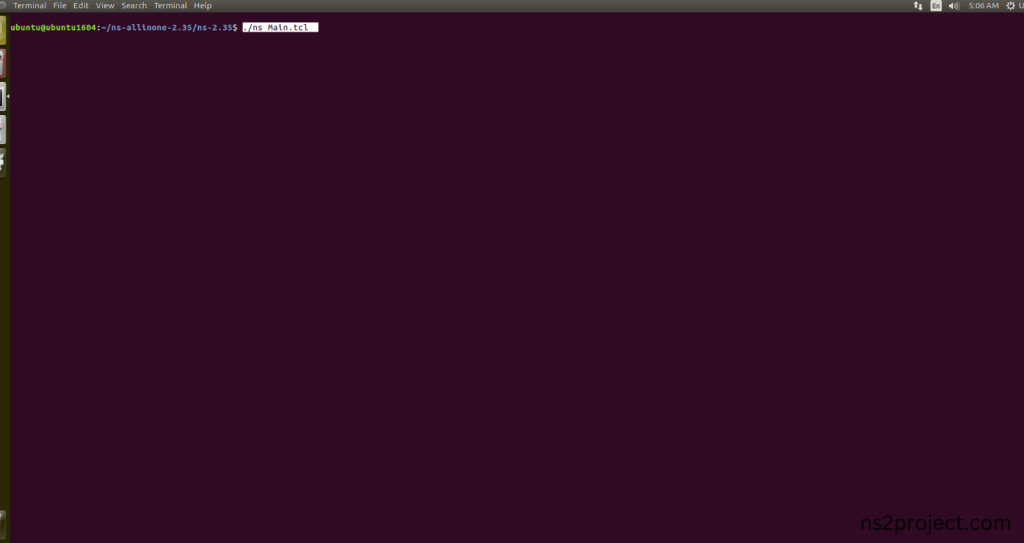
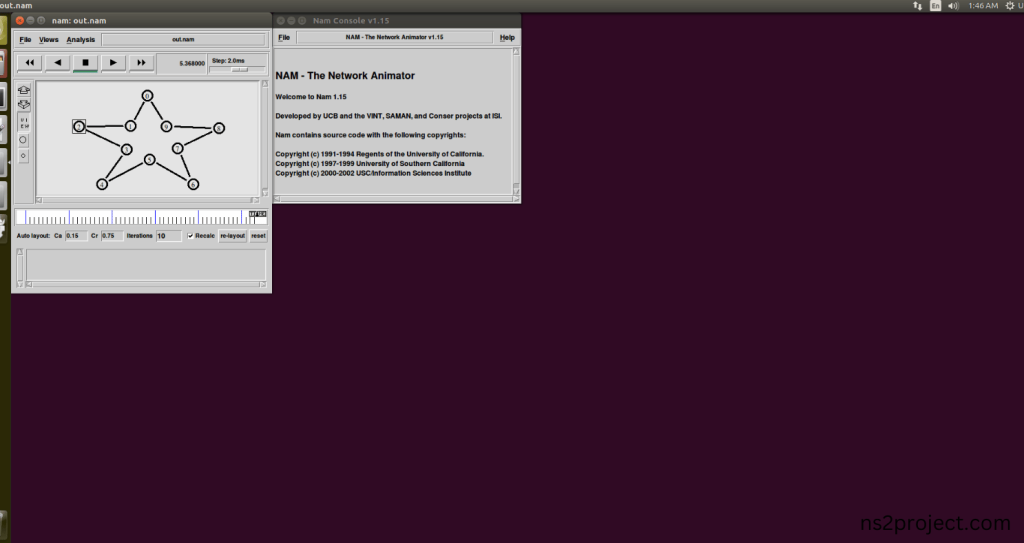
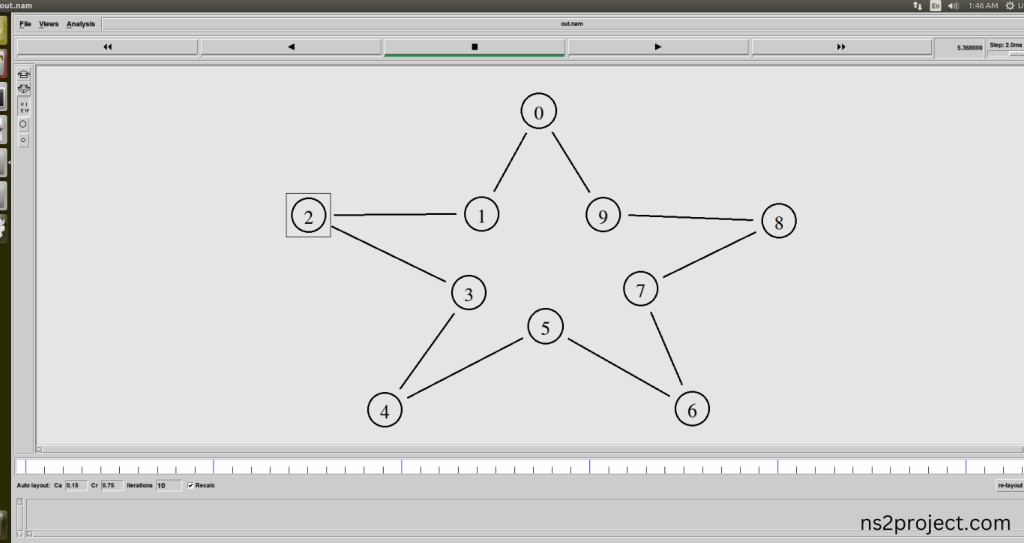
Here we shown the output of the example program by using Drop-tail.h.
Screenshot:
Screenshot:
Screenshot:
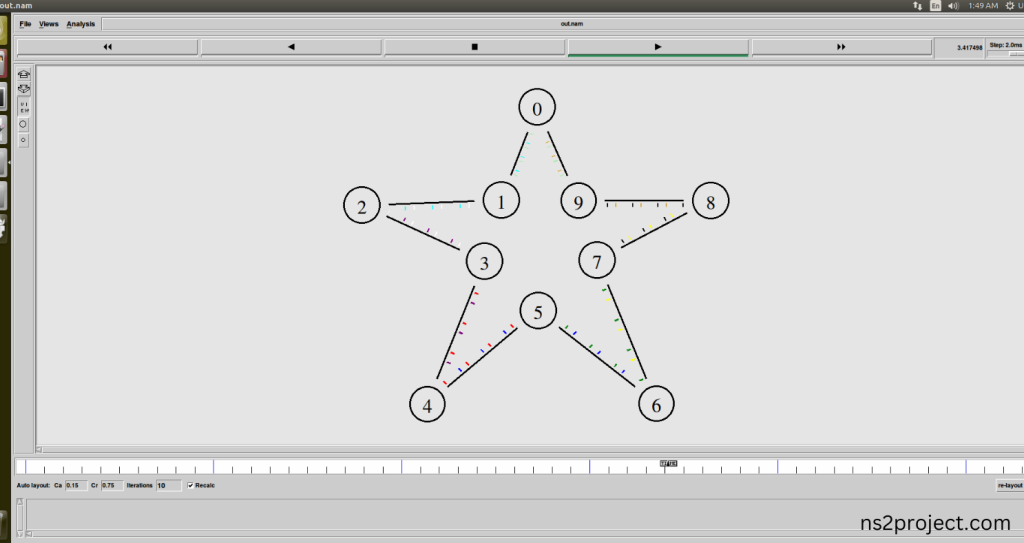
In the NS 2.35 Simulation Example Program, the Drop-tail.h Header file is successfully imported.


