How To Install MAC.H Packages in Ns2
To import Mac.h packages in NS2 read out the steps listed below. The Medium Access Control (MAC) layer is essential for simulating how devices access the physical transmission medium within a network. It oversees the transmission and reception of data across a shared communication channel, managing important functions such as collision detection, addressing, and channel access protocols like CSMA/CA (Carrier Sense Multiple Access with Collision Avoidance). The Mac.h file includes declarations for various functionalities of the MAC layer, detailing how nodes work together to access the medium and ensure efficient data transmission. This layer is vital for facilitating communication in both wired and wireless networks, allowing multiple nodes to share the same channel without causing interference. Users do not need to directly include or interact with Mac.h in their scripts, as the NS-2’s TCL interface manages the connection between TCL commands and the underlying C++ code specified in Mac.h. This setup enables users to dynamically adjust and control the MAC layer’s behavior in their network simulations.
PRE-REQUISITES:
- Fresh installation of Ubuntu 16.04 LTS:
Screenshot:
2.NS-2.35 Installation:
Screenshot:
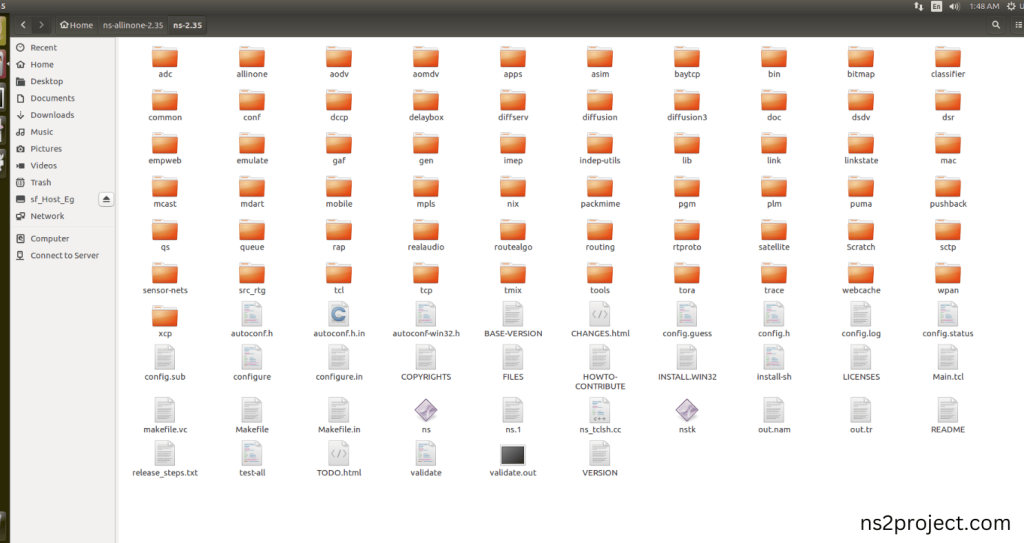
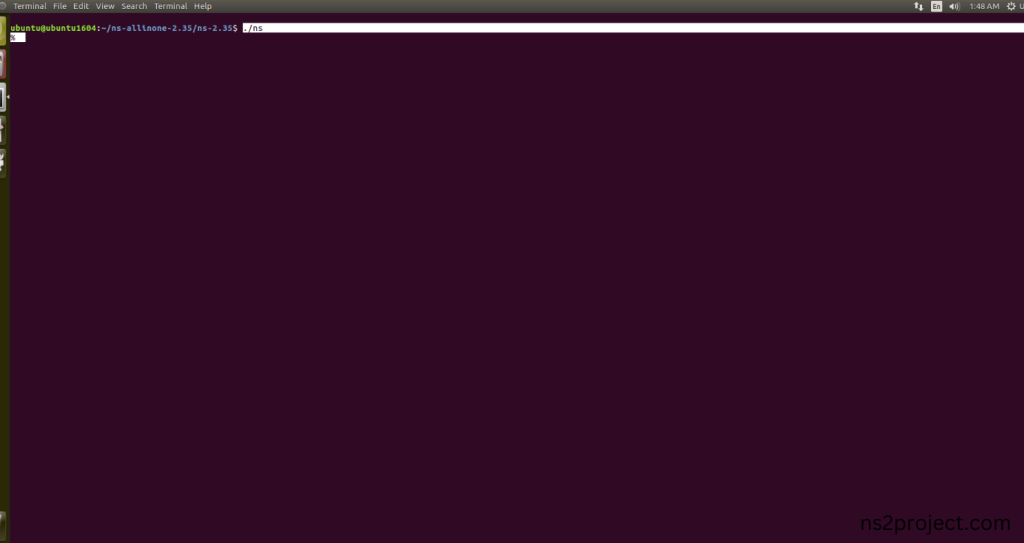
Here, Percentage (%) symbol Denotes the successful installation of the NS 2.35 Simulator.
Screenshot:
HEADER FILE VERIFICATION:
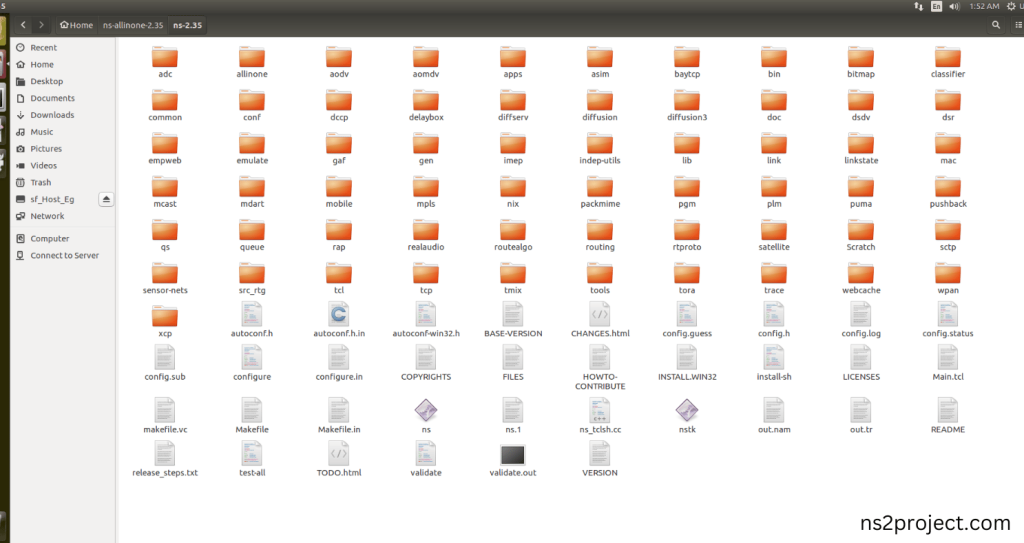
- Locate to the ns-2.35 folder:
Screenshot:
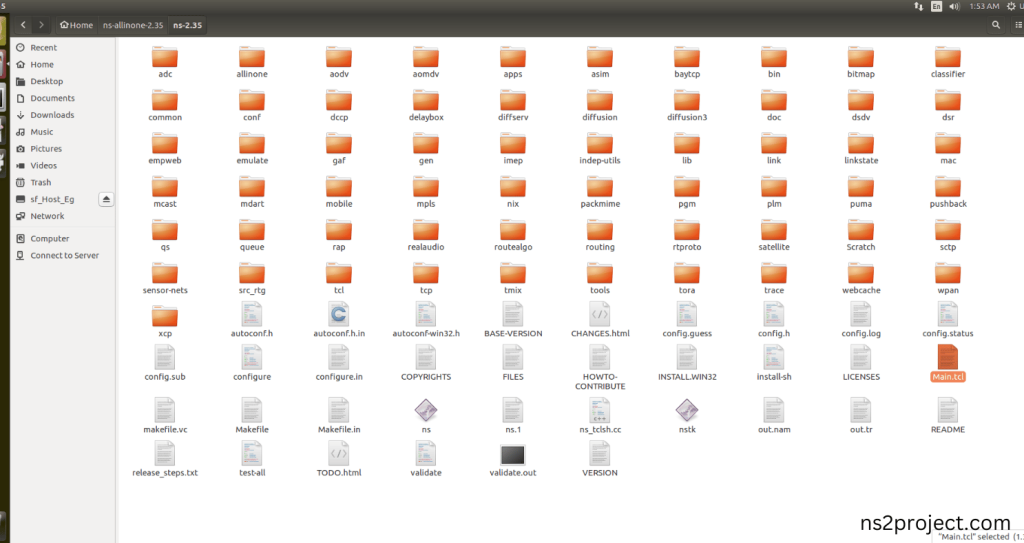
2.Create the Main.tcl file in the scratch folder:
Next we need to create the Main.tcl file by using text editor in the ns-2.35 folder.
Screenshot:
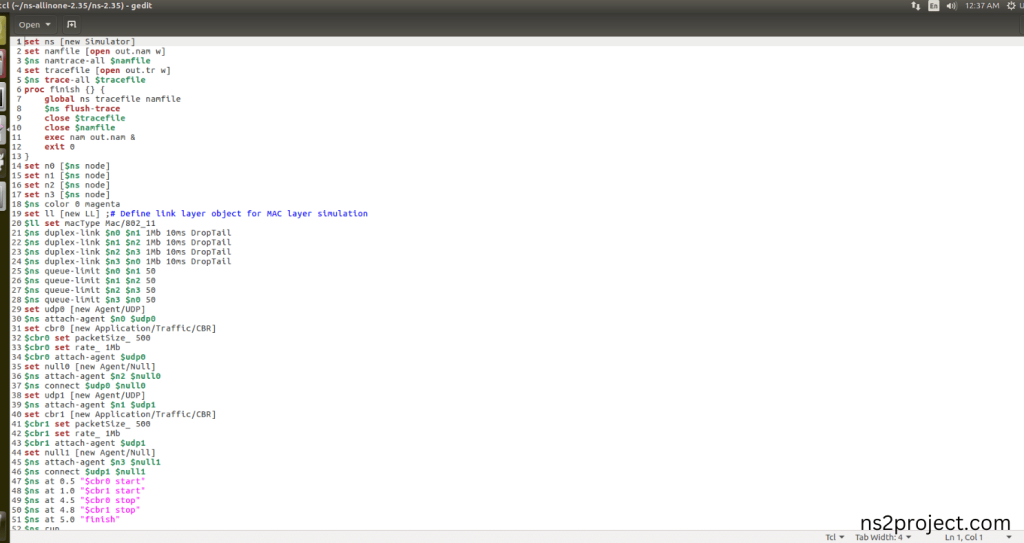
Next we need to paste the below code to the Main.tcl file and save the file in the ns-2.35 folder.
Code:
set ns [new Simulator]
set namfile [open out.nam w]
$ns namtrace-all $namfile
set tracefile [open out.tr w]
$ns trace-all $tracefile
proc finish {} {
global ns tracefile namfile
$ns flush-trace
close $tracefile
close $namfile
exec nam out.nam &
exit 0
}
set n0 [$ns node]
set n1 [$ns node]
set n2 [$ns node]
set n3 [$ns node]
$ns color 0 magenta
# Define link layer object for MAC layer simulation
set ll [new LL]
$ll set macType Mac/802_11
$ns duplex-link $n0 $n1 1Mb 10ms DropTail
$ns duplex-link $n1 $n2 1Mb 10ms DropTail
$ns duplex-link $n2 $n3 1Mb 10ms DropTail
$ns duplex-link $n3 $n0 1Mb 10ms DropTail
$ns queue-limit $n0 $n1 50
$ns queue-limit $n1 $n2 50
$ns queue-limit $n2 $n3 50
$ns queue-limit $n3 $n0 50
set udp0 [new Agent/UDP]
$ns attach-agent $n0 $udp0
set cbr0 [new Application/Traffic/CBR]
$cbr0 set packetSize_ 500
$cbr0 set rate_ 1Mb
$cbr0 attach-agent $udp0
set null0 [new Agent/Null]
$ns attach-agent $n2 $null0
$ns connect $udp0 $null0
set udp1 [new Agent/UDP]
$ns attach-agent $n1 $udp1
set cbr1 [new Application/Traffic/CBR]
$cbr1 set packetSize_ 500
$cbr1 set rate_ 1Mb
$cbr1 attach-agent $udp1
set null1 [new Agent/Null]
$ns attach-agent $n3 $null1
$ns connect $udp1 $null1
$ns at 0.5 “$cbr0 start”
$ns at 1.0 “$cbr1 start”
$ns at 4.5 “$cbr0 stop”
$ns at 4.8 “$cbr1 stop”
$ns at 5.0 “finish”
$ns run
Screenshot:
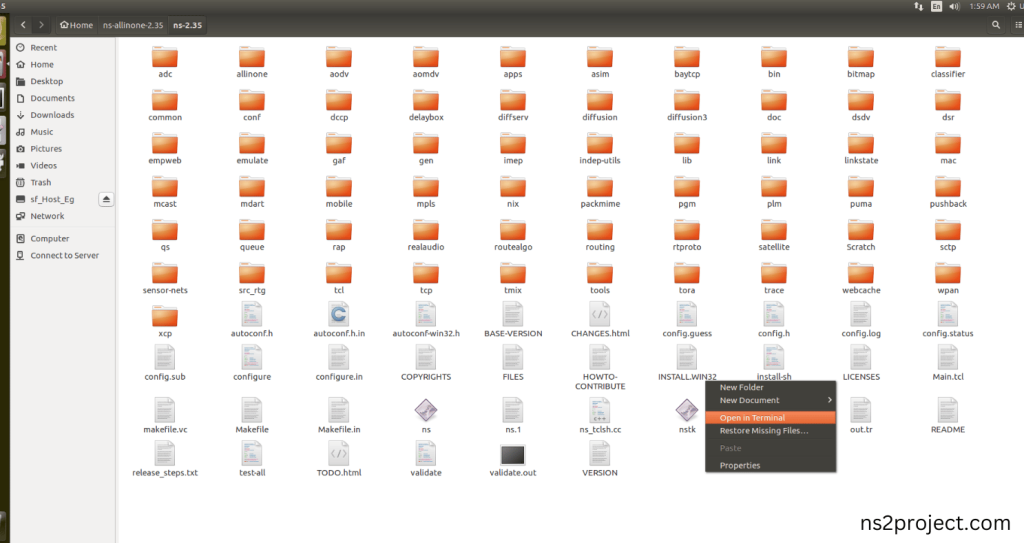
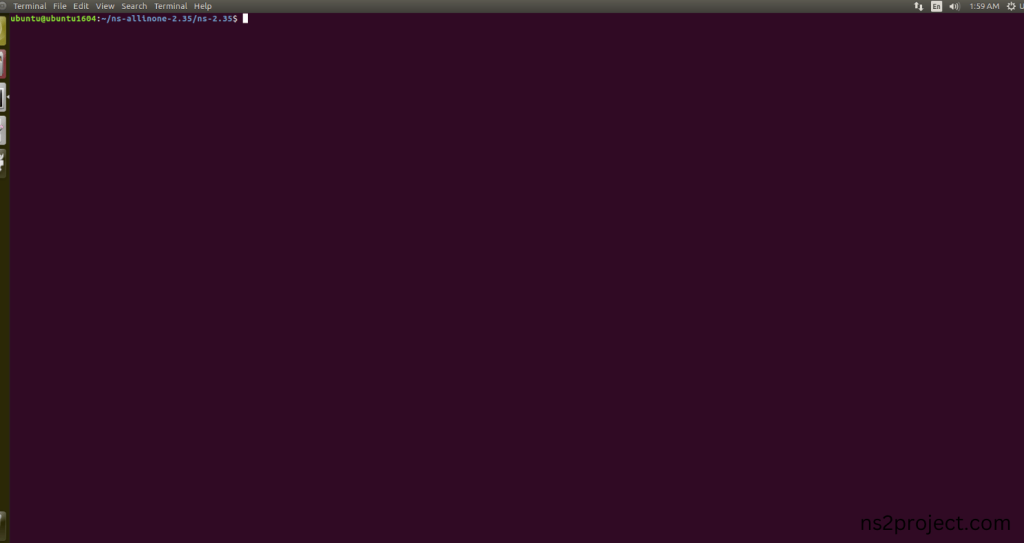
3.Open the Terminal:
Next, we need to launch the terminal by right clicking the mouse in the ns-2.35 location.
Screenshot:
Screenshot:
4.NS-2.35 Configuration && Building Process:
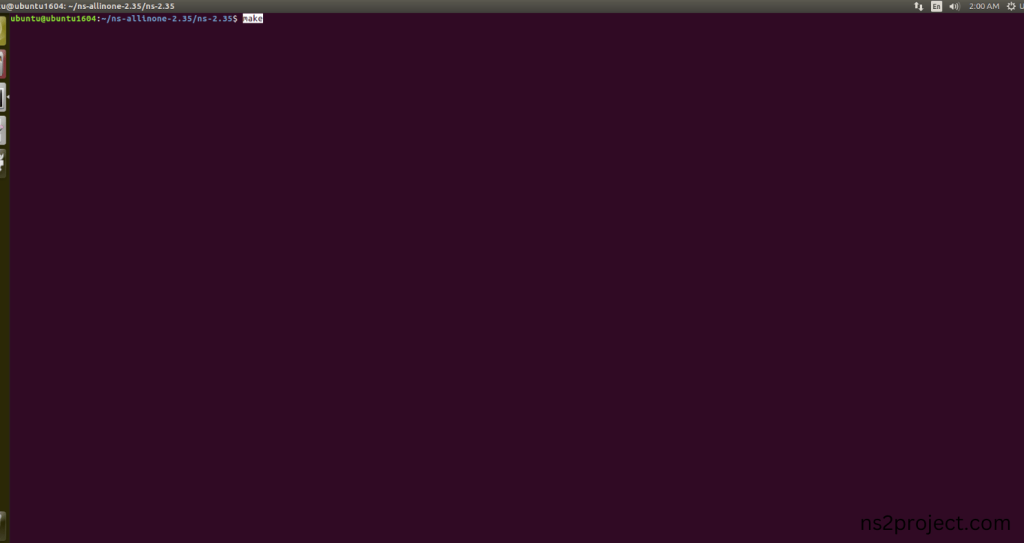
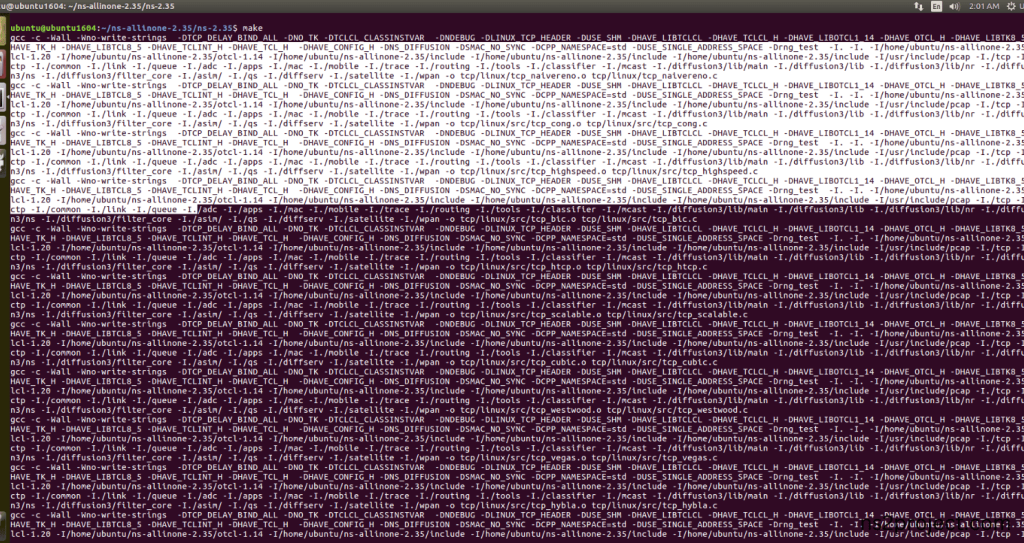
Next, we need to configure and build the ns-2.35 folder to make the Created files need to work in ns-2.35 configuration.
Command: “./make”
Screenshot:
Screenshot:
Screenshot:
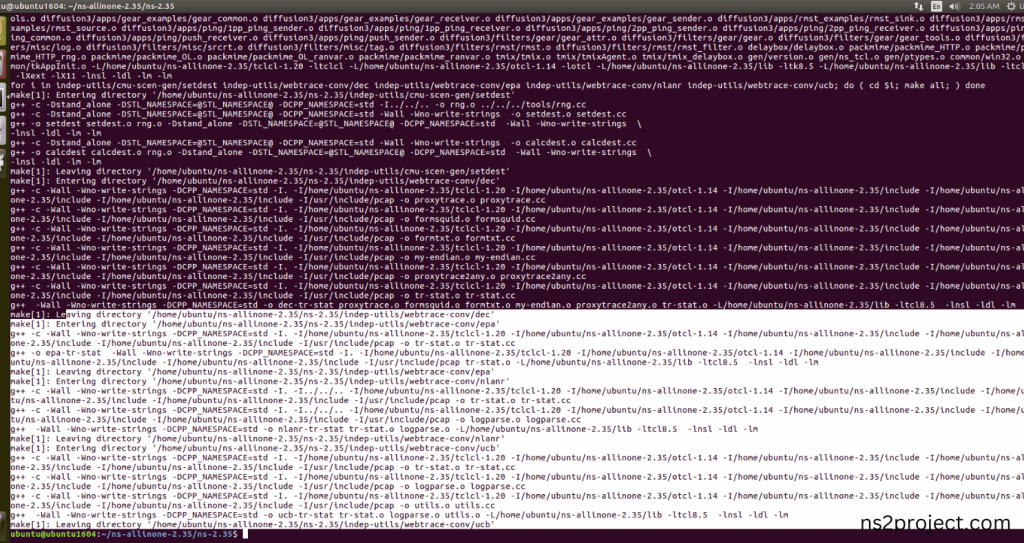
Here, NS-2.35 Building process completed successfully.
3.Importing Mac.h:
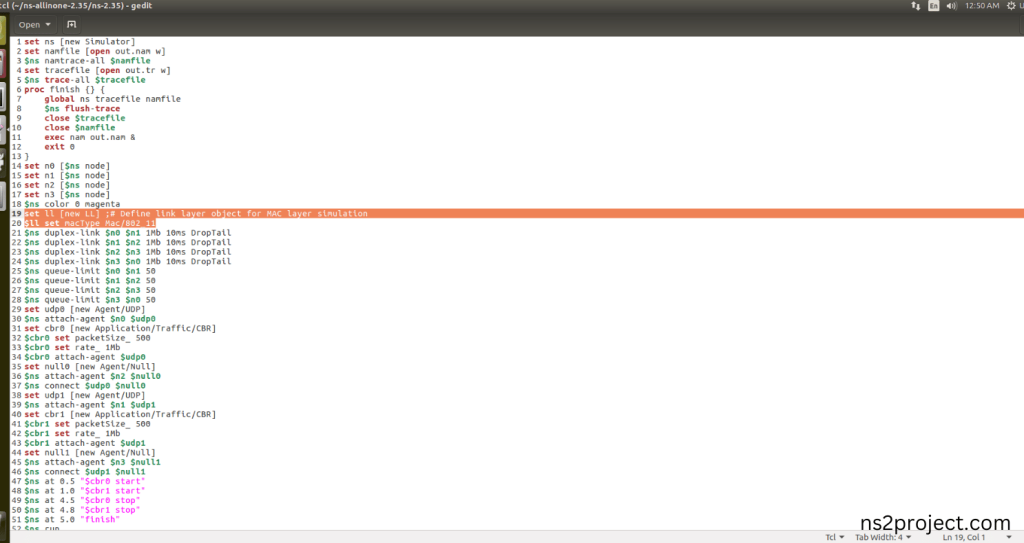
Here we imported the Mac.h header file code indirectly accessed the Mac class used in the Tcl script (set ll [new LL] $ll set macType Mac/802_11) It assigns IEEE 802.11 MAC layer protocol in Link Layer to handle the Wireless Communication between nodes in this example program. Here we highlighted the code line that highlighted which is internally accessed Mac.h, we will show class file that used in this code via Mac folder.
Screenshot:
Screenshot:
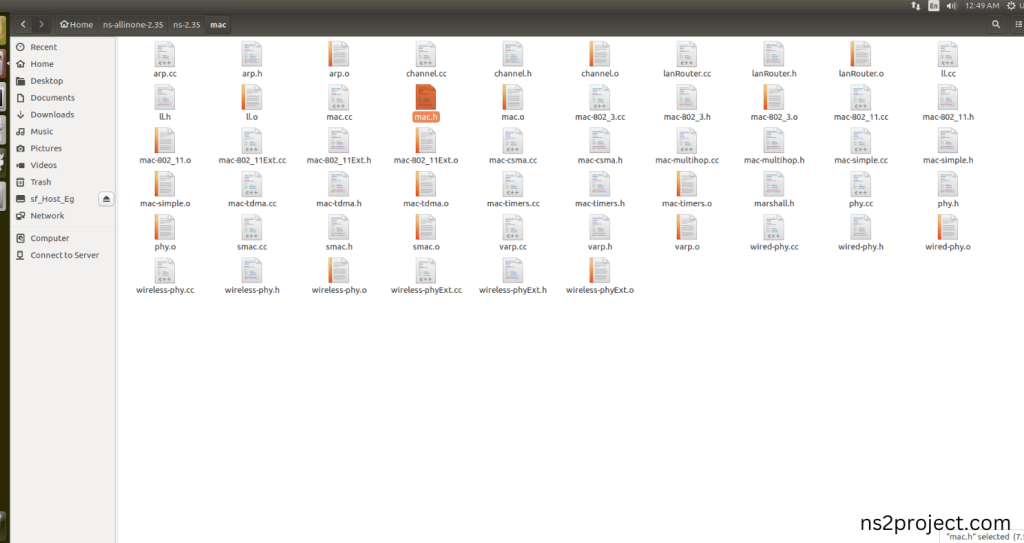
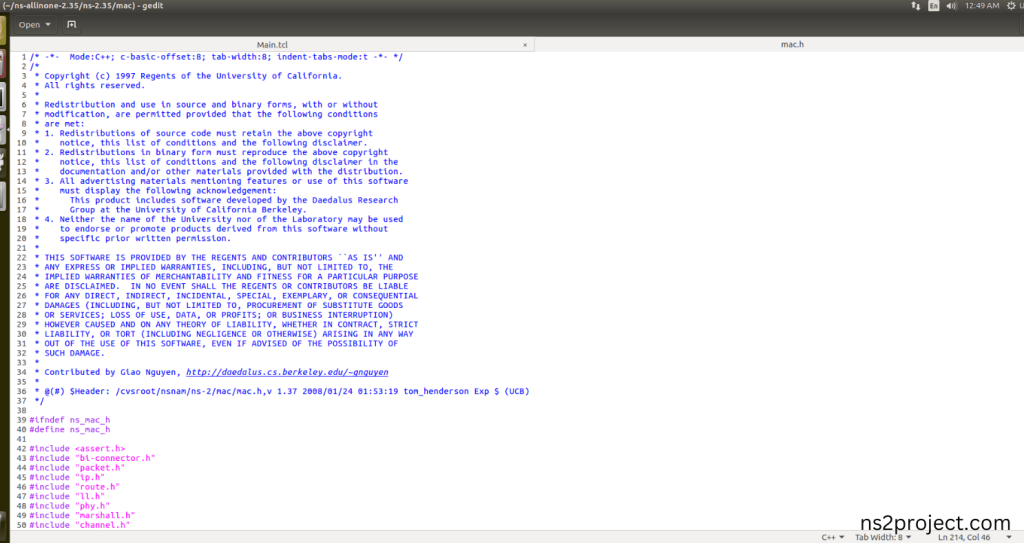
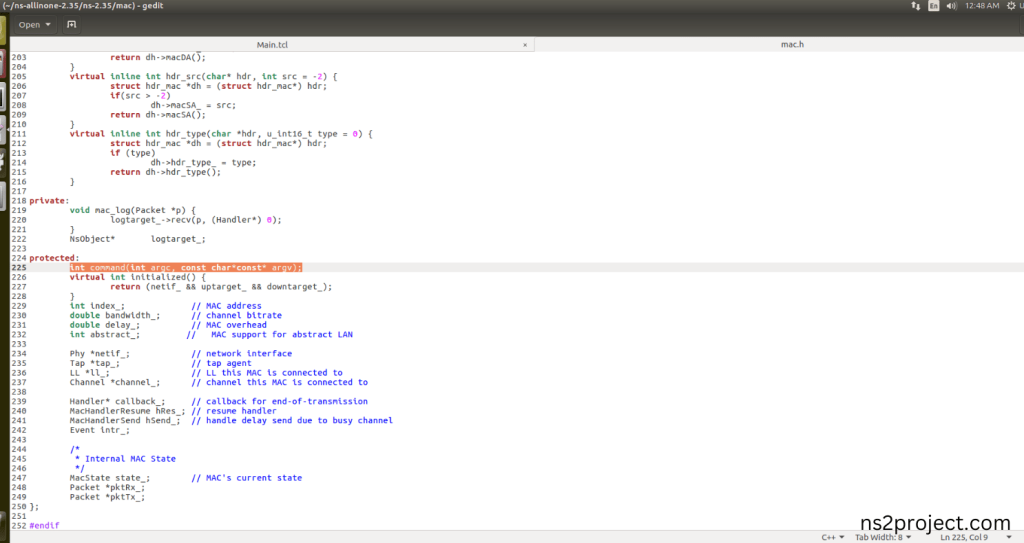
Here we will show the header file by opening Mac.h file to show the class or function imported from the Mac.h in the example code. Mac Type is used (set ll [new LL] $ll set macType Mac/802_11) and command function (int command(int argc, const char*const* argv);) that interprets this Tcl command (set macType). When the Tcl script executes this line, it calls the command function of the LL class, which looks for the argument macType and sets the appropriate MAC layer object (Mac/802_11) during the simulation.
Screenshot:
Screenshot:
5.Executing the Example Program for Mac Header:
Then we need to run the Example program for Mac Header to view output of the program.
Command: “./ns Main.tcl”
Screenshot:
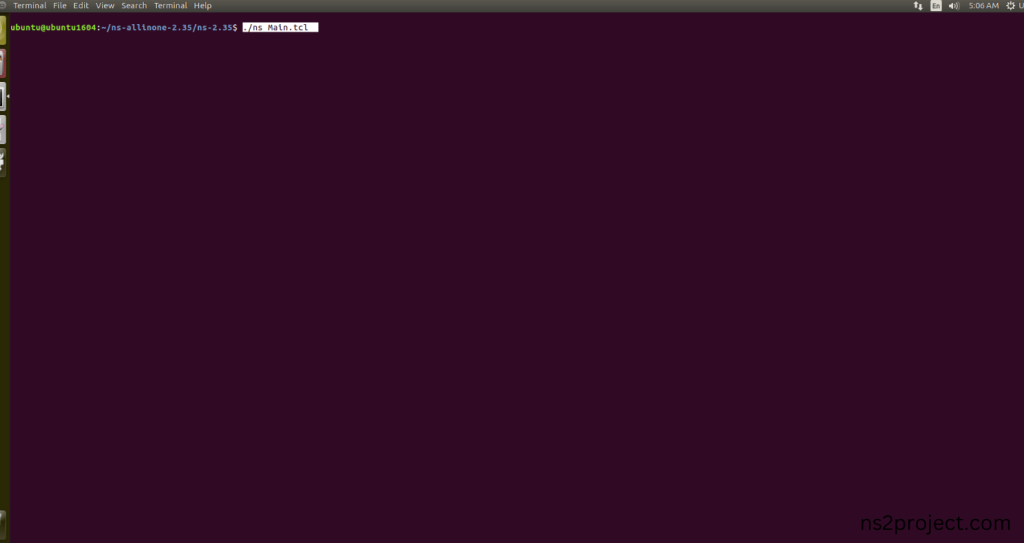
Here we shown the output of the example program by using Mac.h.
Screenshot:
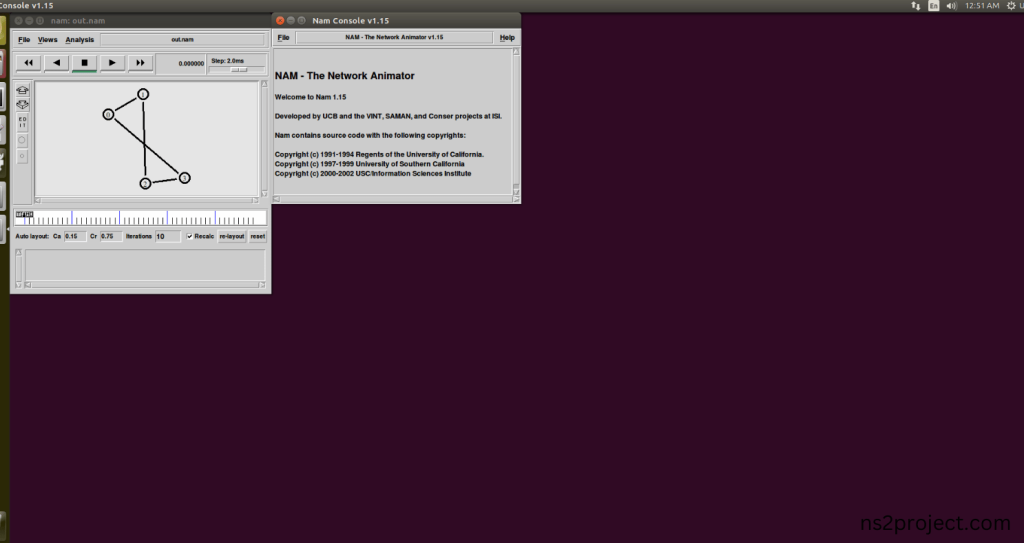
Screenshot:
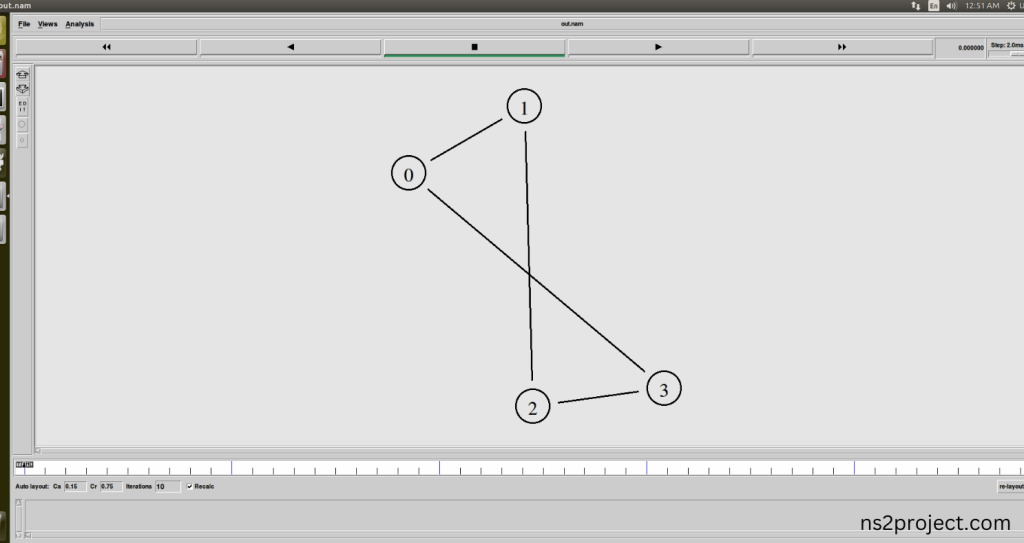
Screenshot:
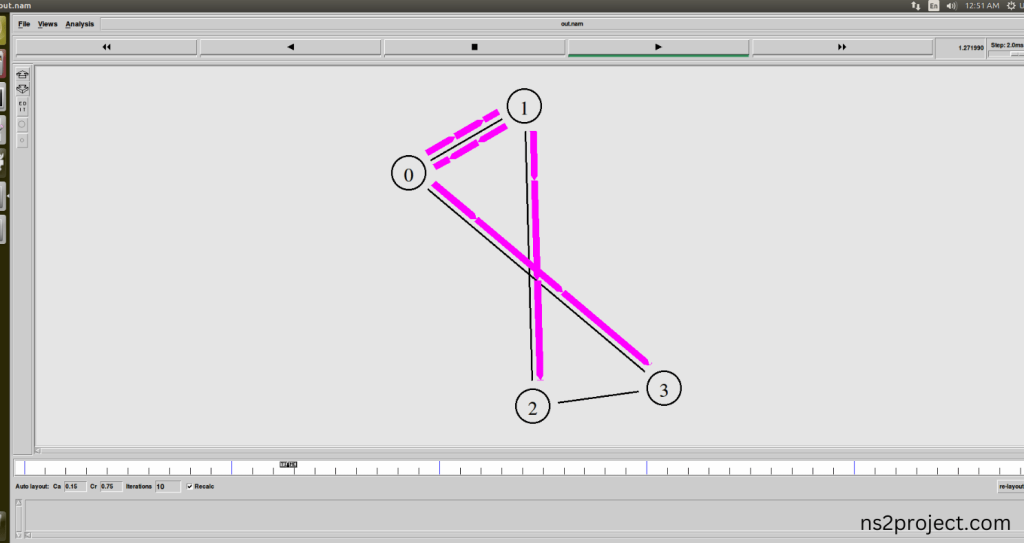
In the NS 2.35 Simulation Example Program, the Mac.h Header file is successfully imported.
Get some best project ideas we give you tips how to apply it in your reasech. Our technical staff assists you in obtaining the ideal MAC.Project results from H PACKAGES are customized to meet your needs.Give us all of your project ideas if you’re having trouble coming up with a topic, and we’ll give you the best advice possible. Our development team will help you get the greatest outcomes. We have all the resources and tools required to help you at the appropriate time.
Visit ns2projects.com to obtain personalized research services. Please do not hesitate to contact us if you need any additional assistance regarding MAC.H PACKAGES!


