


How to Install ns3 in Windows 10
In general, there are several matters while installing the network simulator 3 in windows 10. To encounter all such matters, our research professionals have described this article with all the required steps for the installation of ns3.
Step: 1 Enabling Virtual Machine Platform
The virtual machine platform in windows 10 is permitted through functioning the following steps. We have to go to Control Panel > Programs > Programs and Feature. Them, we have to click the left sidebar to turn on or off the windows features. In additionally, we have to check the options for windows subsystem for linux.

Following that, the Microsoft store has to be opened to find the Ubuntu and then we have to install that.
Step: 2 Basic Libraries Installation
Here, we have highlighted the process of installing the significant libraries that are required for the process of ns3 installation.
- The update has to be performed again
sudo apt-get update
- The below mentioned commands are deployed to install the essential dependencies
- GCC and GCC compiler
sudo apt-get install gcc g++ python
- Python
sudo apt-get install python-dev
- Qt framework
sudo apt-get install qt4-dev-tools
- Version control and repository management
sudo apt-get install git mercurial
- Compilation package
sudo apt-get install cmake libc6-dev libc6-dev-i386 g++-multilib
- Debugging tools
sudo apt-get install gdb valgrind
- GNU scientific library
sudo apt-get install gsl-bin libgsl0-dev libgsl2
- Parser generator
sudo apt-get install flex bison libfl-dev
- Packet capturing tools
sudo apt-get install tcpdump wireshark
- Database support
sudo apt-get install sqlite sqlite3 libsqlite3-dev
- XML support
sudo apt-get install libxml2 libxml2-dev
- GTK library
sudo apt-get install libgtk2.0-0 libgtk2.0-dev
- OS based virtualization
sudo apt-get install vtun lxc
- SC modification tools
sudo apt-get install uncrustify
- Graphical tools
sudo apt-get install doxygen graphviz imagemagick
sudo apt-get install texlive texlive-extra-utils texlive-latex-extra texlive-font-utils dvipng
sudo apt-get install python-sphinx dia
- Python library
sudo apt-get install python-pygraphviz python-kiwi python-pygoocanvas libgoocanvas-dev
- C++ library
sudo apt-get install libboost-signals-dev libboost-filesystem-dev
- High performance computing
sudo apt-get install openmpi-bin openmpi-common openmpi-doc libopenmpi-dev
- Plotting engine
sudo apt-get install gnuplot plotdrop
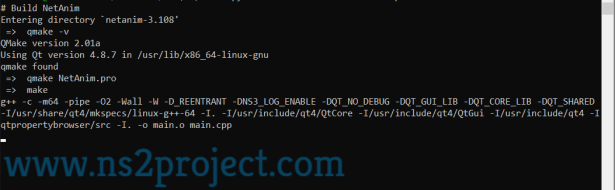
Step: 4 Install Ns3 Package
To install the Ns3 packages, we have to download the packages first in the windows 10 through typing the commands in prompt windows.
cd ~
mkdir software
cd software
wget https://www.nsnam.org/release/ns-allinone-3.28.tar.bz2
tar xvjf ns-allinone-3.28.tar.bz2
Then, we have to install the Ns3 packages in windows 10 through the implementation of the following commands.
./build.py –enable-tests –enable-examples
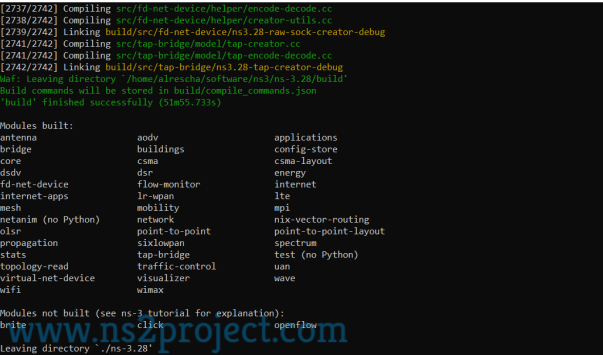
In addition, we have highlighted the acquired screen after completing the installation process.
To this end, we assure that we will offer the complete research support for the research scholars. So, reach us to aid more.