HOW TO INSTALL OTCL PACKAGES IN NS2
To import OTCL packages in NS2, just follow the steps listed below. If you run into any problems, feel free to get in touch with us. We offer great research help and creative project ideas. For the best advice, visit ns2project.com. OTcl (Object Tool Command Language) is an enhancement of the widely recognized Tcl (Tool Command Language), specifically crafted to incorporate object-oriented programming features. It is particularly favored in the realm of network simulation, serving as a scripting interface for NS-2 (Network Simulator 2), where it facilitates the definition and management of simulation scenarios. OTcl enriches the fundamental Tcl language by introducing object-oriented elements, including classes, objects, inheritance, and methods, which promote a more structured and reusable coding approach within simulation contexts. In NS-2, OTcl is employed to script and configure network simulations, enabling users to specify network topologies, traffic patterns, and protocol behaviors in a clear and adaptable manner. Although the primary functionalities of the simulator are executed in C++ to ensure optimal performance, OTcl functions as the user interface layer, where simulations are scripted, initialized, and executed. This dual-language framework empowers researchers and developers to harness the efficiency of C++ while enjoying the flexibility and simplicity of scripting in OTcl. Additionally, OTcl facilitates the rapid prototyping of network scenarios, allowing for easy adjustments to simulation parameters or experimentation with various network configurations without the need to recompile the entire simulator.
PRE-REQUISITES:
- Fresh installation of Ubuntu 16.04 LTS:
Screenshot:
2.Download ns-allinone-2.35.tar.bz2 file:
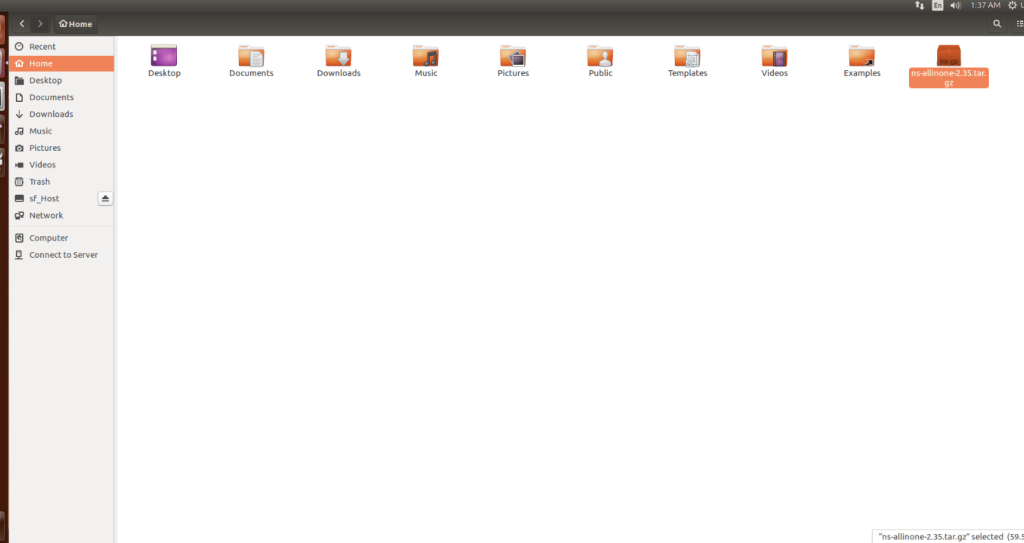
We have to download the ns-allinone-2.35.tar.bz2 under home directory by the clicking the Link, it will directly download to Download Location and move the compressed file to the home Directory.
Screenshot:
3.Extraction of the ns-allinone-2.35.tar.bz2 file:
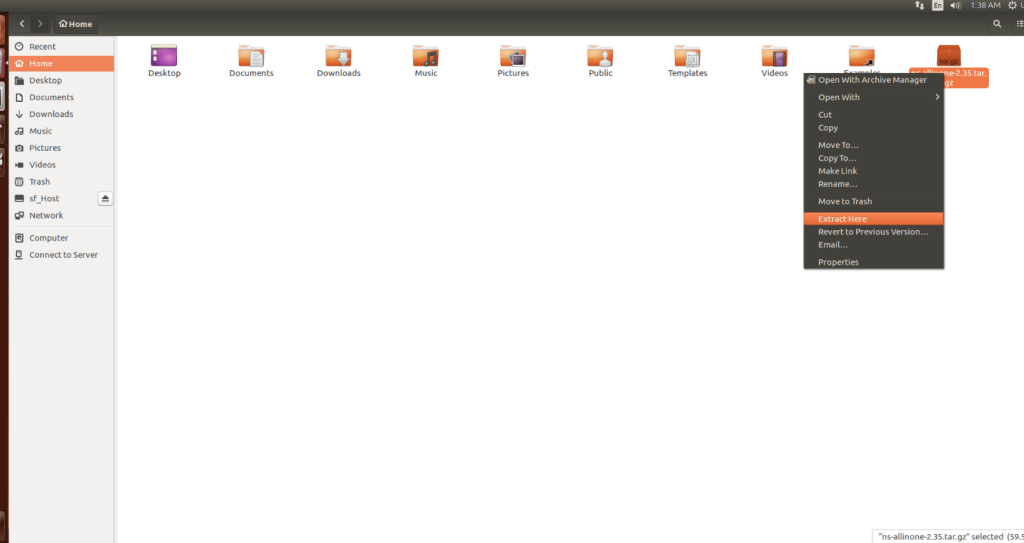
Next, we have to extract the compressed file by right click and click Extract here to extract the ns-allinone-2.35 as folder in the home directory.
Screenshot:
Screenshot:
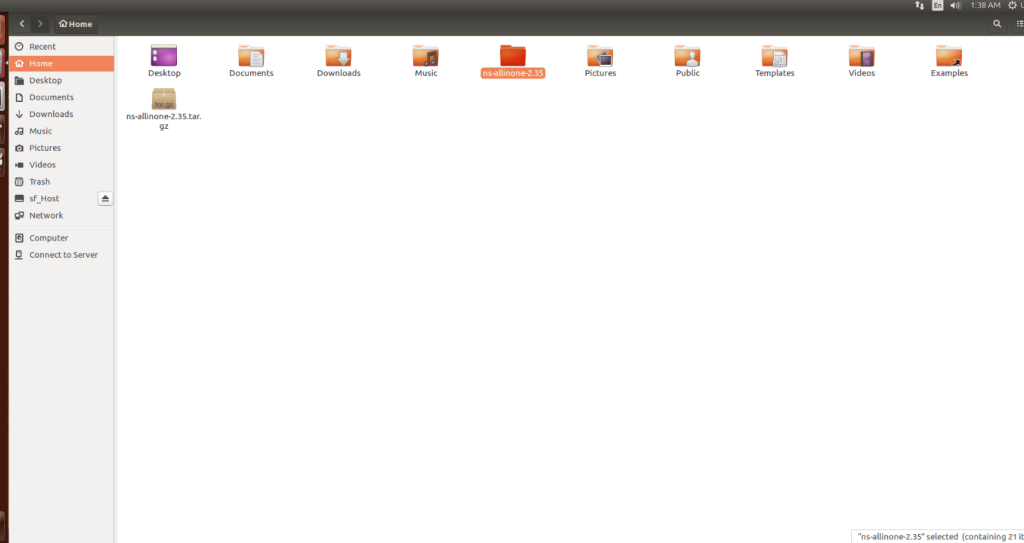
ns-allinone-2.35 compressed file Extracted Successfully in the home directory.
INSTALL DEPENDENCIES OF NS3:
- Open a terminal, Copy and Paste the commands to install required package:
Screenshot:
2.System File Update Command:
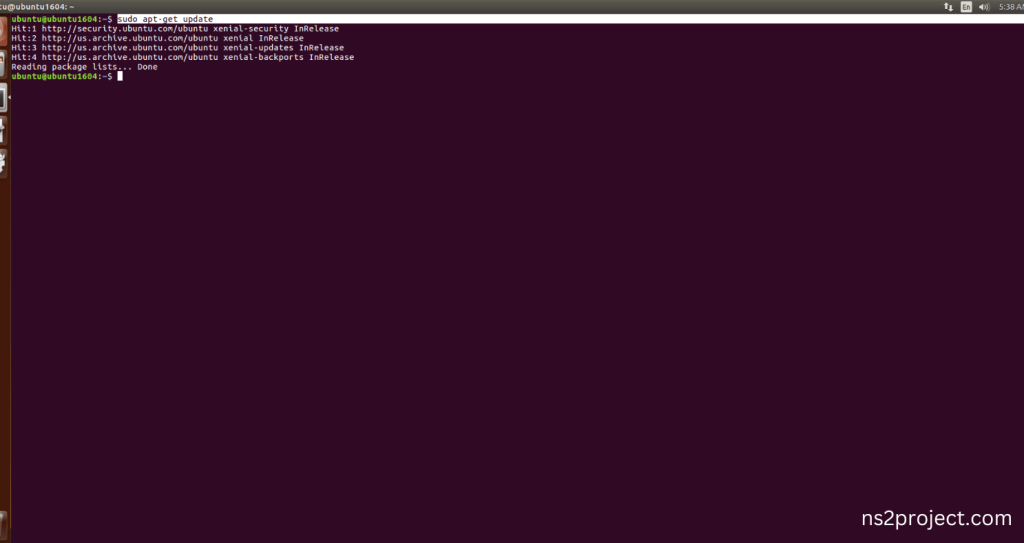
First of all, we need to updates the list of available packages and their versions stored in the system’s package index. Use below command to update the system package.
Command: “sudo apt-get update”
Screenshot:
3.Install Essential Tools:
- build-essential: A package containing essential tools for compiling software on Ubuntu, including GCC, g++, and make.
- autoconf: A tool for automatically configuring source code packages to adapt to various UNIX-like systems.
- automake: A tool that automatically generates Makefile.in files, simplifying the creation of portable makefiles.
- libxmu-dev: A development package for the X11 Athena Widget library, providing miscellaneous utility functions for X Window System programs.
Command: “sudo apt-get install build-essential autoconf automake libxmu-dev”
Screenshot:
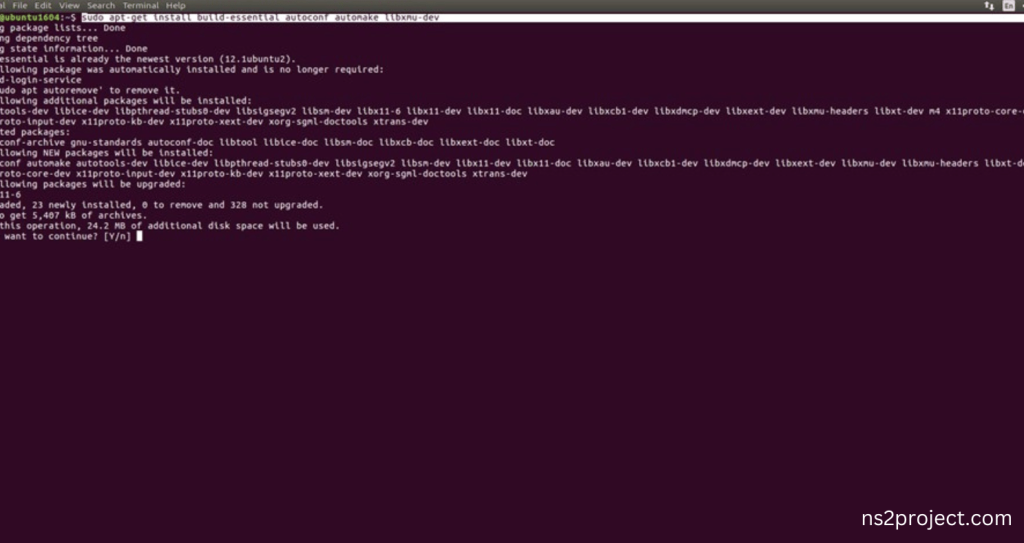
Click the key Y to install the required Essentials tools for giving permission to install the package in the user system.
Screenshot:
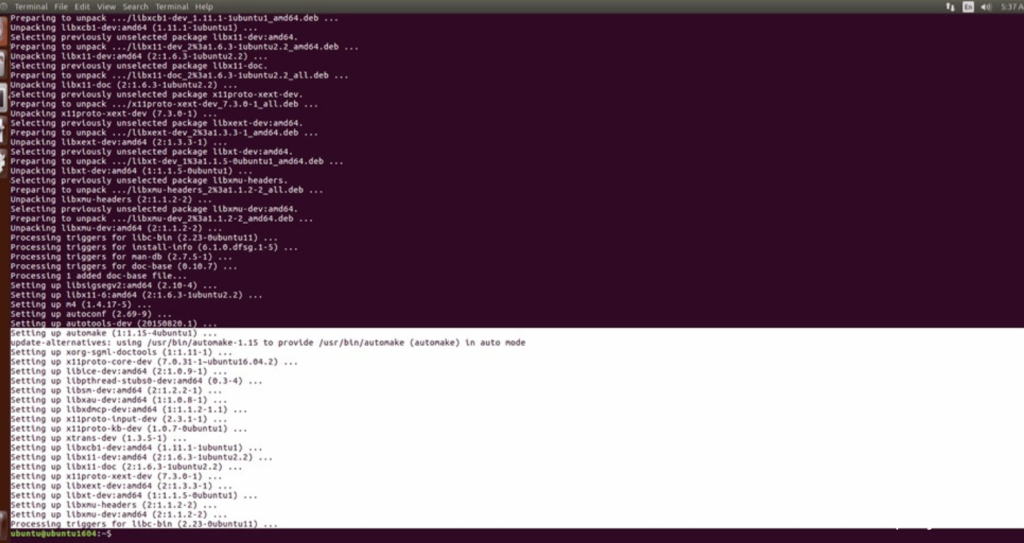
Installation of the Essential tools package completed successfully.
INSTALL NETWORK SIMULATOR 2 (NS2) With OTCL:
- Locating the ns-allinone-2.35 Folder:
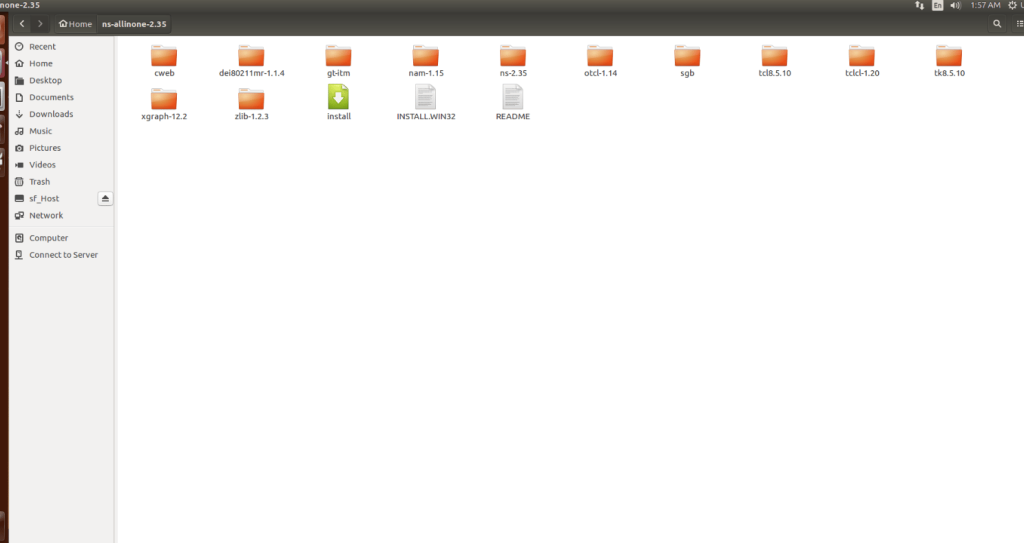
Next, we need to install the NS 2 in our system so locate the Extracted ns-allinone-2.35 folder in the home directory.
Screenshot:
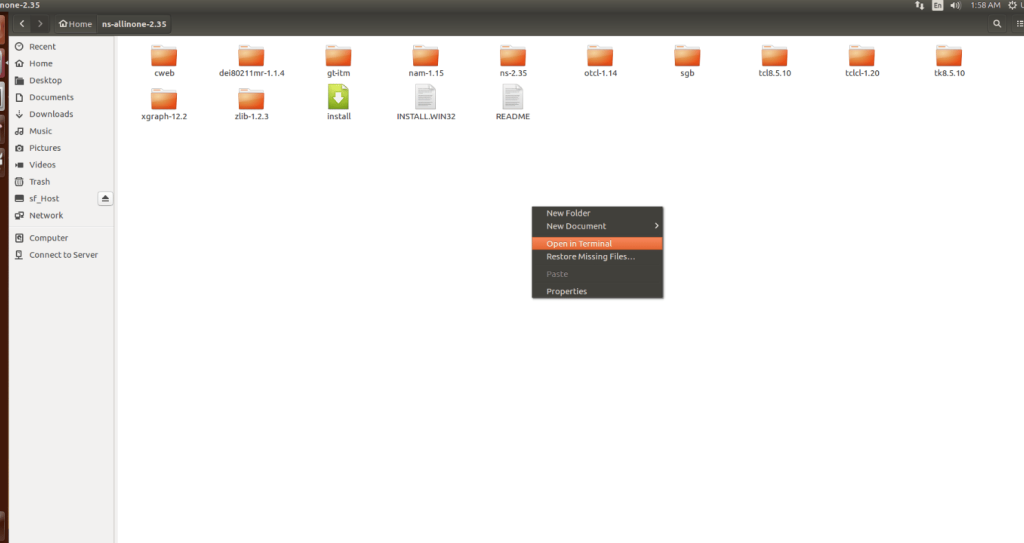
2.Launching the terminal in the ns-allinone-2.35 Folder:
Then Right Click in the current Directory and select the “Open in Terminal” button and it will launch the terminal.
Screenshot:
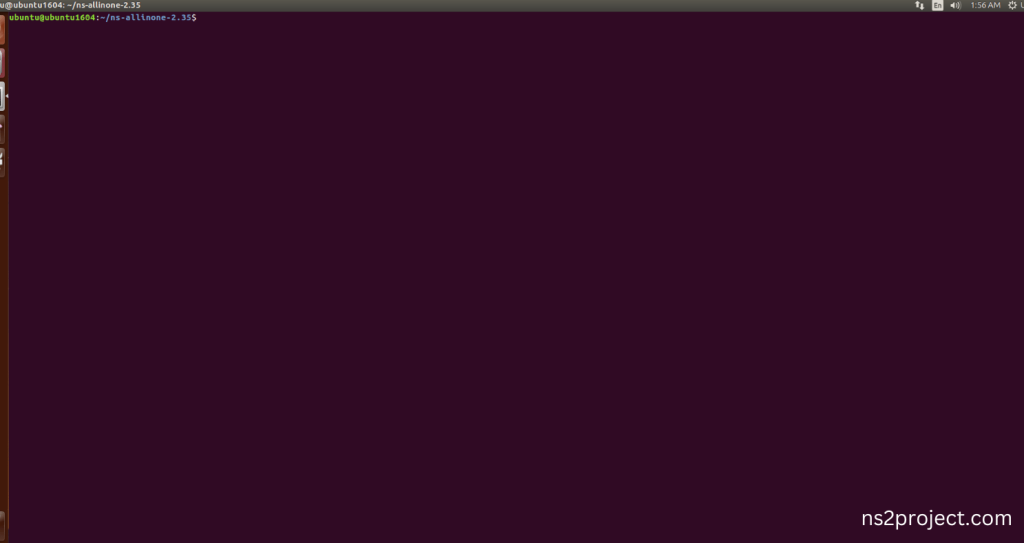
Here, we launched the terminal by that button in the folder.
Screenshot:
3.Modification of ns2.35 Code:
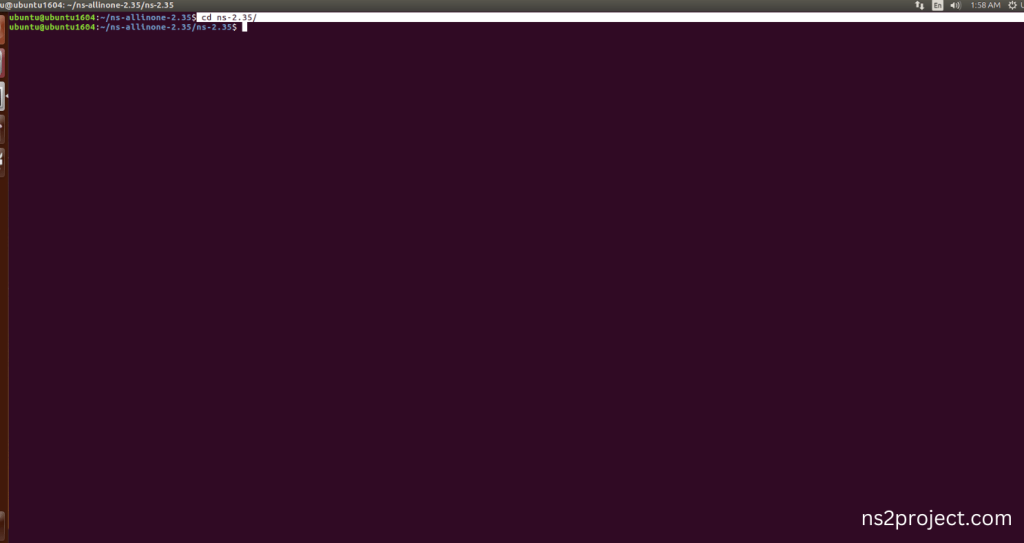
Next, we need to modify the ns-2.35 to install the network simulation 2 Environment in the User system and it will resolve some dependency errors. First of all, locate to the ns-2.35 folder.
Command: “cd ns-2.35”
Screenshot:
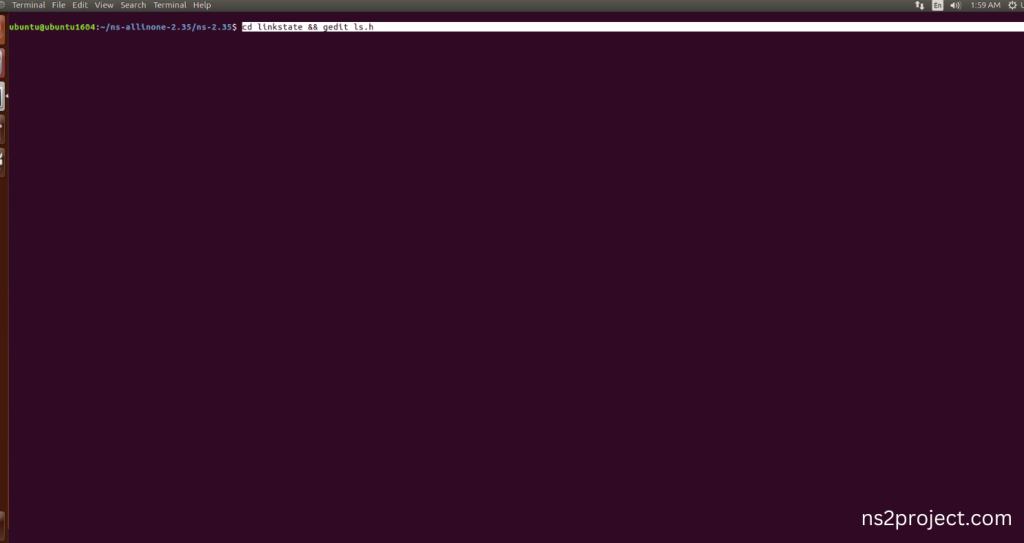
Next, we need to edit the ls.h file in the ns-2.35 with gedit command.
Command: “cd linkstate && gedit ls.h”
Screenshot:
Screenshot:
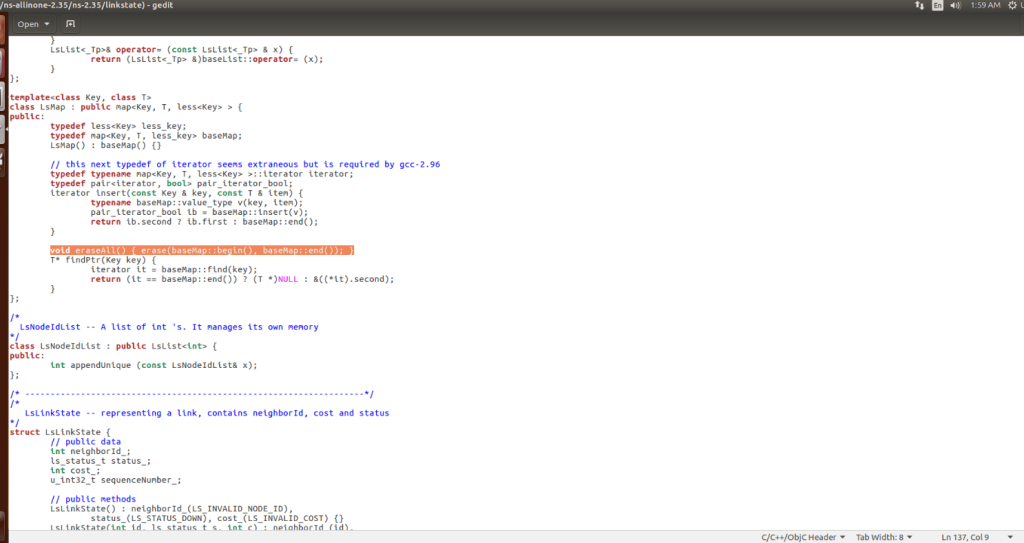
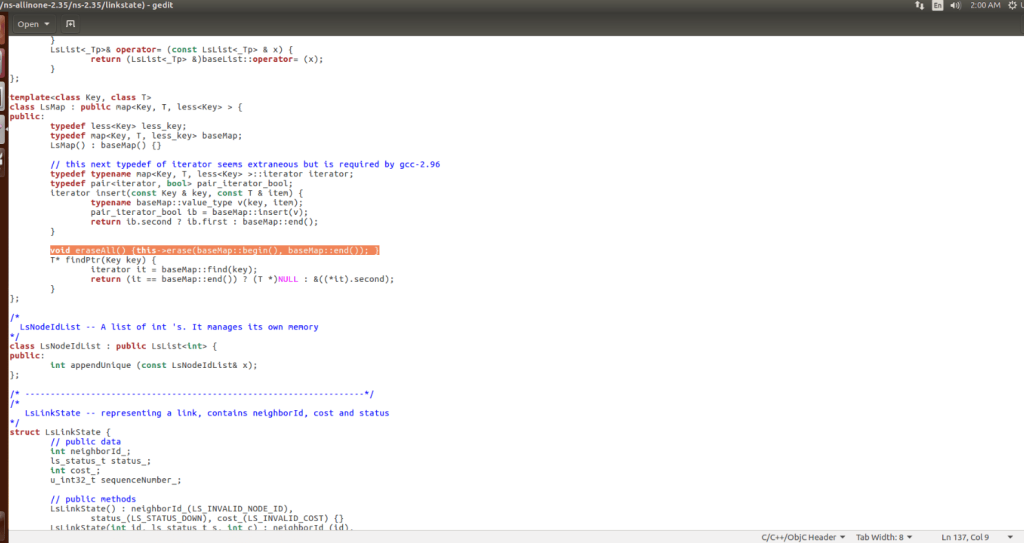
Next, the code this-> is added to the line 137 and before the erase (basemap::begin(), baseMap::end()) code.
Screenshot:
4.Installing ns-2.35 by the terminal:
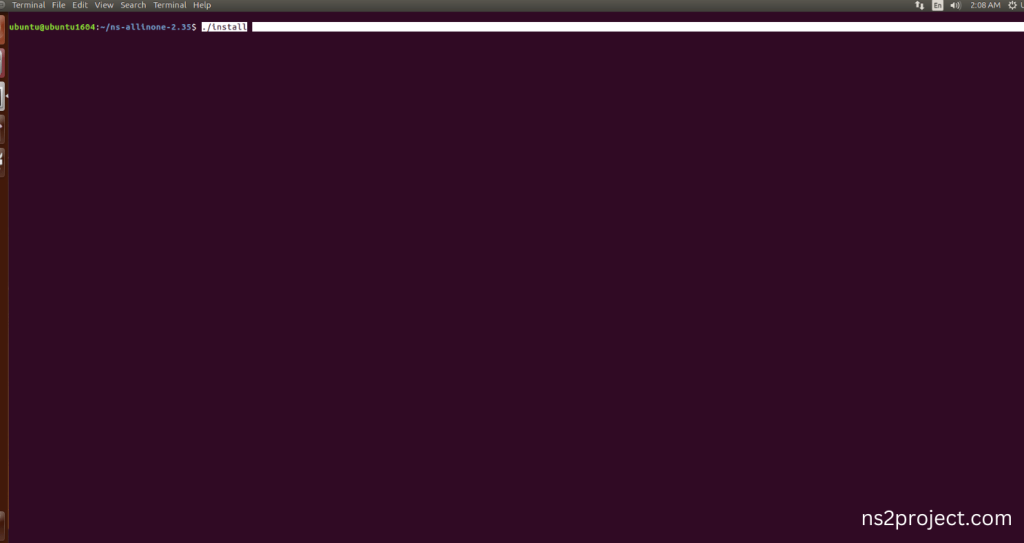
Next, we need to install the network simulation 2.35 Environment in the User system and it. So, use the command to install the ns-2.35 for OTCL Package in the ns-allinone-2.35 folder location.
Command: “./install”
Screenshot
OTCL Building process:
Screenshot:
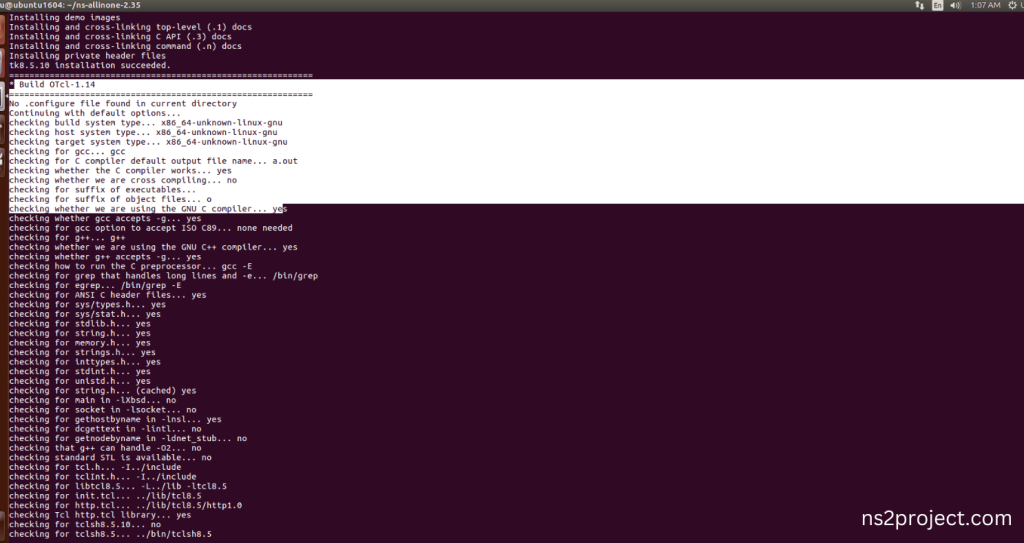
Next, Building the OTCL tool along with Network Simulator 2 (NS-2) framework from its source code. When use this command, It will compiles the source code, generates the Makefiles, and builds the NS-2 with OTCL binary and libraries and make Runnable Environment.
Screenshot:
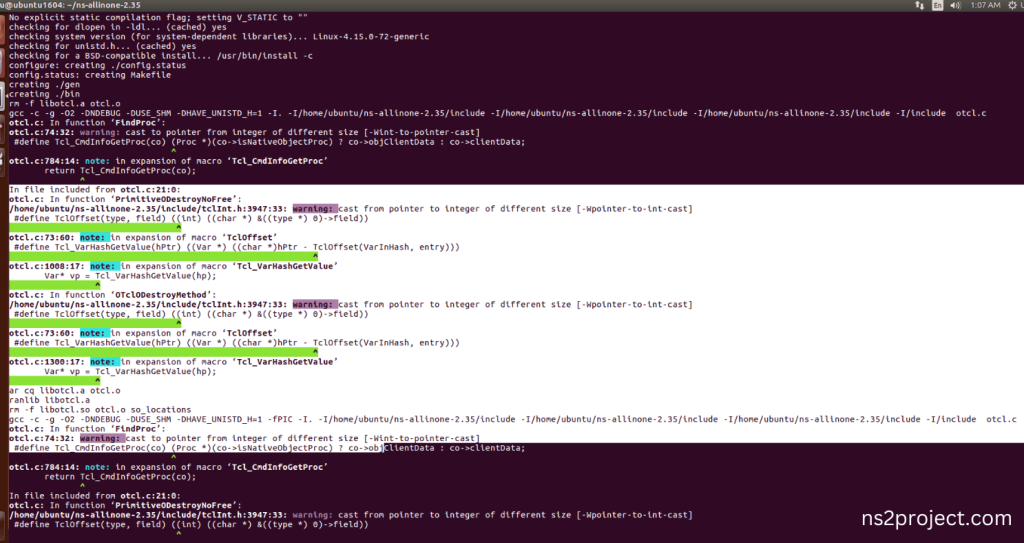
Here SGB got validated and all test had been passed successfully, if configuration is configured correctly , then it will show this message.
Screenshot:
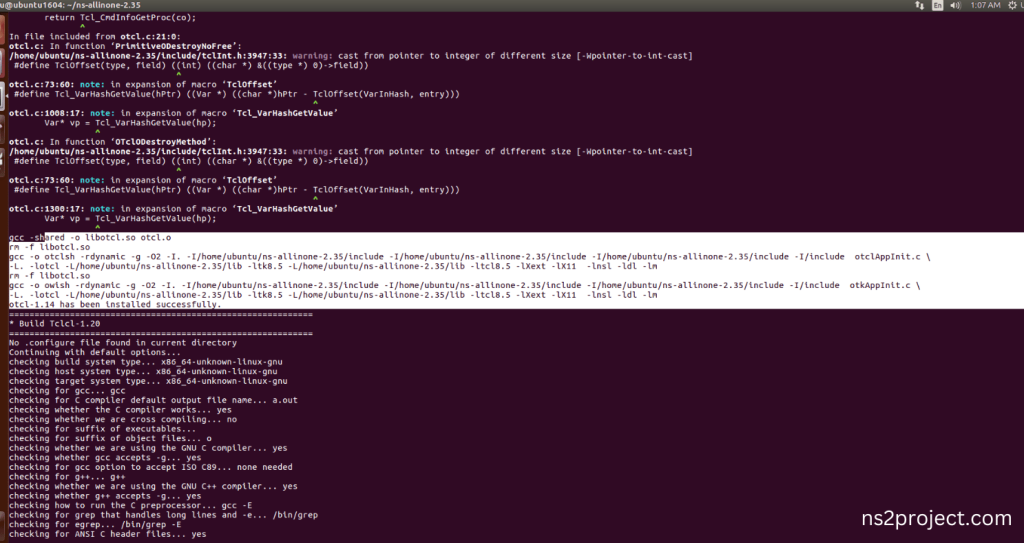
OTCL Installed successfully in the NS-2.35 Environment.
Ns-2.35 Configuration process:
Screenshot:
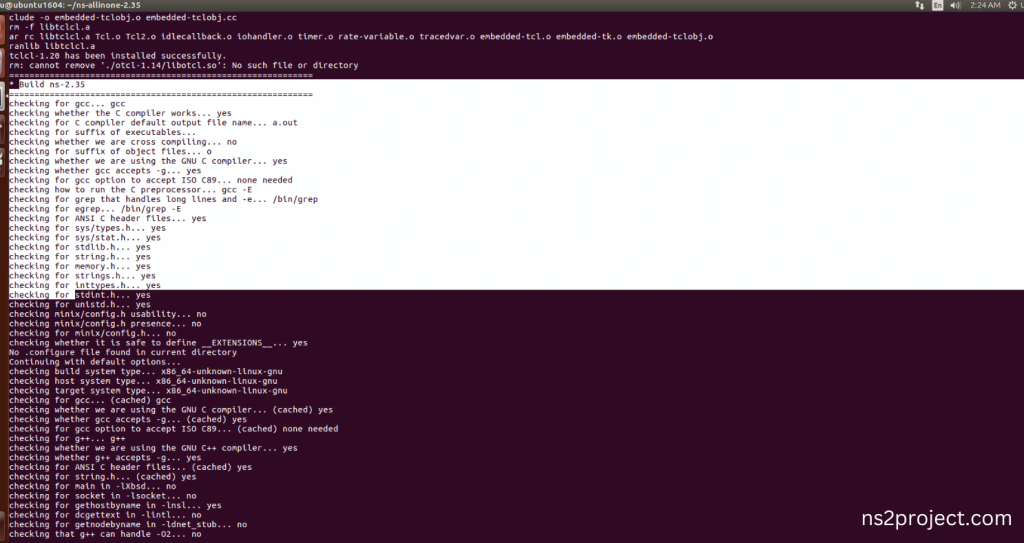
The configuration of the Network Simulator 2 (NS-2) environment. This command is typically used to set various parameters, such as the simulation duration, network topology, and node properties. It can also be used to specify the output format and other simulation settings.
Screenshot:
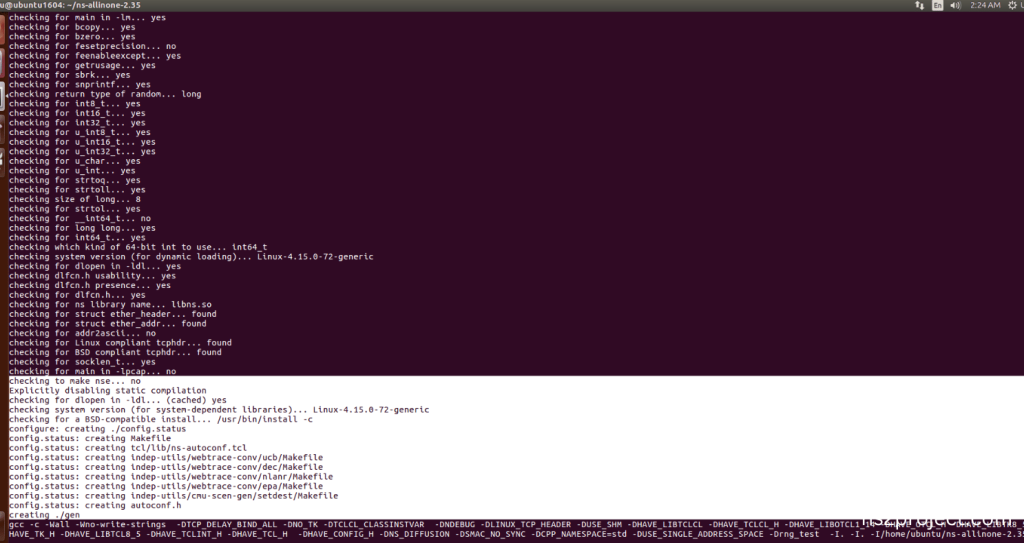
Ns-2.35 Configuration Completed successfully.
Ns-2.35 Building process:
Screenshot:
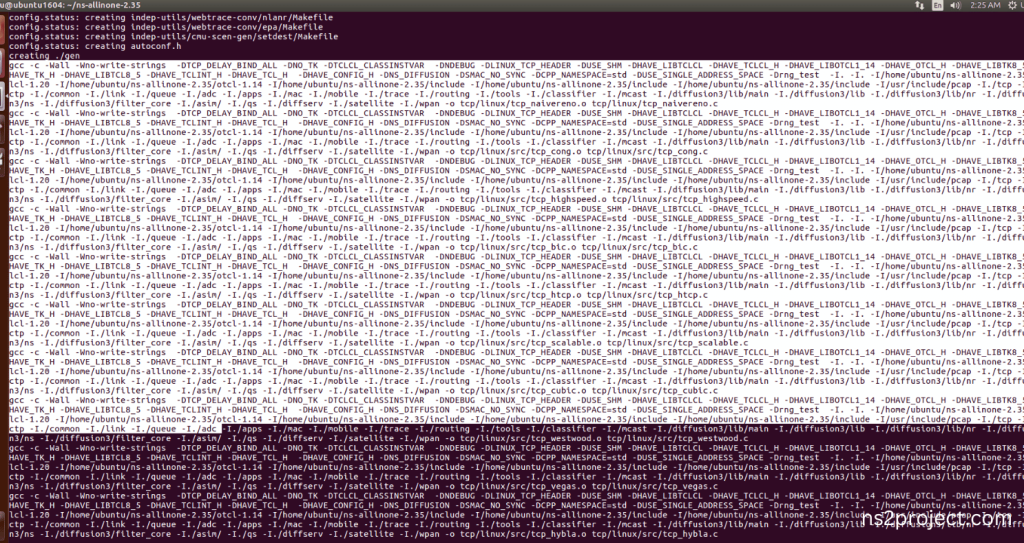
Next, Building the Network Simulator 2 (NS-2) framework from its source code. When use this command, it will compile the source code, generates the Makefiles, and builds the NS-2 binary and libraries and make Runnable Environment.
Screenshot:
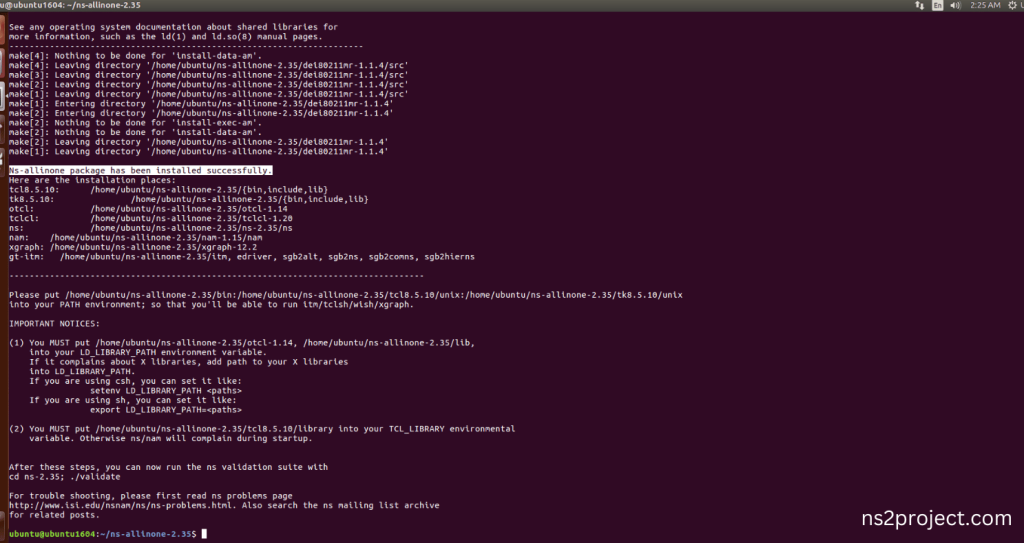
Ns-2.35 Installed successfully in the Ubuntu 16.04 system.
Screenshot:
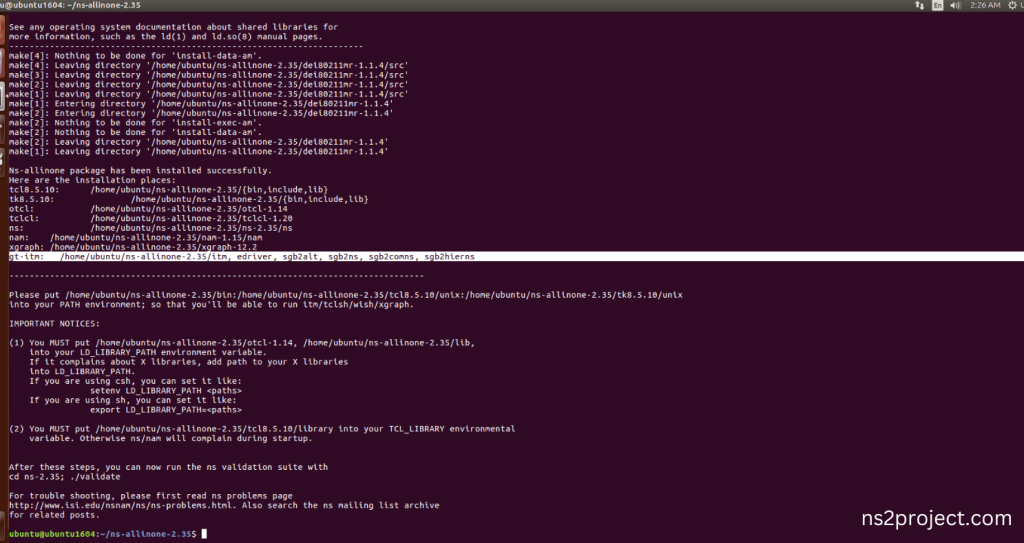
OTCL Installed successfully along with Ns-2.35 Installation process in the Ubuntu 16.04 system.


