How to Install QUEUE.H Packages in Ns2
To import QUEUE.H packages in the Ns2 tool, follow the steps outlined below. We’ll provide you with customized solutions and intriguing research ideas that will capture the readers’ interest.We help you how to apply it in your projects with detailed explanation.Forward us a message to help you more. Usually at the interface between the link layer and the MAC or network layers, queues are in charge of overseeing packet queues across various network model layers. Declarations for a number of queue management features, such as enqueuing and dequeuing packets, establishing queue limits, and managing packet drops when the queue is full, are contained in the queue.h file. Queues in NS-2 allow the model to replicate packet buffering, congestion, and packet loss scenarios by simulating actual buffer behaviors in networking devices. A variety of queue management strategies are supported by the Queue class, including DropTail, which drops packets when the queue reaches capacity, and more sophisticated algorithms like RED (Random Early Detection), which drops packets proactively to prevent congestion. Queue logic and implementation are managed in the
PRE-REQUISITES:
- Fresh installation of Ubuntu 16.04 LTS:
Screenshot:
2.NS-2.35 Installation:
Screenshot:
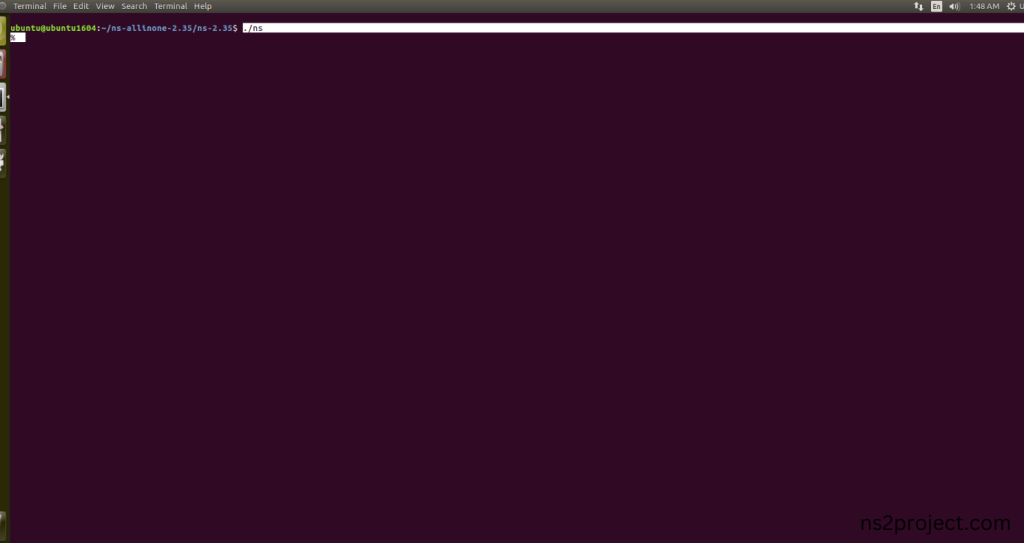
Here, Percentage (%) symbol Denotes the successful installation of the NS 2.35 Simulator.
Screenshot:
HEADER FILE VERIFICATION:
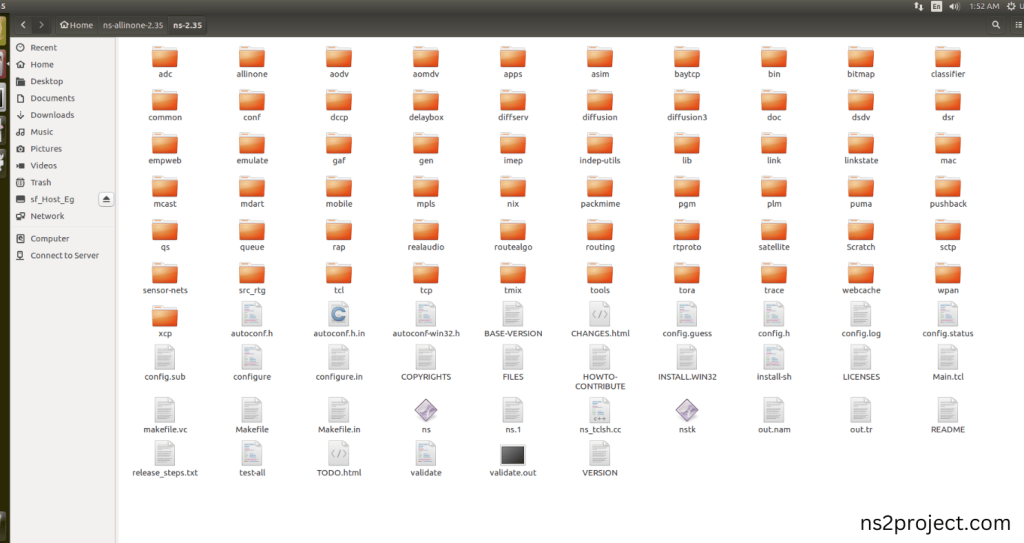
- Locate to the ns-2.35 folder:
Screenshot:
2.Create the Main.tcl file in the scratch folder:
Next we need to create the Main.tcl file by using text editor in the ns-2.35 folder.
Screenshot:
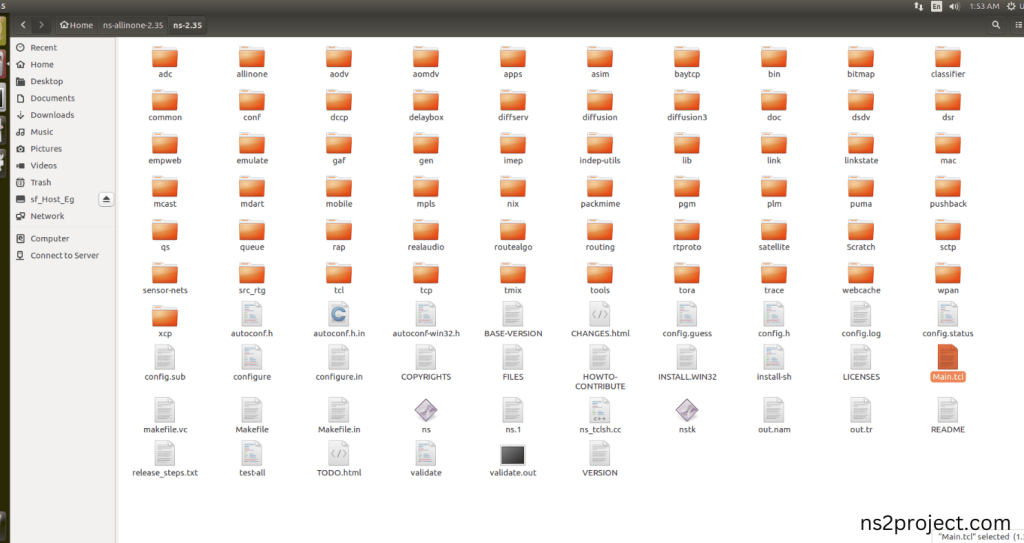
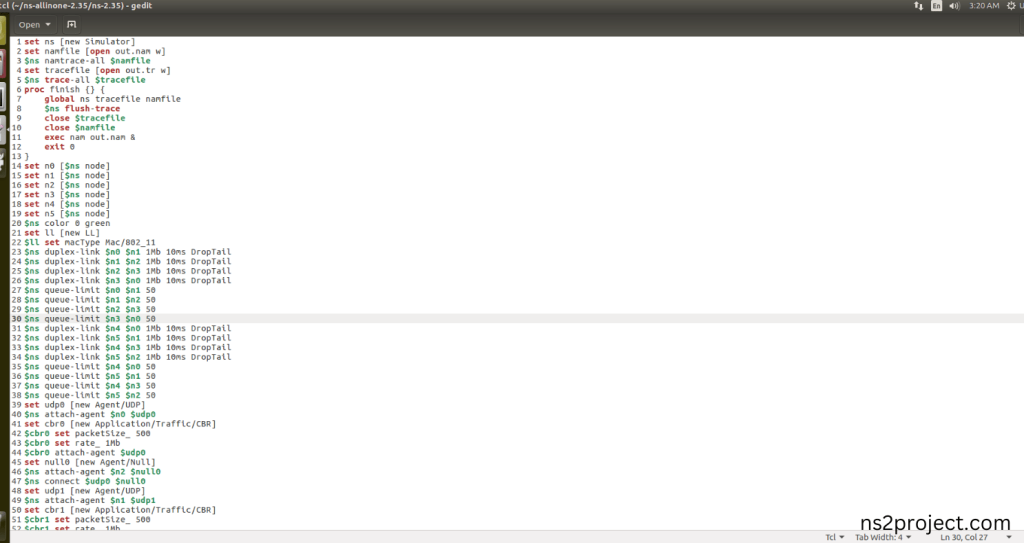
Next we need to paste the below code to the Main.tcl file and save the file in the ns-2.35 folder.
Code:
set ns [new Simulator]
set namfile [open out.nam w]
$ns namtrace-all $namfile
set tracefile [open out.tr w]
$ns trace-all $tracefile
proc finish {} {
global ns tracefile namfile
$ns flush-trace
close $tracefile
close $namfile
exec nam out.nam &
exit 0
}
set n0 [$ns node]
set n1 [$ns node]
set n2 [$ns node]
set n3 [$ns node]
set n4 [$ns node]
set n5 [$ns node]
$ns color 0 green
set ll [new LL]
$ll set macType Mac/802_11
$ns duplex-link $n0 $n1 1Mb 10ms DropTail
$ns duplex-link $n1 $n2 1Mb 10ms DropTail
$ns duplex-link $n2 $n3 1Mb 10ms DropTail
$ns duplex-link $n3 $n0 1Mb 10ms DropTail
$ns queue-limit $n0 $n1 50
$ns queue-limit $n1 $n2 50
$ns queue-limit $n2 $n3 50
$ns queue-limit $n3 $n0 50
$ns duplex-link $n4 $n0 1Mb 10ms DropTail
$ns duplex-link $n5 $n1 1Mb 10ms DropTail
$ns duplex-link $n4 $n3 1Mb 10ms DropTail
$ns duplex-link $n5 $n2 1Mb 10ms DropTail
$ns queue-limit $n4 $n0 50
$ns queue-limit $n5 $n1 50
$ns queue-limit $n4 $n3 50
$ns queue-limit $n5 $n2 50
set udp0 [new Agent/UDP]
$ns attach-agent $n0 $udp0
set cbr0 [new Application/Traffic/CBR]
$cbr0 set packetSize_ 500
$cbr0 set rate_ 1Mb
$cbr0 attach-agent $udp0
set null0 [new Agent/Null]
$ns attach-agent $n2 $null0
$ns connect $udp0 $null0
set udp1 [new Agent/UDP]
$ns attach-agent $n1 $udp1
set cbr1 [new Application/Traffic/CBR]
$cbr1 set packetSize_ 500
$cbr1 set rate_ 1Mb
$cbr1 attach-agent $udp1
set null1 [new Agent/Null]
$ns attach-agent $n3 $null1
$ns connect $udp1 $null1
$ns at 0.5 “$cbr0 start”
$ns at 1.0 “$cbr1 start”
$ns at 4.5 “$cbr0 stop”
$ns at 4.8 “$cbr1 stop”
$ns at 5.0 “finish”
$ns run
Screenshot:
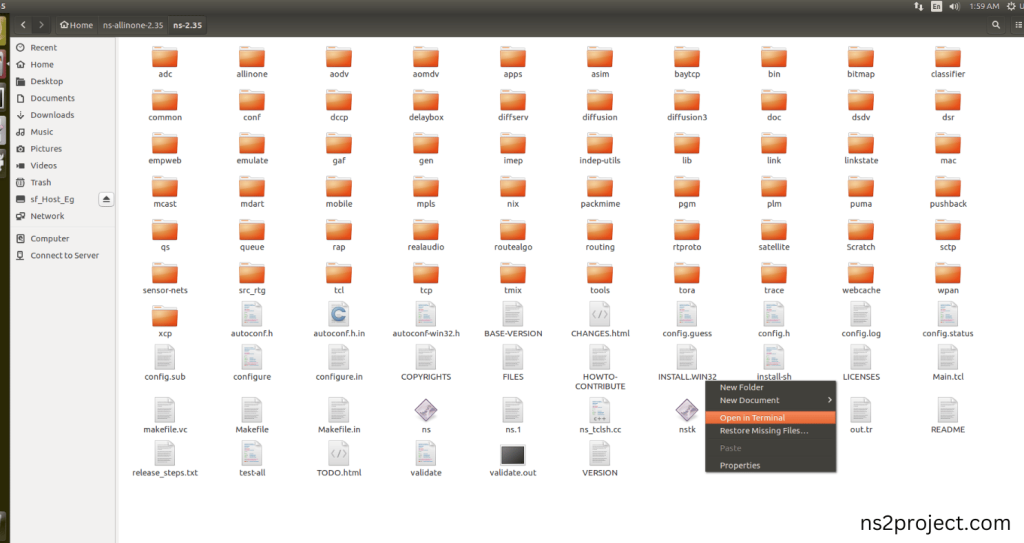
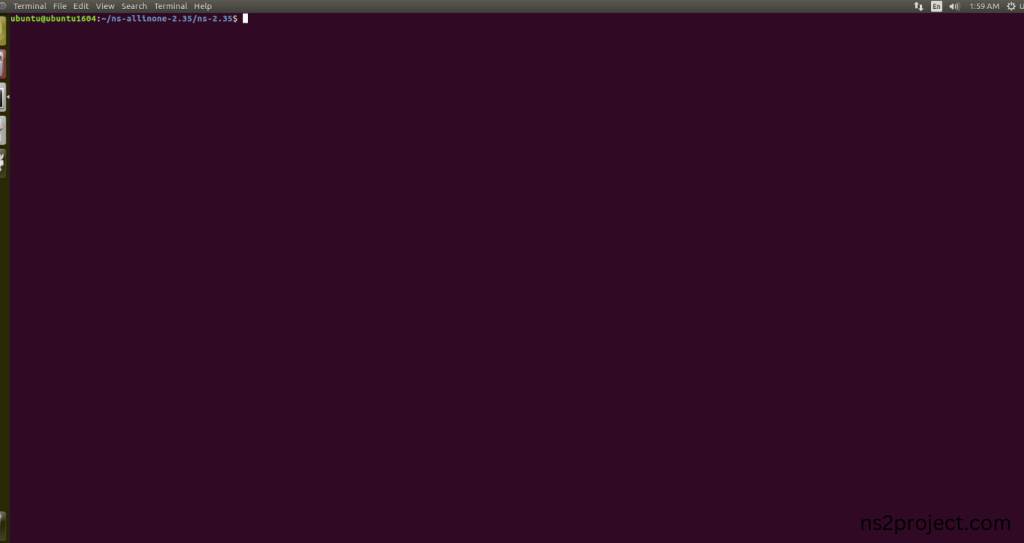
3.Open the Terminal:
Next, we need to launch the terminal by right clicking the mouse in the ns-2.35 location.
Screenshot:
Screenshot:
4.NS-2.35 Configuration && Building Process:
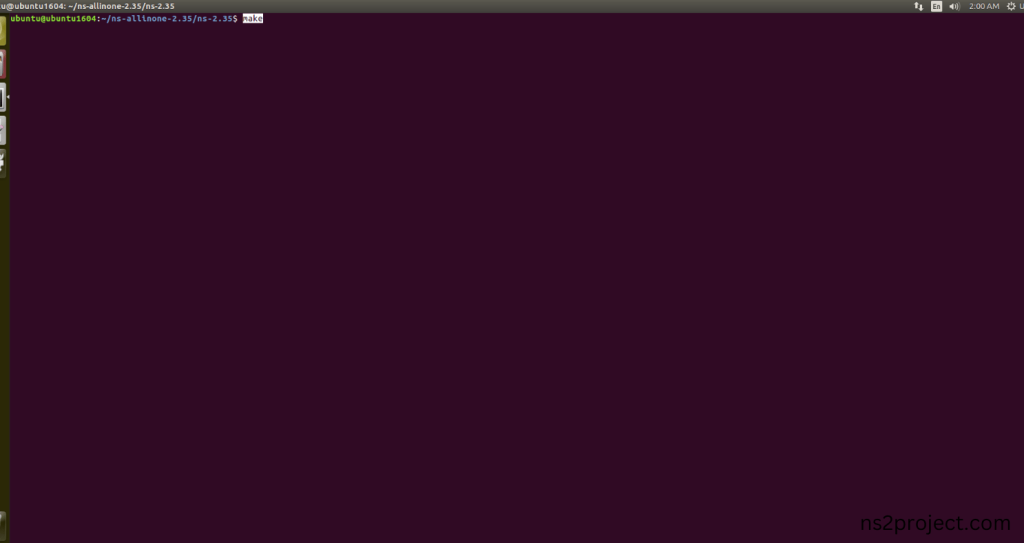
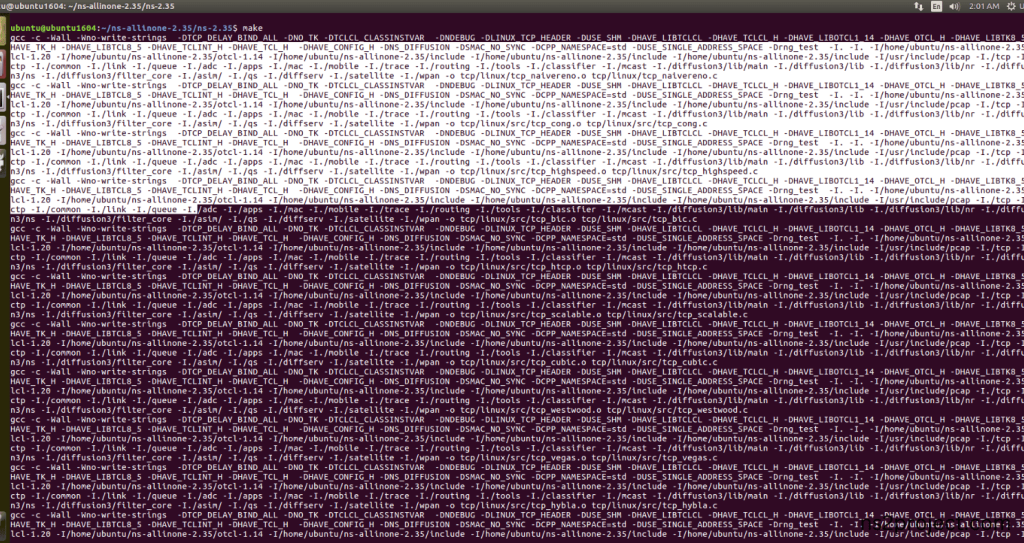
Next, we need to configure and build the ns-2.35 folder to make the Created files need to work in ns-2.35 configuration.
Command: “./make”
Screenshot:
Screenshot:
Screenshot:
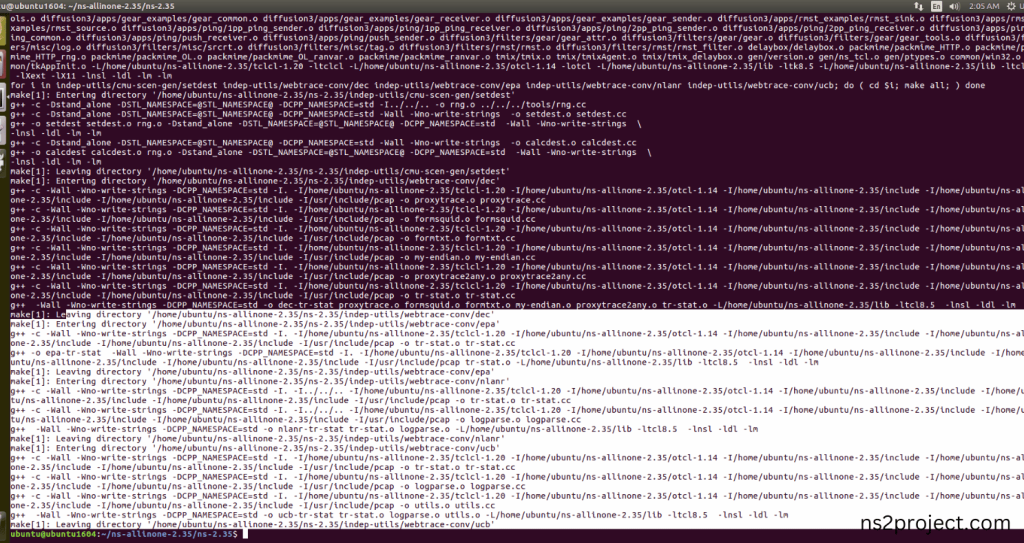
Here, NS-2.35 Building process completed successfully.
3.Importing Queue.h:
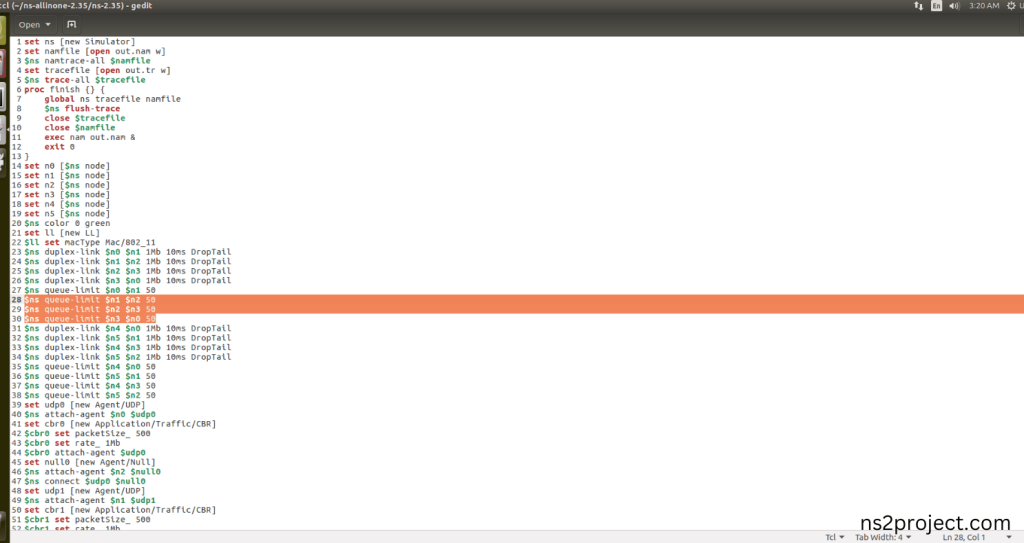
Here we imported the Queue.h header file code indirectly accessed the Queue class used in the Tcl script ($ns queue-limit $n0 $n1 50) are specifying the maximum queue size for each link in the network. This configuration helps manage congestion and impacts the behaviour of traffic in the network in this example program. Here we highlighted the code line that highlighted which is internally accessed Queue.h, we will show class file that used in this code via Queue folder.
Screenshot:
Screenshot:
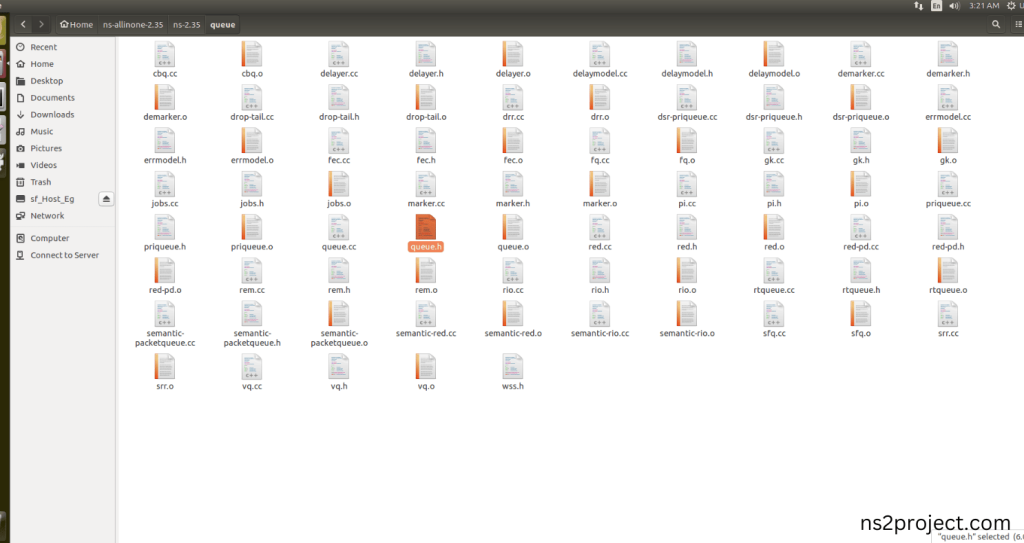
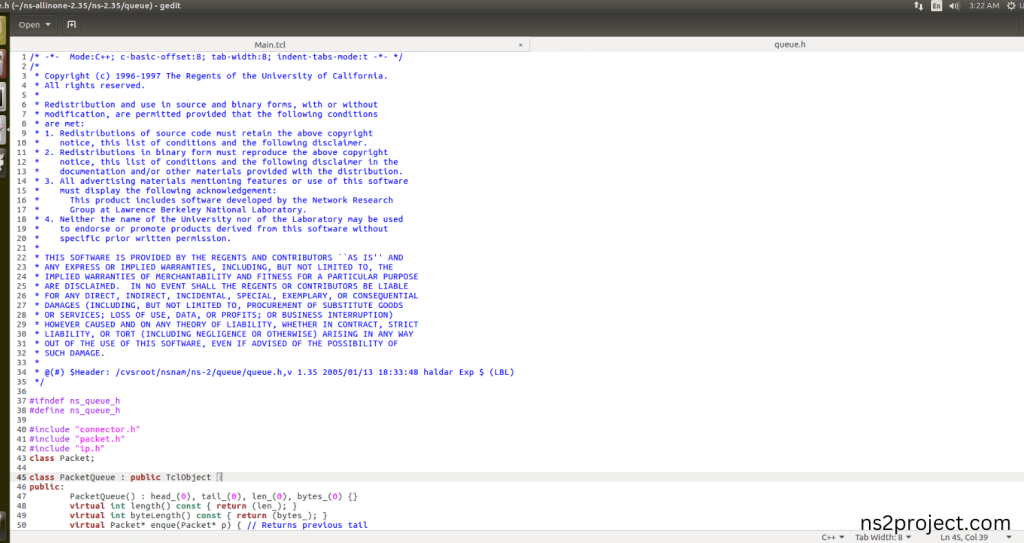
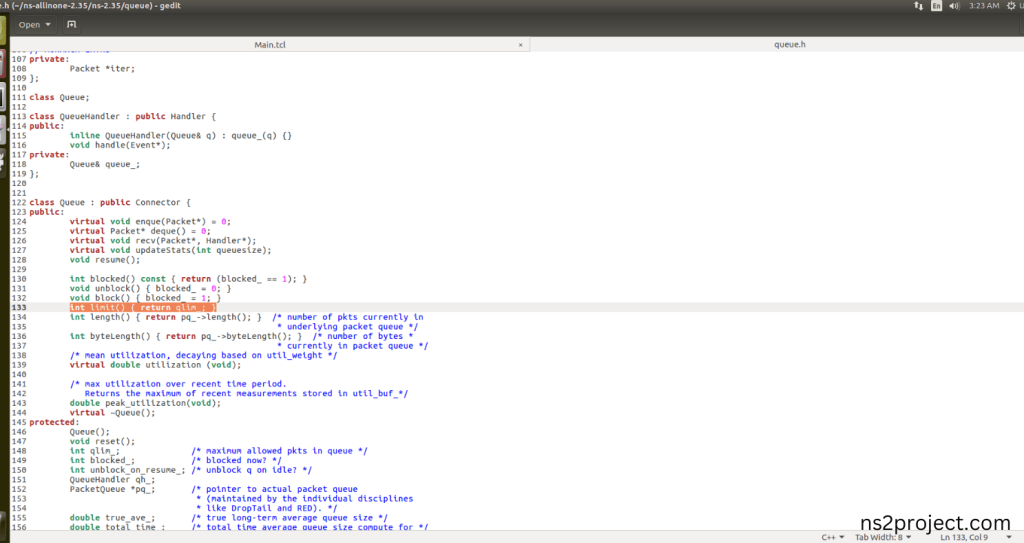
Here we will show the header file by opening Queue.h file to show the class or function imported from the Queue.h in the example code. This Tcl Script Line ($ns queue-limit $n0 $n1 50) are specifying the maximum queue size for each link in the network. This configuration helps manage congestion and impacts the behaviour of traffic in the network and Queue Limit function (int limit() { return qlim_; }); that interprets that Tcl command. When the Tcl script executes this line, queue will be managed across all the links in each Nodes during the simulation.
Screenshot:
Screenshot:
5.Executing the Example Program for Queue Header:
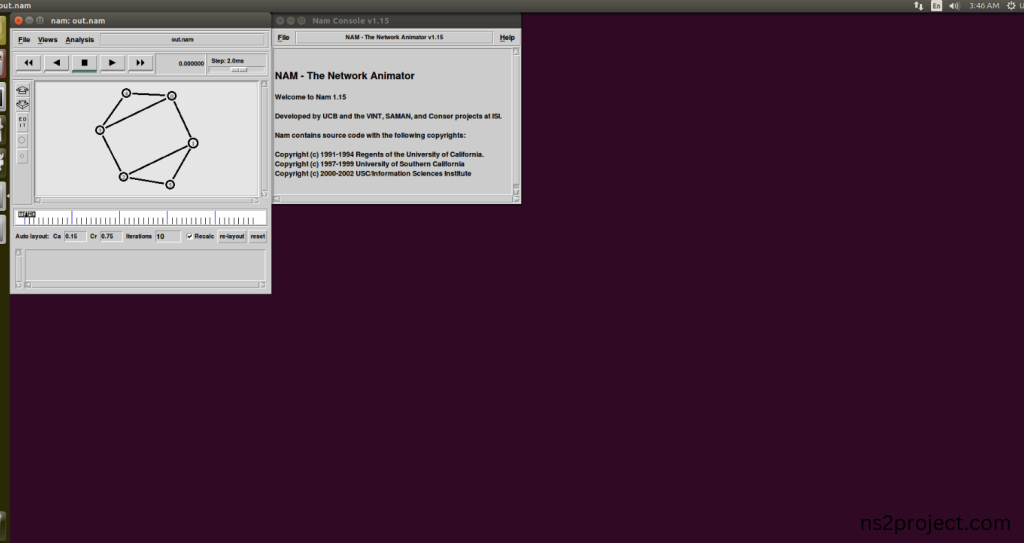
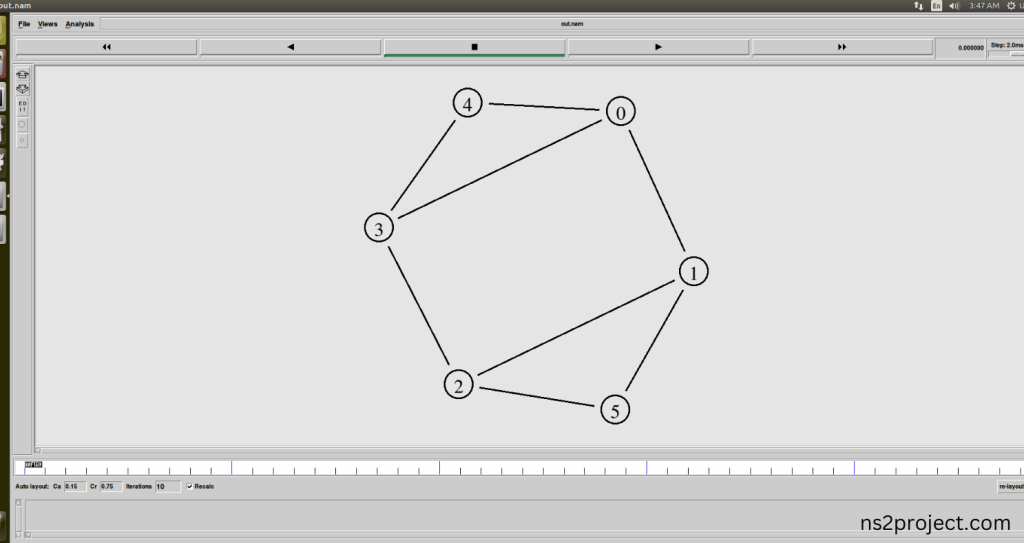
Then we need to run the Example program for Queue Header to view output of the program.
Command: “./ns Main.tcl”
Screenshot:
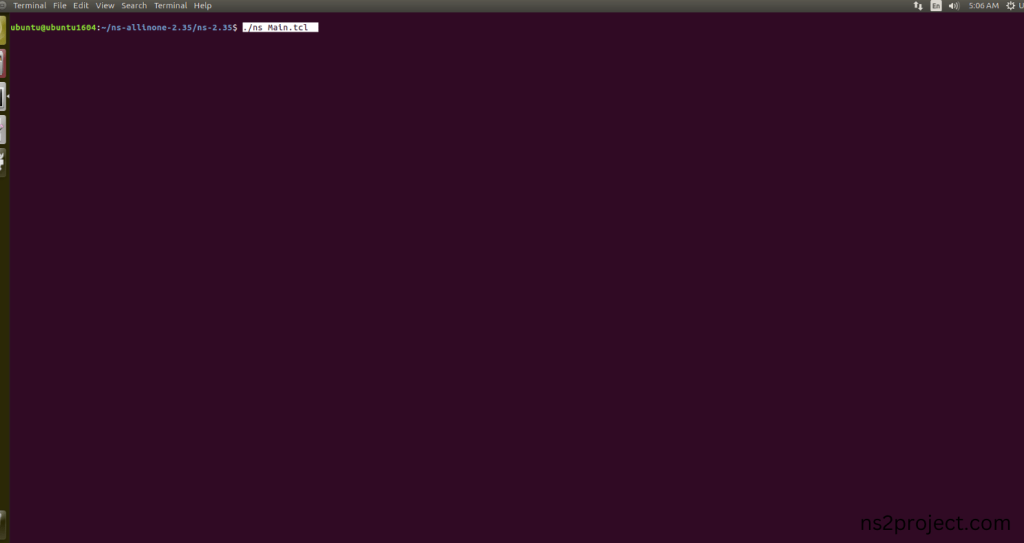
Here we shown the output of the example program by using Queue.h.
Screenshot:
Screenshot:
Screenshot:
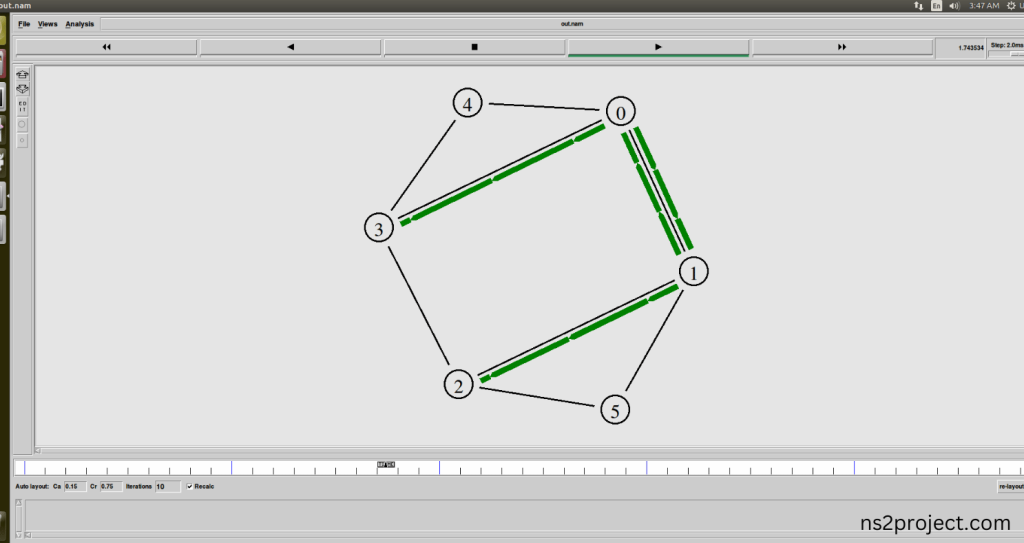
In the NS 2.35 Simulation Example Program, the Queue.h Header file is successfully imported.


