To import Tcp-sink.h packages in NS2 tool we have outlined all the steps so if you run into any problems after following it , contact us and we’ll provide you with the finest research answers. all the needed resources and methodologies to guide you on the right track. TCP-Sink is a special program that works as the endpoint for a TCP connection. It mimics how a TCP receiver behaves by confirming that it has received packets from the TCP sender. Usually, the TCP-Sink works alongside a TCP source agent, which is responsible for sending the data. Together, they create a complete simulation of TCP communication. Unlike a typical TCP agent, the TCP-Sink doesn’t create any traffic; instead, it replies to incoming packets by sending back acknowledgments (ACKs). These acknowledgments are really important for ensuring that data is transferred reliably and that the flow of information is controlled.
PRE-REQUISITES:
Fresh installation of Ubuntu 16.04 LTS:
Screenshot:
2.NS-2.35 Installation:
Screenshot:
Here, Percentage (%) symbol Denotes the successful installation of the NS 2.35 Simulator.
Screenshot:
HEADER FILE VERIFICATION:
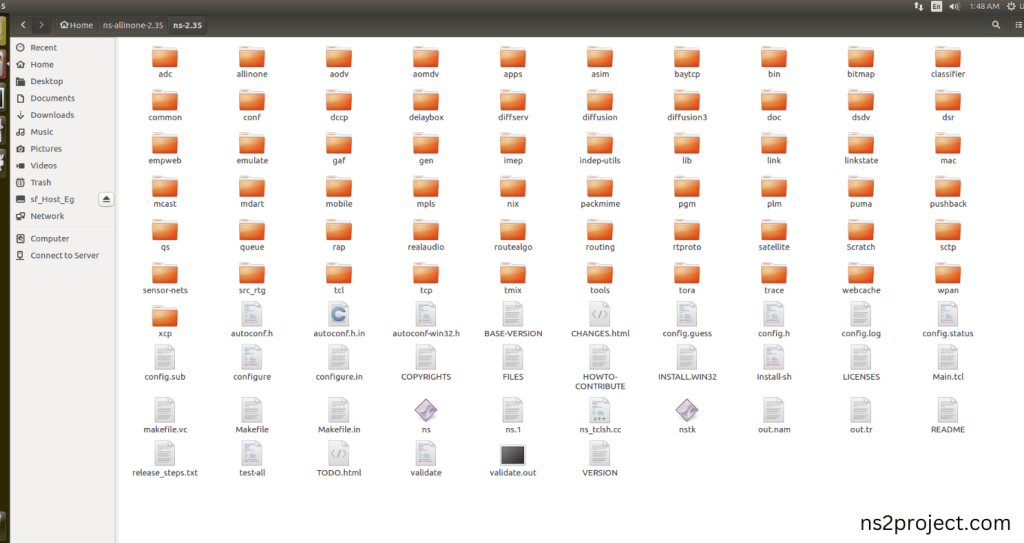
Locate to the ns-2.35 folder:
Screenshot:
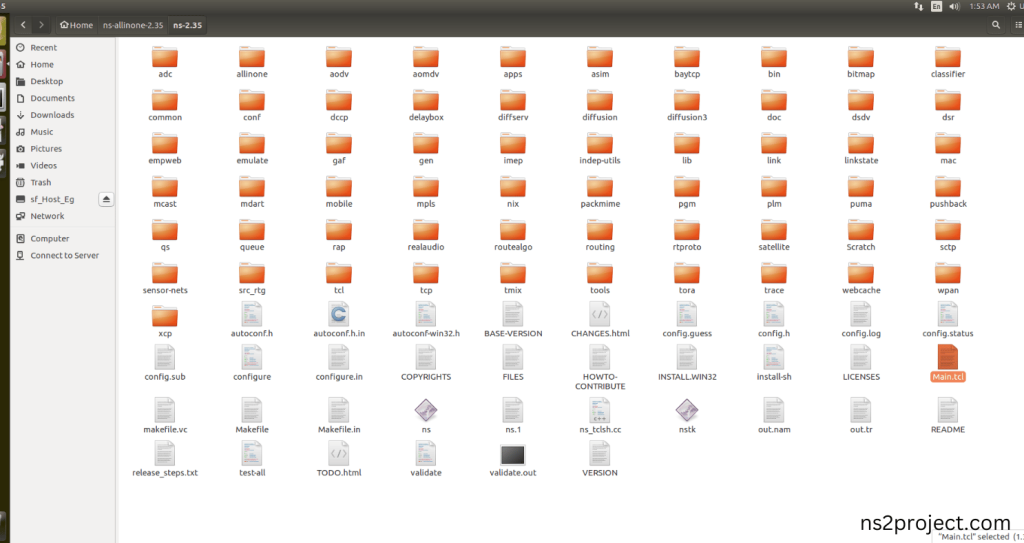
2.Create the Main.tcl file in the scratch folder:
Next we need to create the Main.tcl file by using text editor in the ns-2.35 folder.
Screenshot:
Next we need to paste the below code to the Main.tcl file and save the file in the ns-2.35 folder.
Code:
set ns [new Simulator]
set tracefile [open out.tr w]
set namfile [open out.nam w]
$ns trace-all $tracefile
$ns namtrace-all $namfile
proc finish {} {
global ns tracefile namfile
$ns flush-trace
close $tracefile
close $namfile
exec nam out.nam &
exit 0
}
set n0 [$ns node]
set n1 [$ns node]
set n2 [$ns node]
set n3 [$ns node]
set n4 [$ns node]
$ns duplex-link $n0 $n1 1Mb 10ms DropTail
$ns duplex-link $n1 $n2 1Mb 10ms DropTail
$ns duplex-link $n2 $n3 1Mb 10ms DropTail
$ns duplex-link $n3 $n4 1Mb 10ms DropTail
# Set up TCP agent on node n0 (sender)
set tcp0 [new Agent/TCP]
$tcp0 set class_ TCP
$ns attach-agent $n0 $tcp0
# Set up TCP Sink on node n4 (receiver)
set sink [new Agent/TCPSink]
$ns attach-agent $n4 $sink
# Connect TCP source and sink
$ns connect $tcp0 $sink
# Create a TCP traffic generator and attach it to the TCP agent
set ftp [new Application/FTP]
$ftp attach-agent $tcp0
$ns at 0.5 “$ftp start”
$ns at 4.5 “$ftp stop”
$ns at 5.0 “finish”
$ns run
Screenshot:
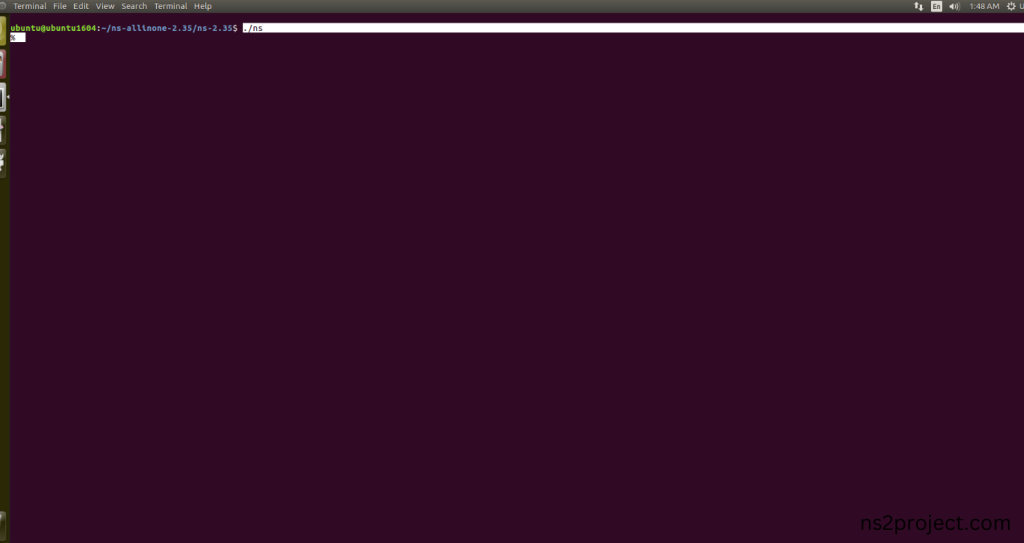
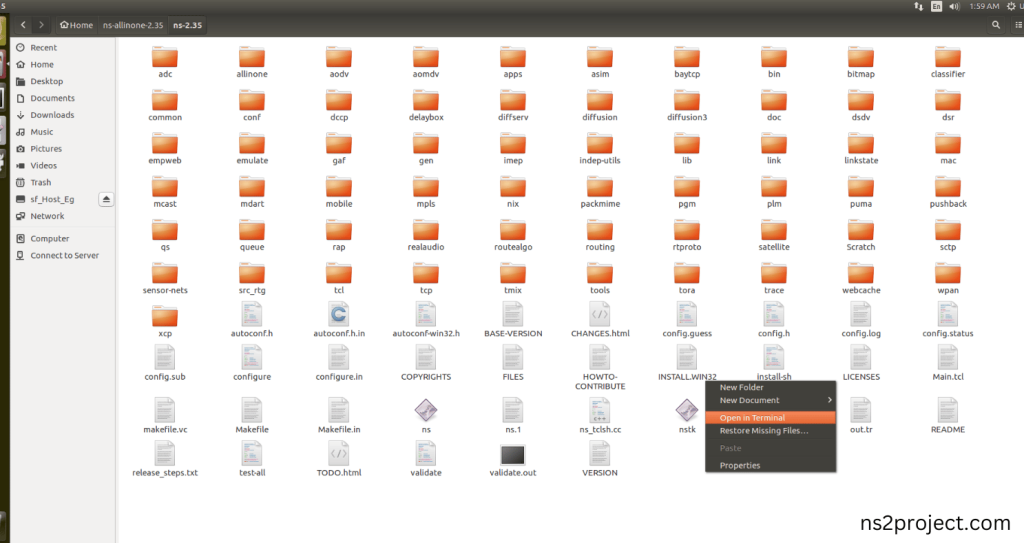
3.Open the Terminal:
Next, we need to launch the terminal by right clicking the mouse in the ns-2.35 location.
Screenshot:
Screenshot:
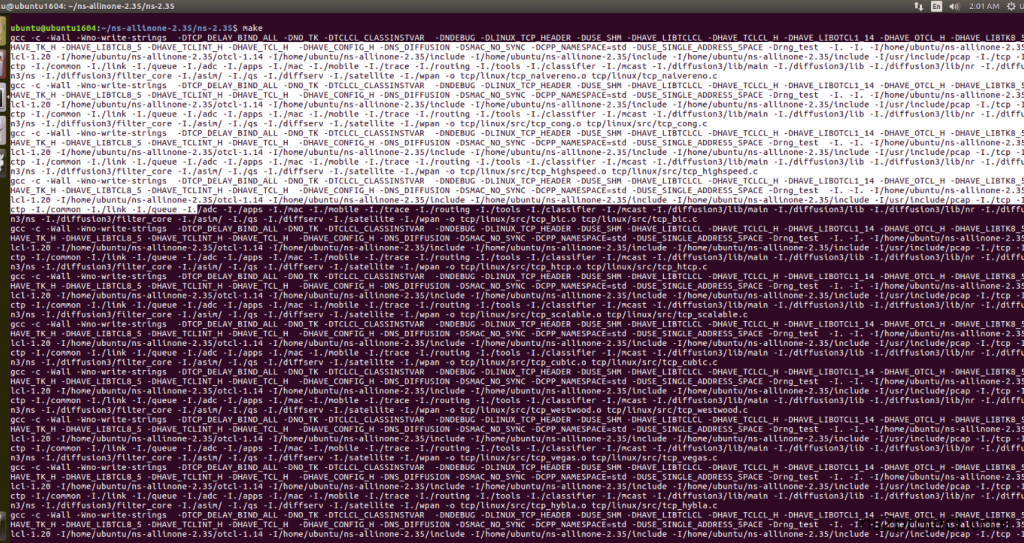
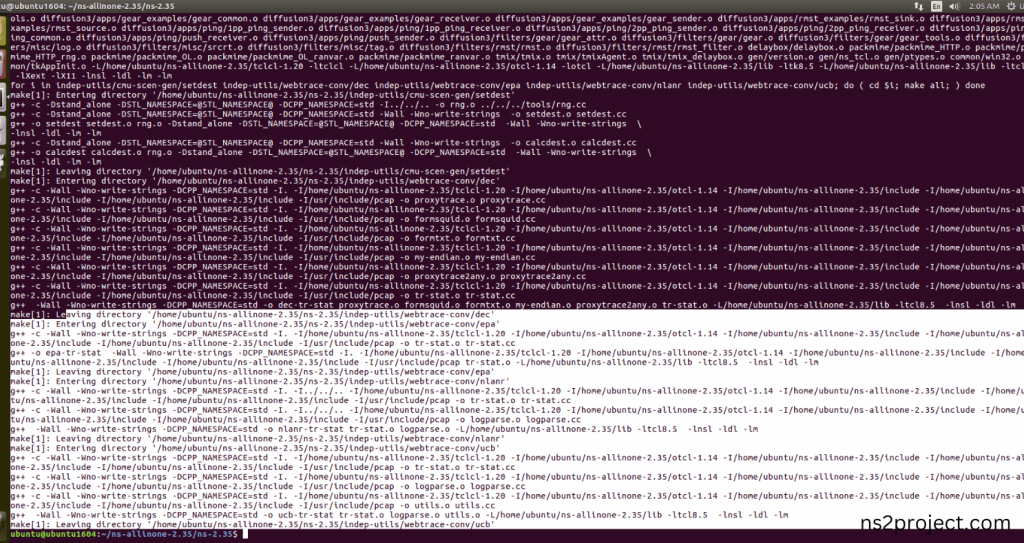
4.NS-2.35 Configuration && Building Process:
Next, we need to configure and build the ns-2.35 folder to make the Created files need to work in ns-2.35 configuration.
Command: “./make”
Screenshot:
Screenshot:
Screenshot:
Here, NS-2.35 Building process completed successfully.
5.Importing Tcp-sink.h:
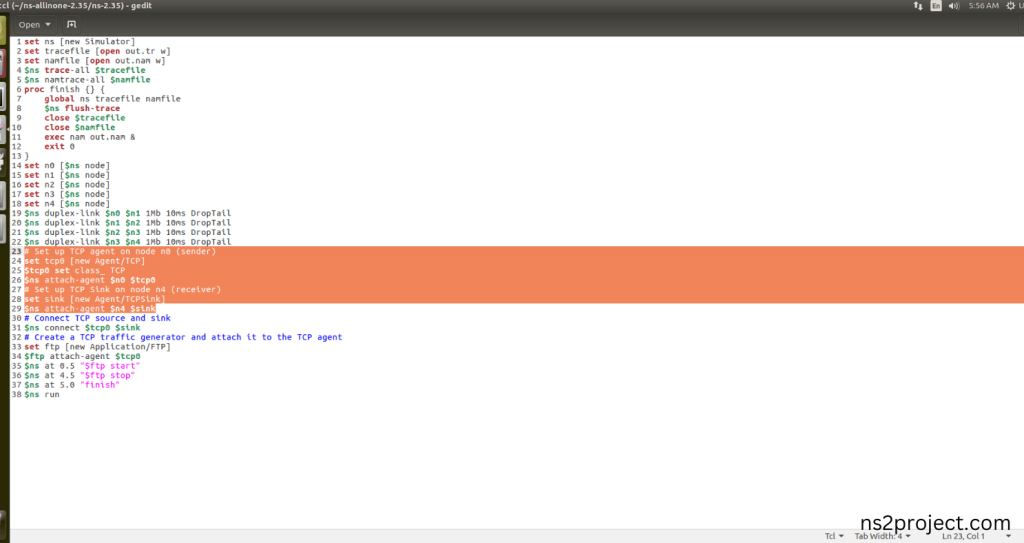
Here we imported the Tcp-sink.h header file code indirectly accessed the Tcp-sink class used in the Tcl script (set sink [new Agent/TCPSink] $ns attach-agent $n4 $sink), This agent is attached to node n4, acting as a TCP receiver. The tcp-sink.h header listens for incoming TCP packets and sends acknowledgments back to the sender in this example program. Here we highlighted the code line that highlighted which is internally accessed Tcp-sink.h that we will show class file that used in this code via TCP folder.
Screenshot:
Screenshot:
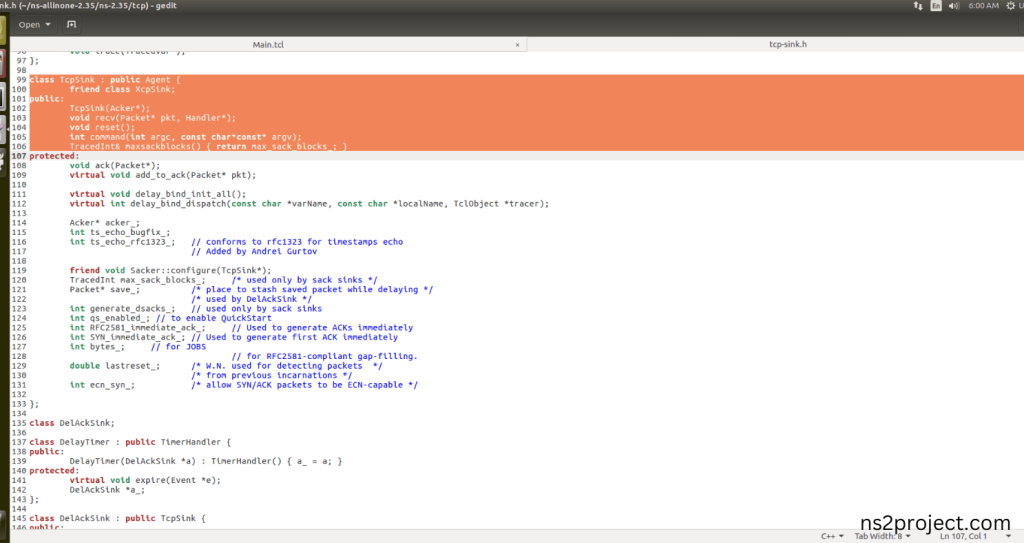
Here we will show the header file by opening Tcp-sink.h file to show the class or function imported from the Tcp-sink.h in the example code. Tcp-sink.h is used (set sink [new Agent/TCPSink] $ns attach-agent $n4 $sink), This agent is attached to node n4, acting as a TCP receiver. The tcp-sink.h header defines the TcpSink class, which represents the TCP receiver & It listens for incoming TCP packets and sends acknowledgments back to the sender during the simulation.
Screenshot:
Screenshot:
6.Executing the Example Program for Tcp-sink Header:
Then we need to run the Example program for Tcp-sink Header to view output of the program.
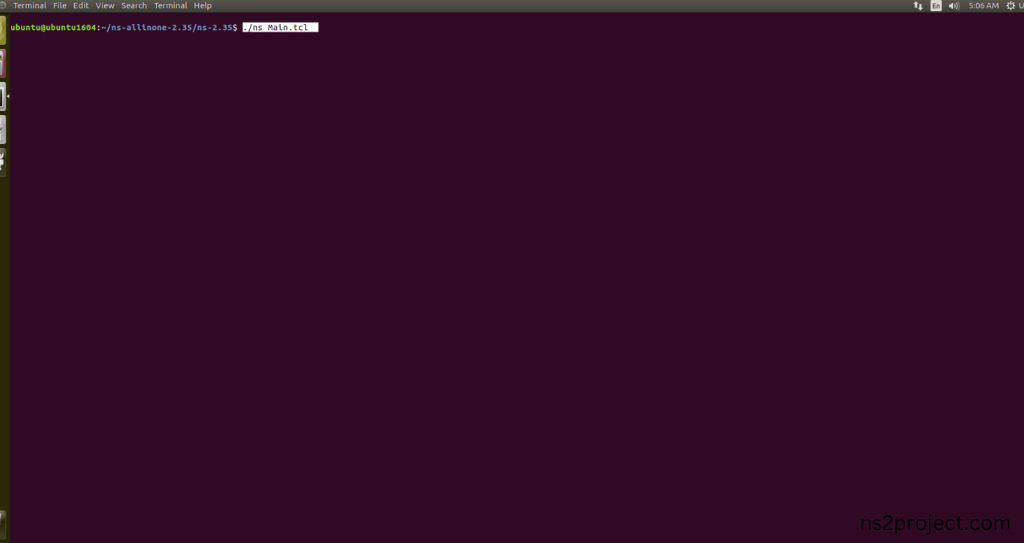
Command: “./ns Main.tcl”
Screenshot:
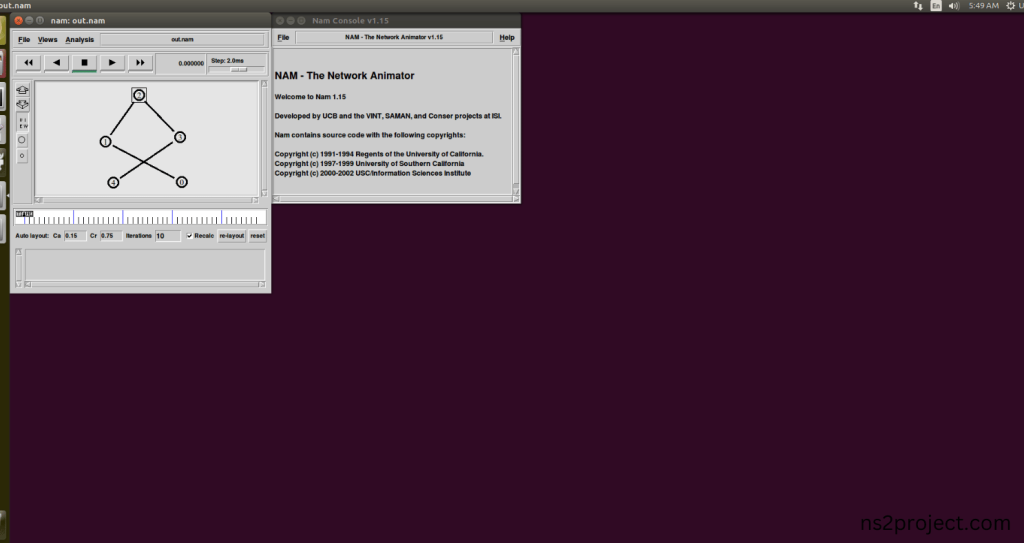
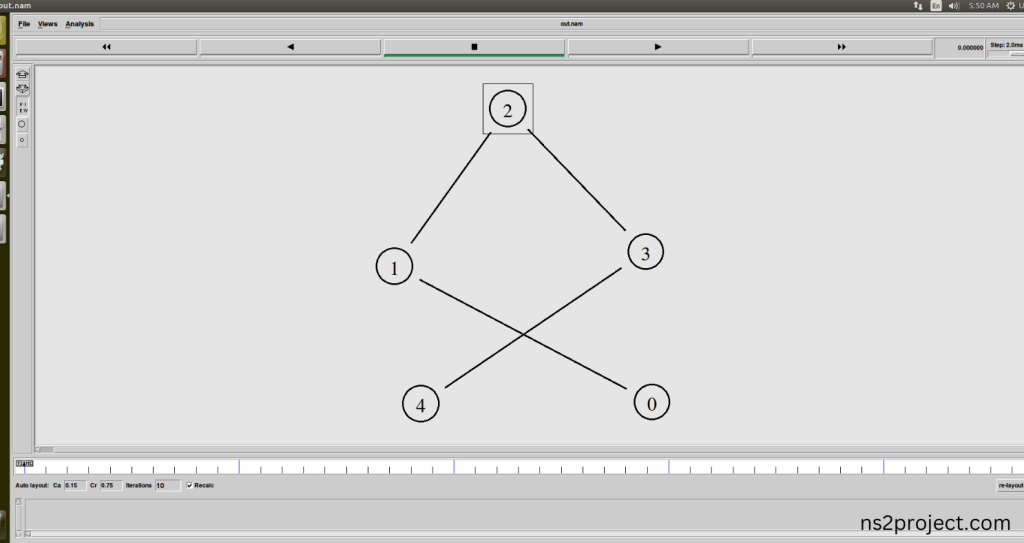
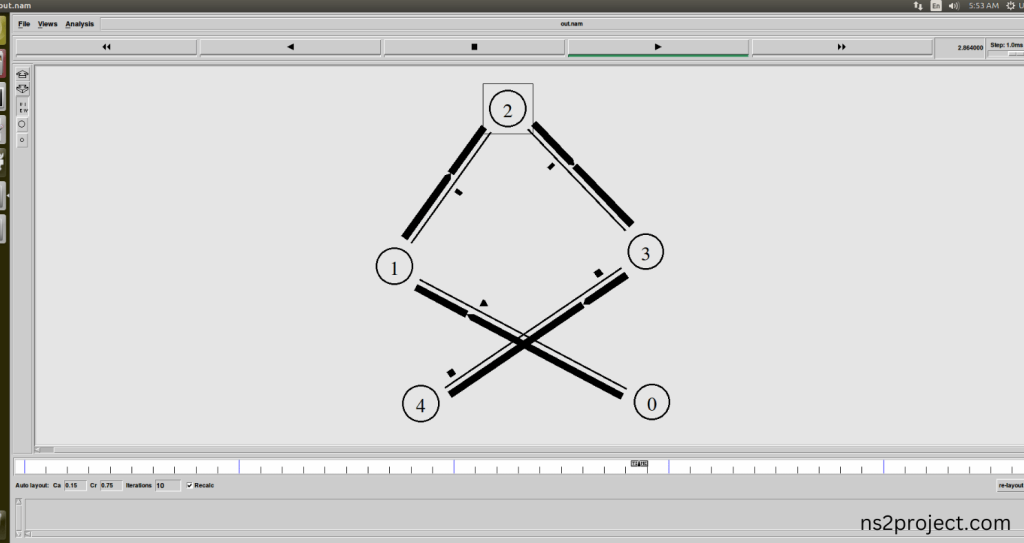
Here we shown the output of the example program by using Tcp-sink.h.
Screenshot:
Screenshot:
Screenshot:
In the NS 2.35 Simulation Example Program, the Tcp-sink.h Header file is successfully imported. Drop all your details to ns2projects.com we are there to give you best reasech assistance.