How to Install TELNET.H Packages in Ns2
To import TELNET.h packages in NS2 tool our experts have listed the steps that are required, if are in need of best project guidance then ns2projects.com will be your trusted partner. Telnet mimics how the Telnet application, a straightforward text-based protocol for remote command-line access to servers, would behave. The Telnet application mimics the operation of actual Telnet sessions by creating traffic over a TCP connection in the form of interactive text data. This class is helpful for analyzing the performance of networks with interactive traffic because it models interactive data transfer, which involves sending brief bursts of data between a client and server. The class declarations required to simulate Telnet behavior are contained in the telnet.h file. These declarations include methods for starting a Telnet session, sending data packets, and adjusting the timing of these data transmissions to mimic user activity. The Telnet class’s salient characteristics include Simulating brief, regular data transfers that are typical of interactive
PRE-REQUISITES:
- Fresh installation of Ubuntu 16.04 LTS:
Screenshot:
2.NS-2.35 Installation:
Screenshot:

Here, Percentage (%) symbol Denotes the successful installation of the NS 2.35 Simulator.
Screenshot:

HEADER FILE VERIFICATION:
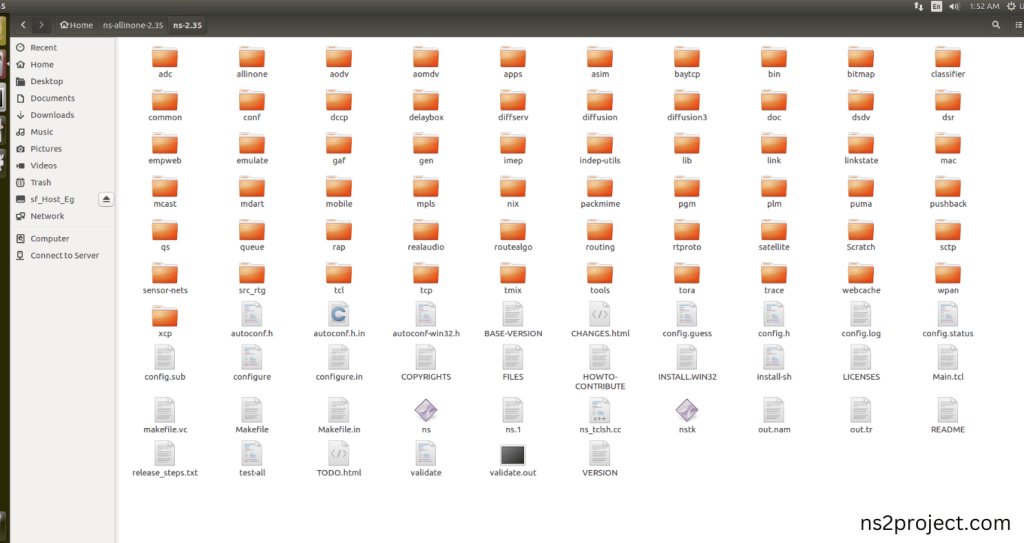
- Locate to the ns-2.35 folder:
Screenshot:
2.Create the Main.tcl file in the scratch folder:
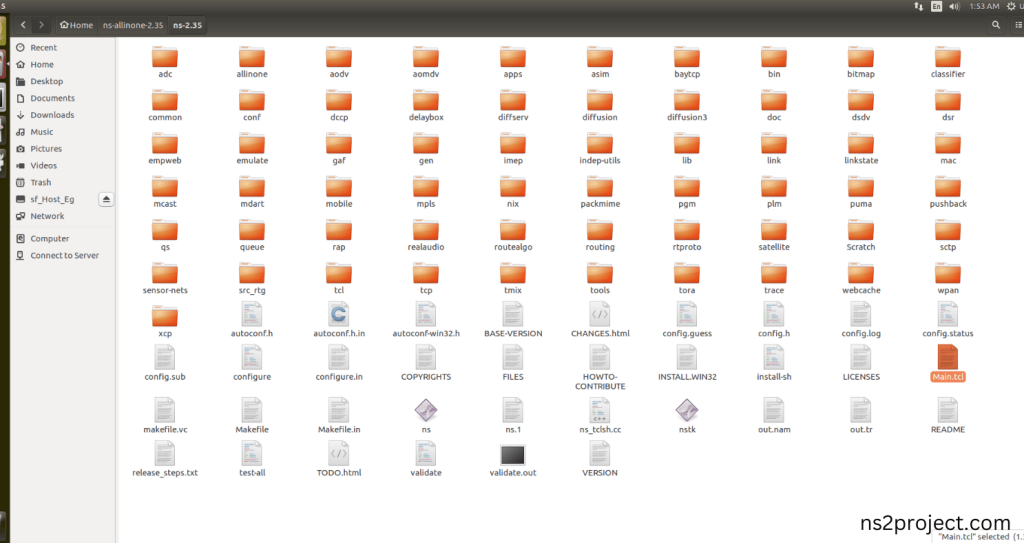
Next we need to create the Main.tcl file by using text editor in the ns-2.35 folder.
Screenshot:
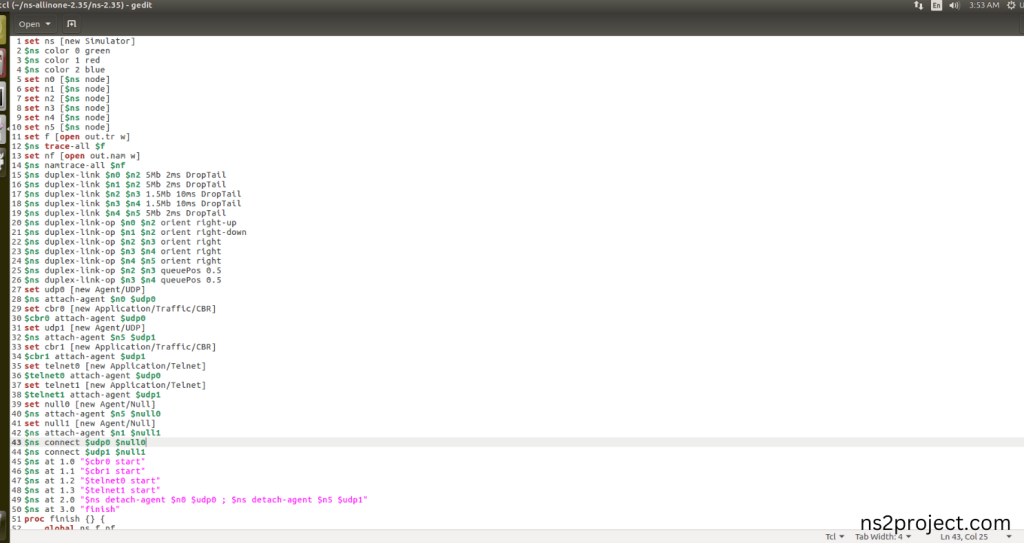
Next we need to paste the below code to the Main.tcl file and save the file in the ns-2.35 folder.
Code:
set ns [new Simulator]
$ns color 0 green
$ns color 1 red
$ns color 2 blue
set n0 [$ns node]
set n1 [$ns node]
set n2 [$ns node]
set n3 [$ns node]
set n4 [$ns node]
set n5 [$ns node]
set f [open out.tr w]
$ns trace-all $f
set nf [open out.nam w]
$ns namtrace-all $nf
$ns duplex-link $n0 $n2 5Mb 2ms DropTail
$ns duplex-link $n1 $n2 5Mb 2ms DropTail
$ns duplex-link $n2 $n3 1.5Mb 10ms DropTail
$ns duplex-link $n3 $n4 1.5Mb 10ms DropTail
$ns duplex-link $n4 $n5 5Mb 2ms DropTail
$ns duplex-link-op $n0 $n2 orient right-up
$ns duplex-link-op $n1 $n2 orient right-down
$ns duplex-link-op $n2 $n3 orient right
$ns duplex-link-op $n3 $n4 orient right
$ns duplex-link-op $n4 $n5 orient right
$ns duplex-link-op $n2 $n3 queuePos 0.5
$ns duplex-link-op $n3 $n4 queuePos 0.5
set udp0 [new Agent/UDP]
$ns attach-agent $n0 $udp0
set cbr0 [new Application/Traffic/CBR]
$cbr0 attach-agent $udp0
set udp1 [new Agent/UDP]
$ns attach-agent $n5 $udp1
set cbr1 [new Application/Traffic/CBR]
$cbr1 attach-agent $udp1
set telnet0 [new Application/Telnet]
$telnet0 attach-agent $udp0
set telnet1 [new Application/Telnet]
$telnet1 attach-agent $udp1
set null0 [new Agent/Null]
$ns attach-agent $n5 $null0
set null1 [new Agent/Null]
$ns attach-agent $n1 $null1
$ns connect $udp0 $null0
$ns connect $udp1 $null1
$ns at 1.0 “$cbr0 start”
$ns at 1.1 “$cbr1 start”
$ns at 1.2 “$telnet0 start”
$ns at 1.3 “$telnet1 start”
$ns at 2.0 “$ns detach-agent $n0 $udp0 ; $ns detach-agent $n5 $udp1”
$ns at 3.0 “finish”
proc finish {} {
global ns f nf
$ns flush-trace
close $f
close $nf
puts “running nam…”
exec nam out.nam &
exit 0
}
$ns run
Screenshot:
Open the Terminal:
Next, we need to launch the terminal by right clicking the mouse in the ns-2.35 location.
Screenshot:
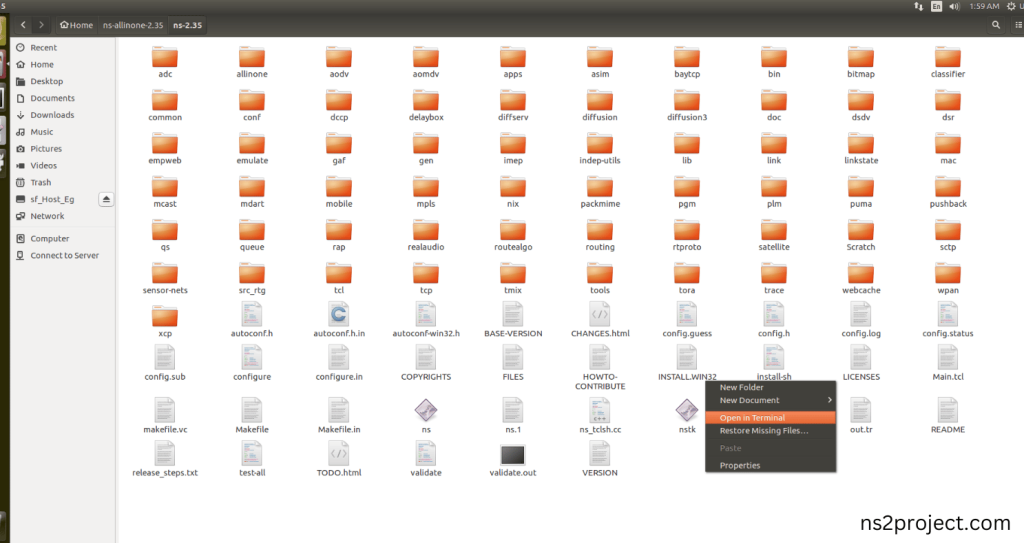
Screenshot:
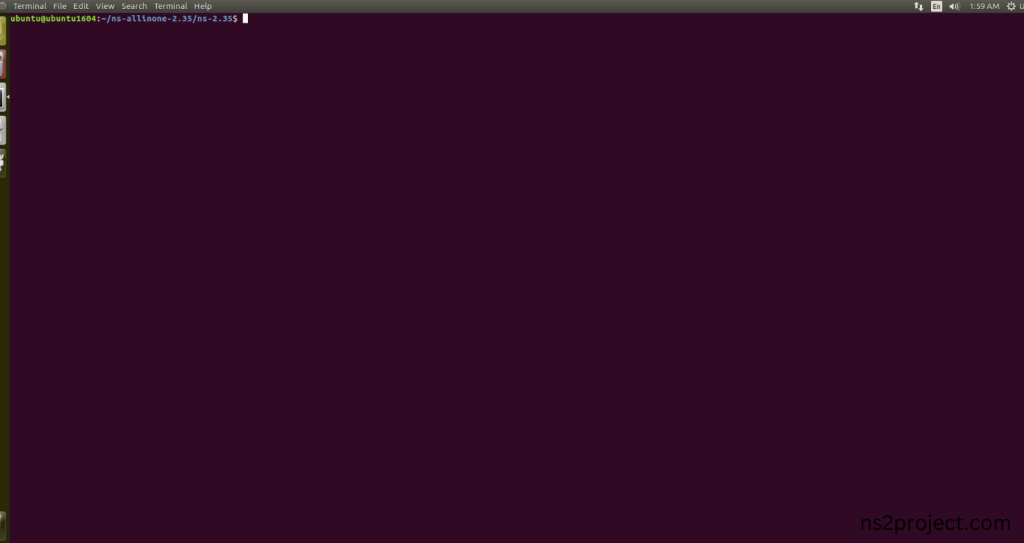
3.NS-2.35 Configuration && Building Process:
Next, we need to configure and build the ns-2.35 folder to make the Created files need to work in ns-2.35 configuration.
Command: “./make”
Screenshot:
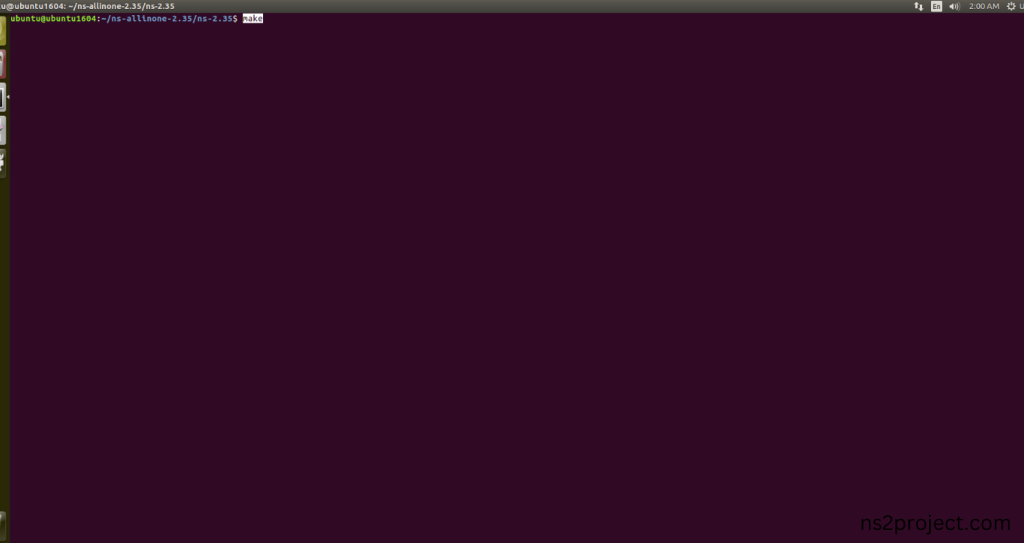
Screenshot:
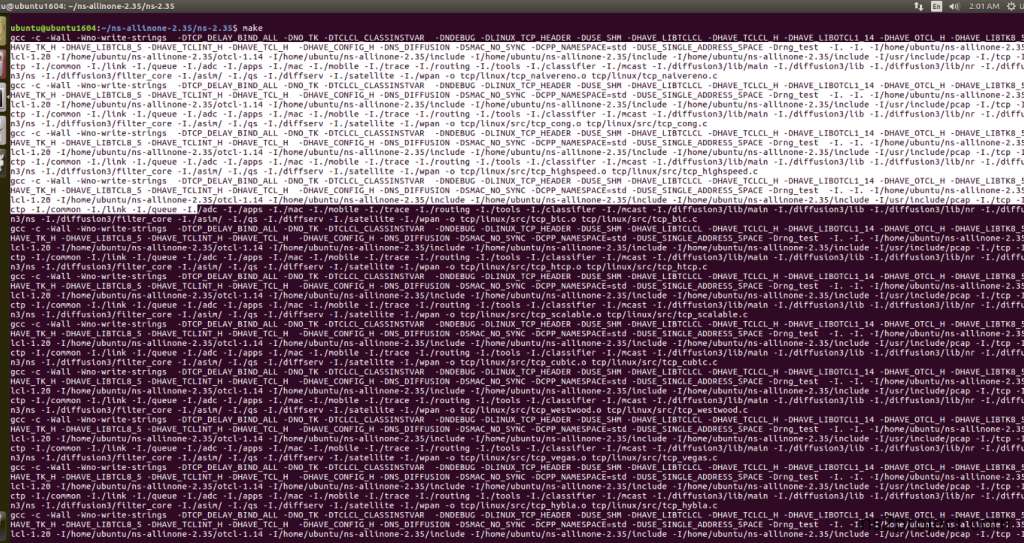
Screenshot:
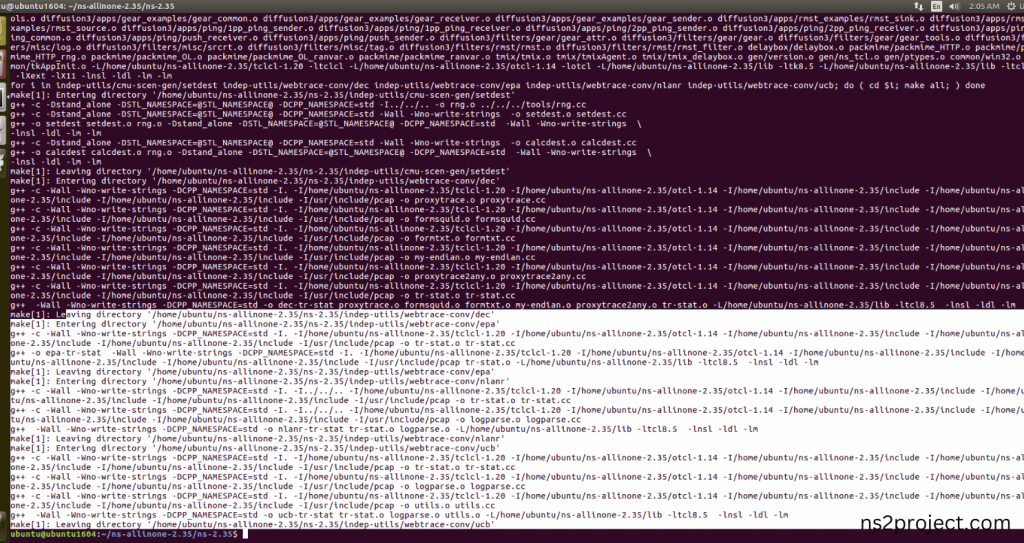
Here, NS-2.35 Building process completed successfully.
3.Importing Telnet.h:
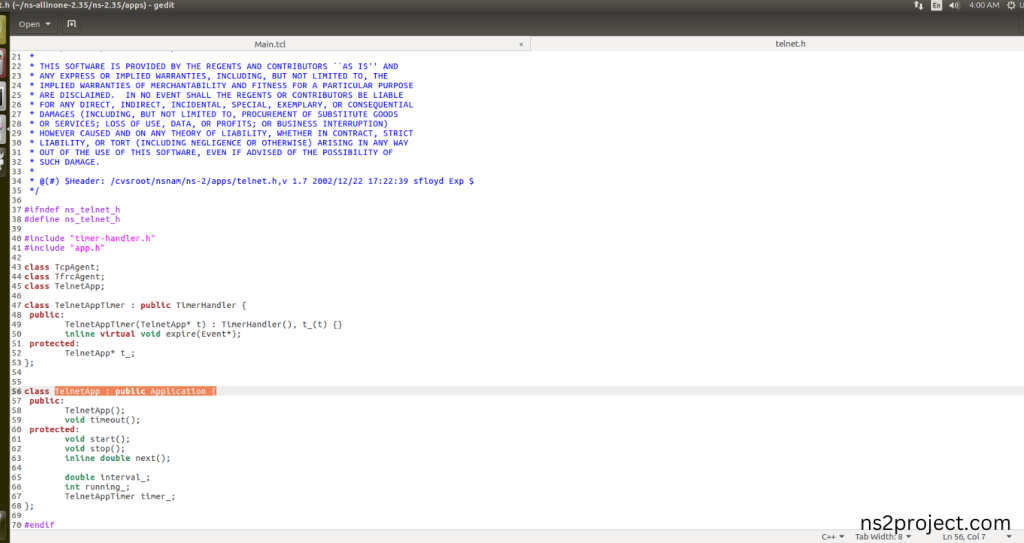
Here we imported the Telnet.h header file code indirectly accessed the Telnet class used in the Tcl script (set telnet1 [new Application/Telnet]) are used to Transfer the Text based Data in this Network Traffic. This configuration helps to create Telnet Application for Text Data Transfer process in the network in this example program. Here we highlighted the code line that highlighted which is internally accessed Telnet.h, we will show class file that used in this code via Telnet folder.
Screenshot:
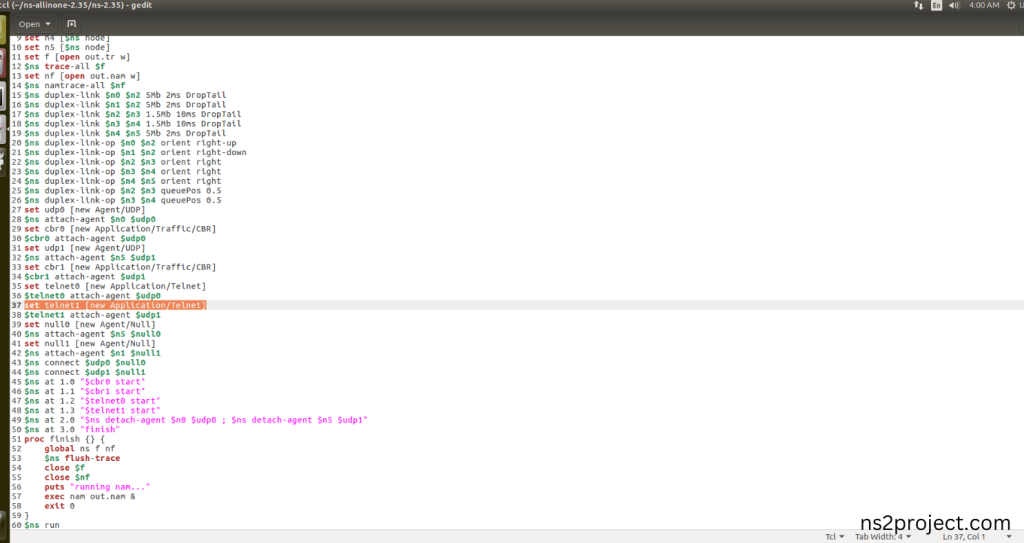
Screenshot:
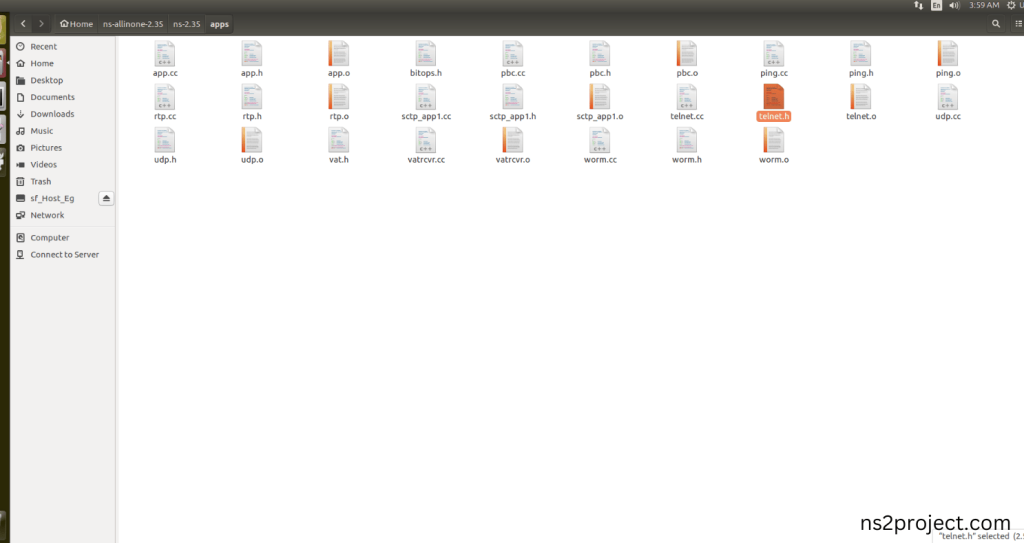
Here we will show the header file by opening Telnet.h file to show the class or function imported from the Telnet.h in the example code. This Tcl Script Line (set telnet1 [new Application/Telnet]) are used to Transfer the Text based Data in this Network Traffic. This configuration helps to create Telnet Application for Text Data Transfer process in the network in this example program. When the Tcl script executes this line, Telnet will be managed across all the links in each Nodes during the simulation.
Screenshot:
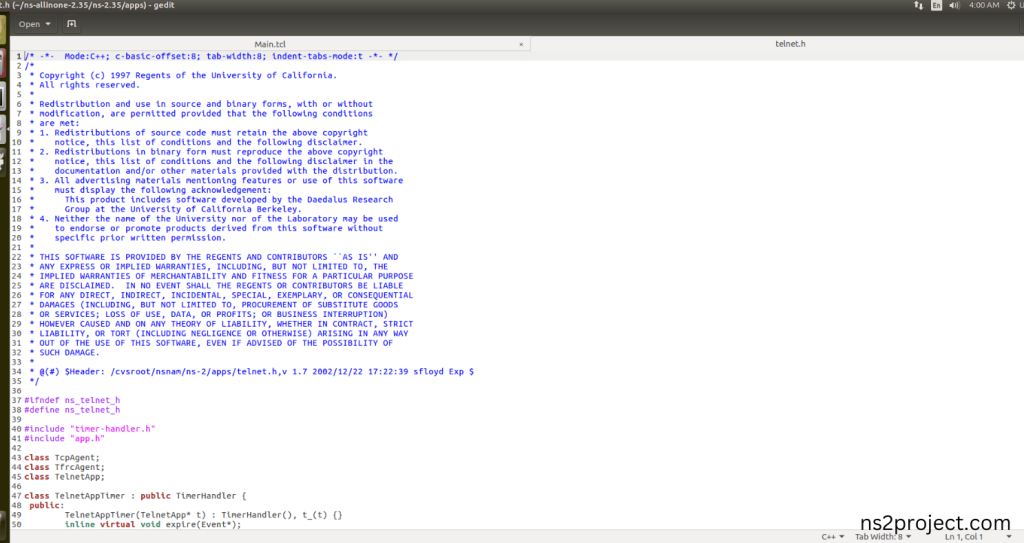
Screenshot:
4.Executing the Example Program for Telnet Header:
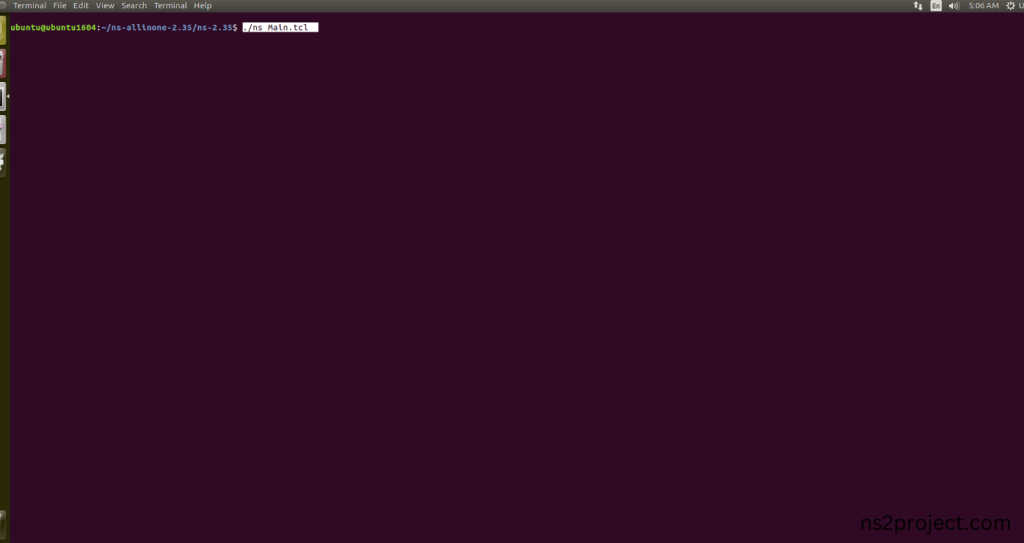
Then we need to run the Example program for Telnet Header to view output of the program.
Command: “./ns Main.tcl”
Screenshot:
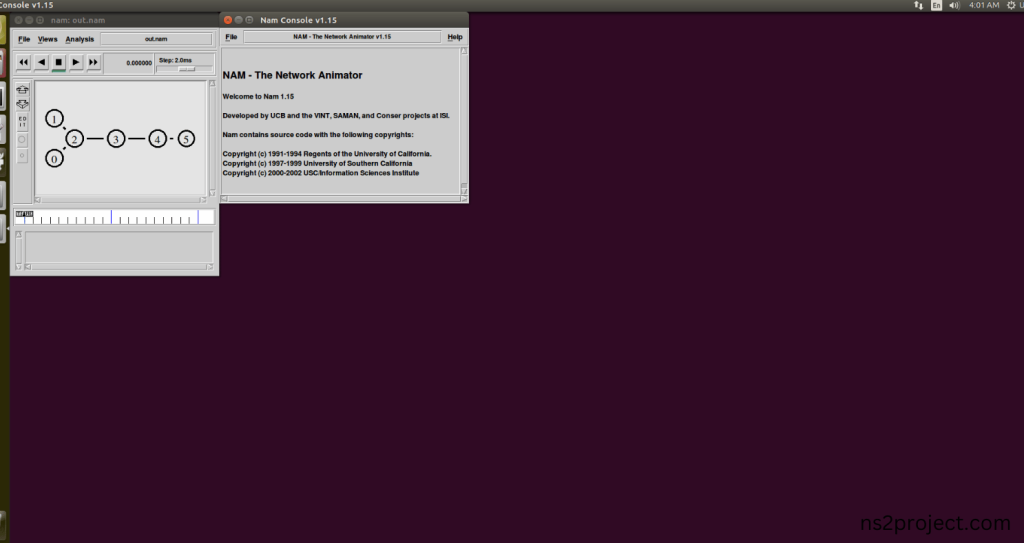
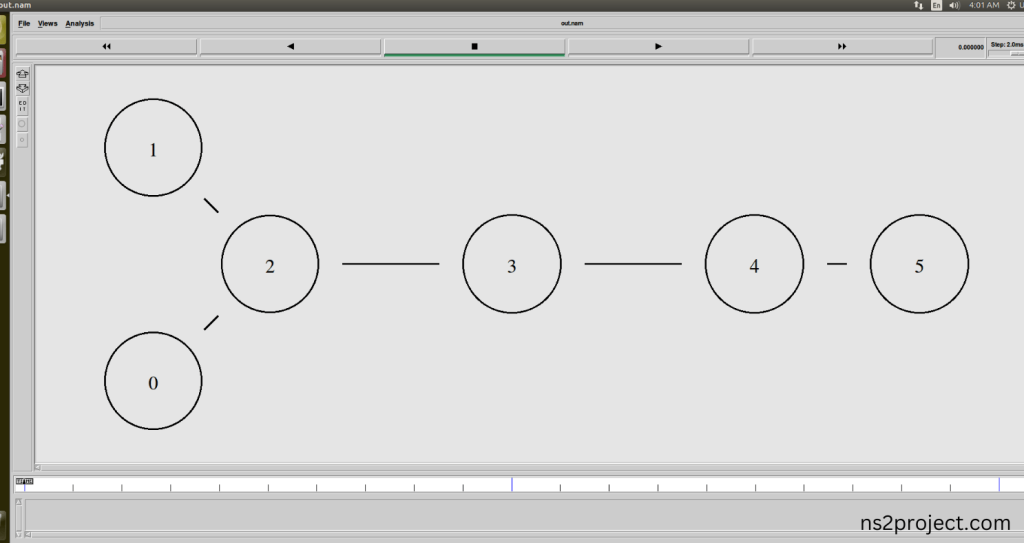
Here we shown the output of the example program by using Telnet.h.
Screenshot:
Screenshot:
Screenshot:
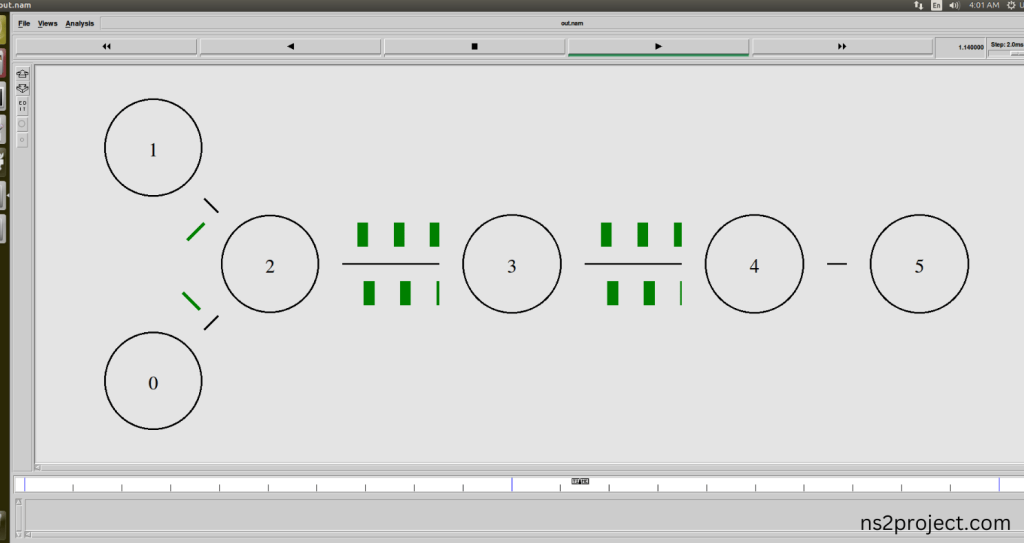
In the NS 2.35 Simulation Example Program, the Telnet.h Header file is successfully imported.
If you are facing challenges in applying TELNET.H PACKAGES in your research, our experts are available to assist you with optimal project ideas. Seek guidance from the ns2projects.com team for comprehensive research guidelines in this domain. We have detailed the steps necessary to import TELNET.H PACKAGES in NS2; should you encounter any difficulties after following these instructions, please reach out to us, and we will offer you the best research solutions.


