How to Install WIRELESS PHY.H Packages in Ns2
To import Wireless-phy.h packages in NS2. Get research ideas and detailed guidance from ns2projects.com team. The WirelessPhy.h file is integral to the simulation of the physical layer within wireless networks. It effectively models the behavior of the wireless medium, encompassing the transmission and reception of data packets. This component interacts with upper layers, such as the MAC layer, to manage radio transmission attributes, including signal strength, noise, and interference, which are essential for accurately replicating wireless communication scenarios. The WirelessPhy.h file includes declarations for various methods and variables pertinent to the wireless physical layer, such as determining the maximum distance a signal can cover and the minimum power level required for a node to successfully receive a signal. Additionally, it aids in simulating real-world conditions, including free-space and two-ray ground reflection models, as well as interference and noise models that replicate the impact of background noise and interference from other signals.
Steps that are required for the installation of Wireless-phy.h.
PRE-REQUISITES:
- Fresh installation of Ubuntu 16.04 LTS:
Screenshot:
2.NS-2.35 Installation:
Screenshot:
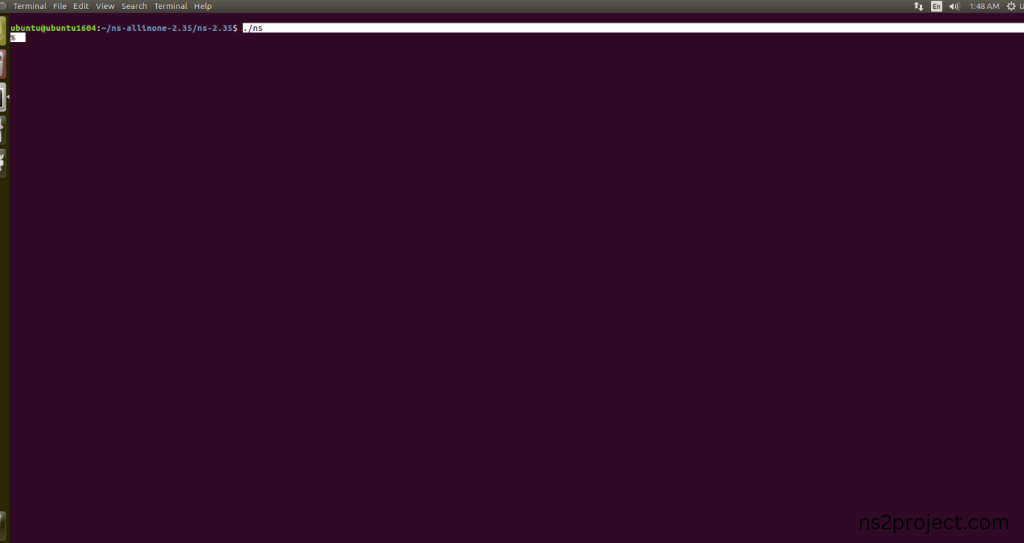
Here, Percentage (%) symbol Denotes the successful installation of the NS 2.35 Simulator.
Screenshot:
HEADER FILE VERIFICATION:
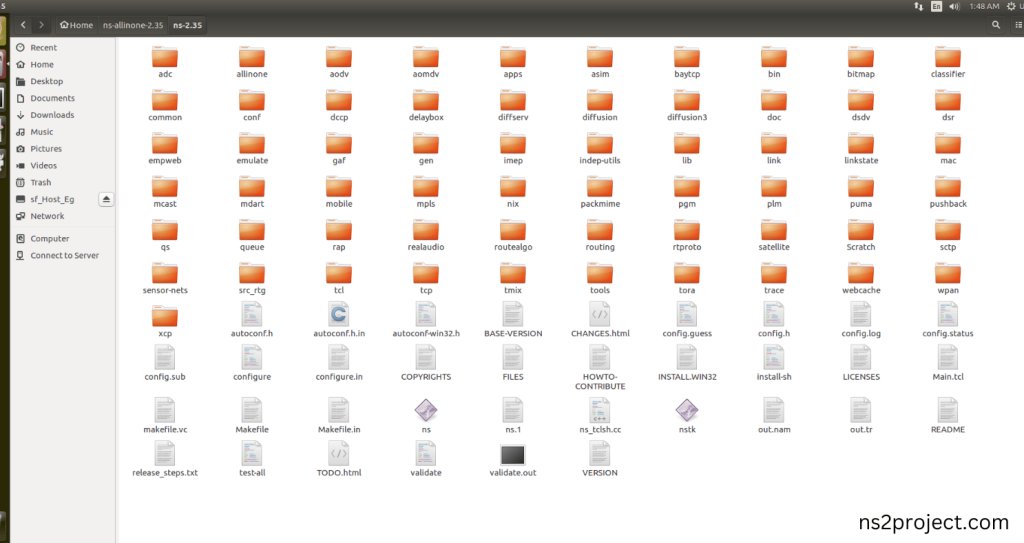
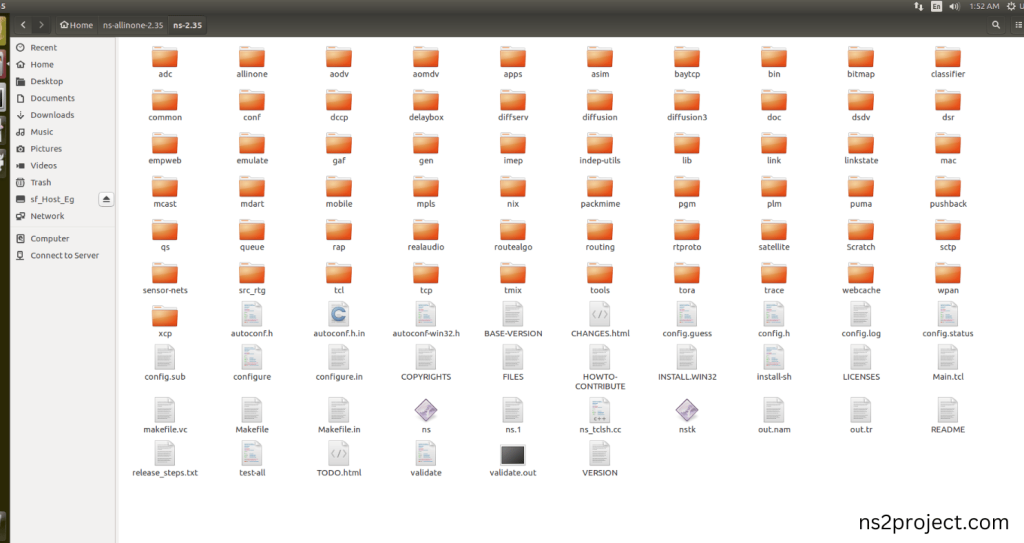
- Locate to the ns-2.35 folder:
Screenshot:
2.Create the Main.tcl file in the scratch folder:
Next we need to create the Main.tcl file by using text editor in the ns-2.35 folder.
Screenshot:
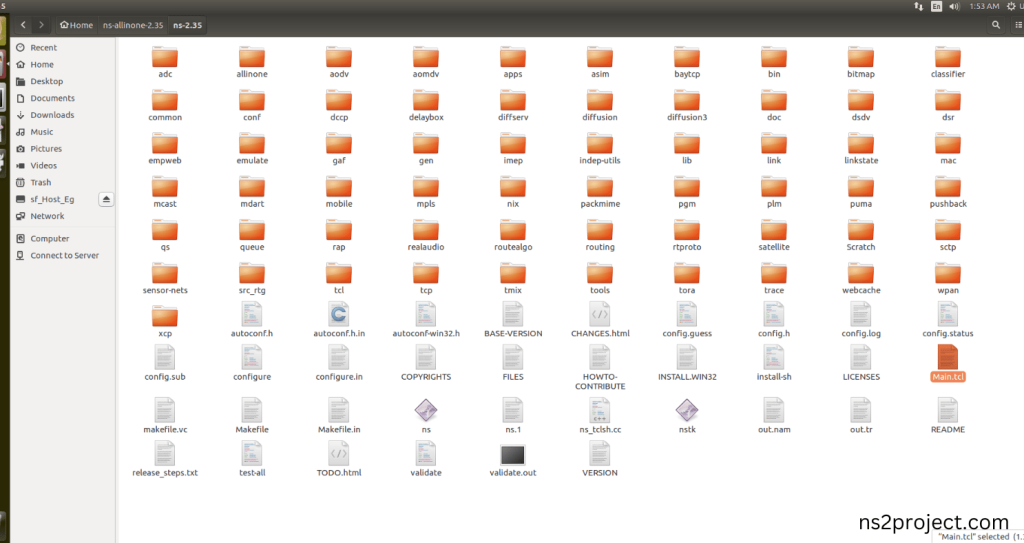
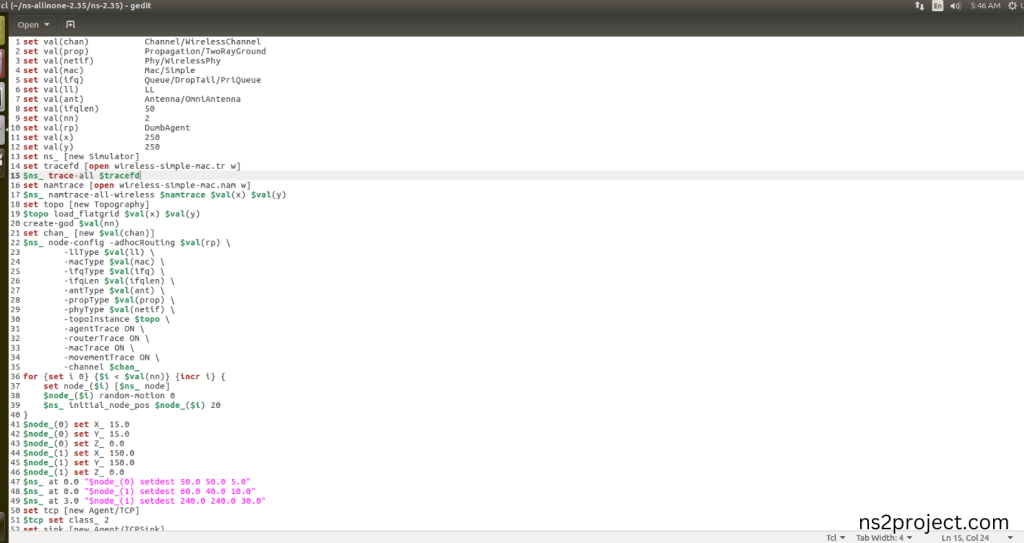
Next we need to paste the below code to the Main.tcl file and save the file in the ns-2.35 folder.
Code:
set val(chan) Channel/WirelessChannel
set val(prop) Propagation/TwoRayGround
set val(netif) Phy/WirelessPhy
set val(mac) Mac/Simple
set val(ifq) Queue/DropTail/PriQueue
set val(ll) LL
set val(ant) Antenna/OmniAntenna
set val(ifqlen) 50
set val(nn) 2
set val(rp) DumbAgent
set val(x) 250
set val(y) 250
set ns_ [new Simulator]
set tracefd [open wireless-simple-mac.tr w]
$ns_ trace-all $tracefd
set namtrace [open wireless-simple-mac.nam w]
$ns_ namtrace-all-wireless $namtrace $val(x) $val(y)
set topo [new Topography]
$topo load_flatgrid $val(x) $val(y)
create-god $val(nn)
set chan_ [new $val(chan)]
$ns_ node-config -adhocRouting $val(rp) \
-llType $val(ll) \
-macType $val(mac) \
-ifqType $val(ifq) \
-ifqLen $val(ifqlen) \
-antType $val(ant) \
-propType $val(prop) \
-phyType $val(netif) \
-topoInstance $topo \
-agentTrace ON \
-routerTrace ON \
-macTrace ON \
-movementTrace ON \
-channel $chan_
for {set i 0} {$i < $val(nn)} {incr i} {
set node_($i) [$ns_ node]
$node_($i) random-motion 0
$ns_ initial_node_pos $node_($i) 20}
$node_(0) set X_ 15.0
$node_(0) set Y_ 15.0
$node_(0) set Z_ 0.0
$node_(1) set X_ 150.0
$node_(1) set Y_ 150.0
$node_(1) set Z_ 0.0
$ns_ at 0.0 “$node_(0) setdest 50.0 50.0 5.0”
$ns_ at 0.0 “$node_(1) setdest 60.0 40.0 10.0”
$ns_ at 3.0 “$node_(1) setdest 240.0 240.0 30.0”
set tcp [new Agent/TCP]
$tcp set class_ 2
set sink [new Agent/TCPSink]
$ns_ attach-agent $node_(0) $tcp
$ns_ attach-agent $node_(1) $sink
$ns_ connect $tcp $sink
set ftp [new Application/FTP]
$ftp attach-agent $tcp
$ns_ at 0.5 “$ftp start”
for {set i 0} {$i < $val(nn)} {incr i} {
$ns_ at 6.0 “$node_($i) reset”;}
proc stop {} {
global ns_ tracefd namtrace
$ns_ flush-trace
close $tracefd
close $namtrace
exec nam wireless-simple-mac.nam &
exit 0}
$ns_ at 6.0 “stop”
$ns_ at 6.01 “puts \”NS EXITING…\” ; $ns_ halt”
$ns_ run
Screenshot:
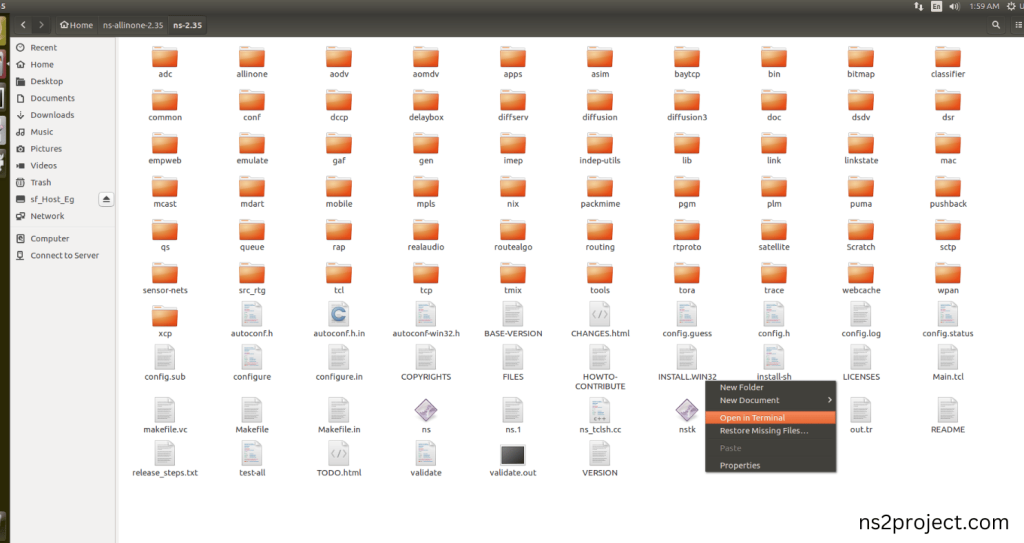
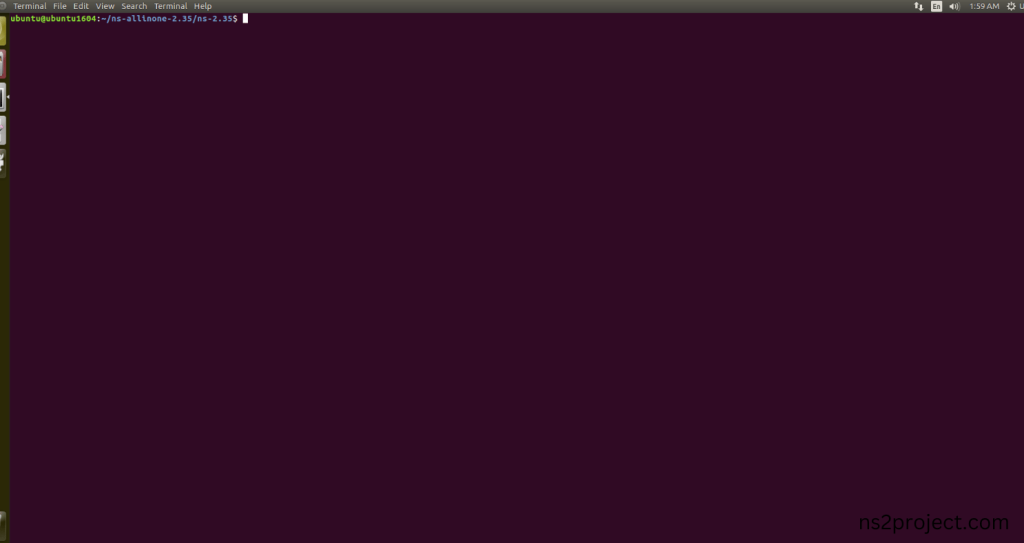
Open the Terminal:
Next, we need to launch the terminal by right clicking the mouse in the ns-2.35 location.
Screenshot:
Screenshot:
3.NS-2.35 Configuration && Building Process:
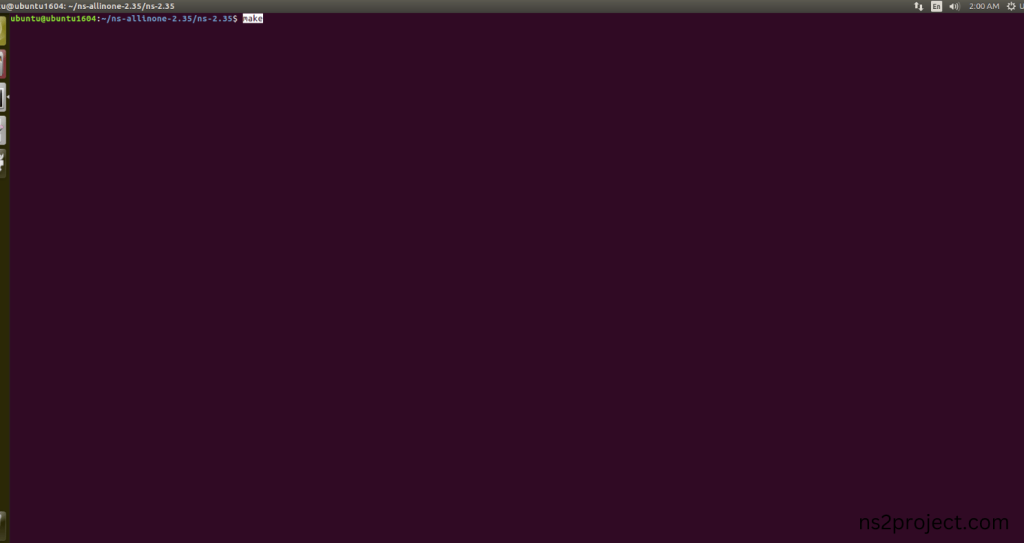
Next, we need to configure and build the ns-2.35 folder to make the Created files need to work in ns-2.35 configuration.
Command: “./make”
Screenshot:
Screenshot:

Screenshot:
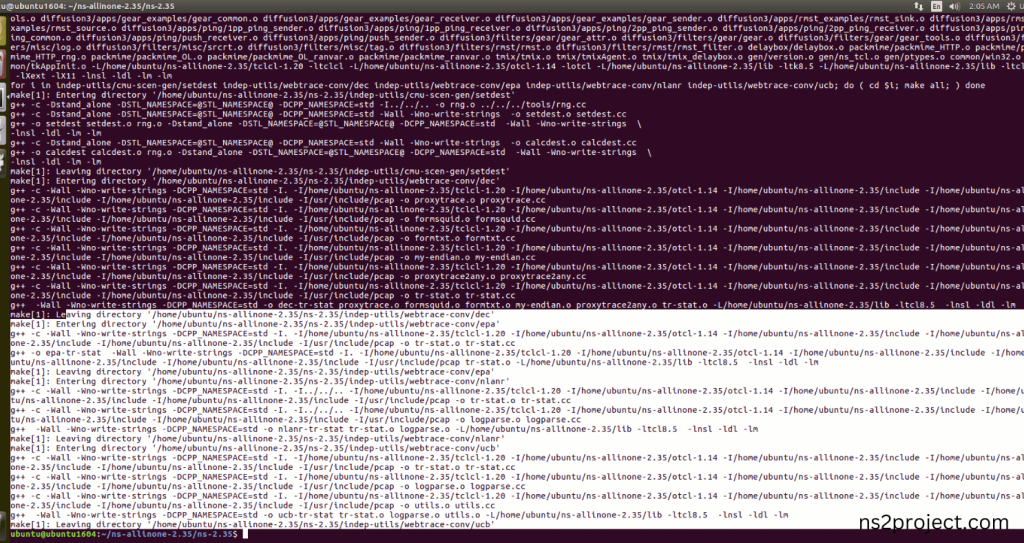
Here, NS-2.35 Building process completed successfully.
3.Importing Wireless-phy.h:
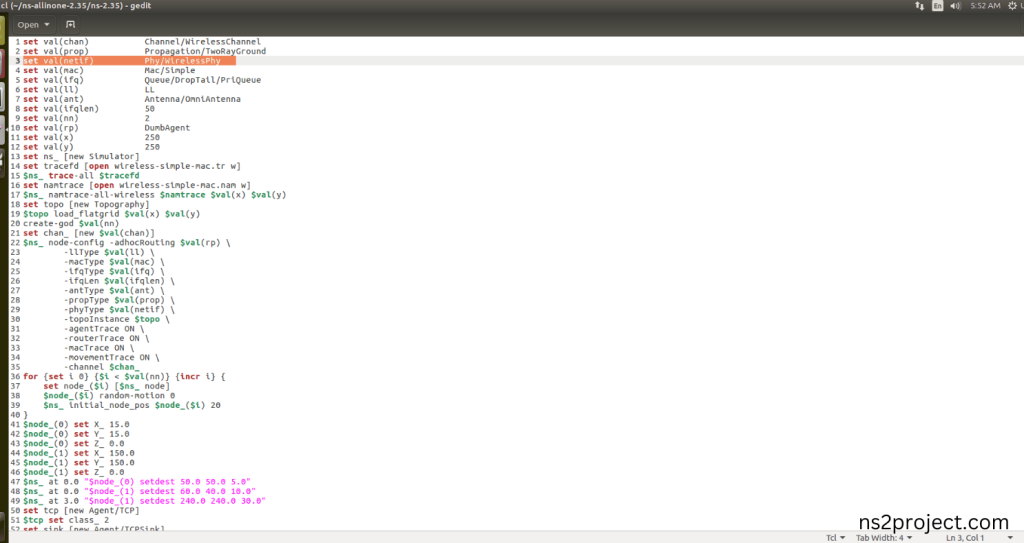
Here we imported the Wireless-phy.h header file code indirectly accessed the Telnet class used in the Tcl script (set val(netif) Phy/WirelessPhy) are used for simulating the physical layer in wireless networks. This configuration helps to create Wireless Medium in the network in this example program. Here we highlighted the code line that highlighted which is internally accessed Wireless-phy.h, we will show class file that used in this code via Mac folder.
Screenshot:
Screenshot:
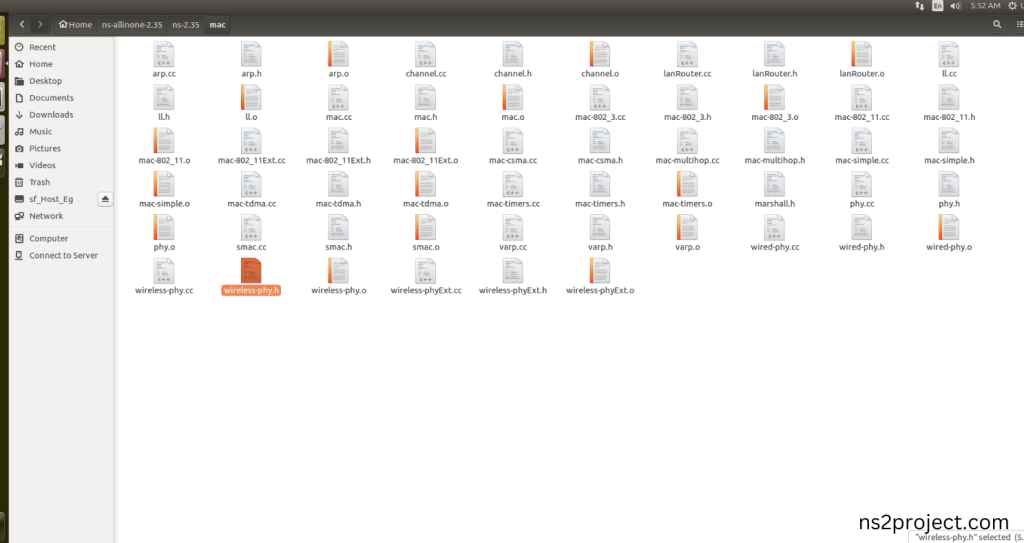
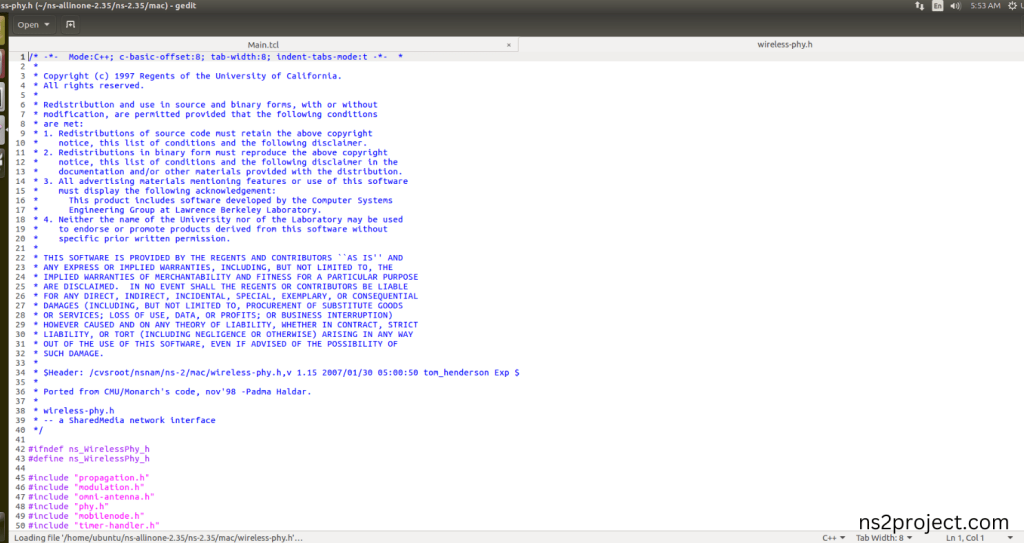
Here we will show the header file by opening Wireless-phy.h file to show the class or function imported from the Wireless-phy.h in the example code. This Tcl Script Line (set val(netif) Phy/WirelessPhy) are used for simulating the physical layer in wireless networks. This configuration helps to create Wireless Medium for Each Nodes in the network in this example program.
Screenshot:
Screenshot:

4.Executing the Example Program for Wireless-phy Header:
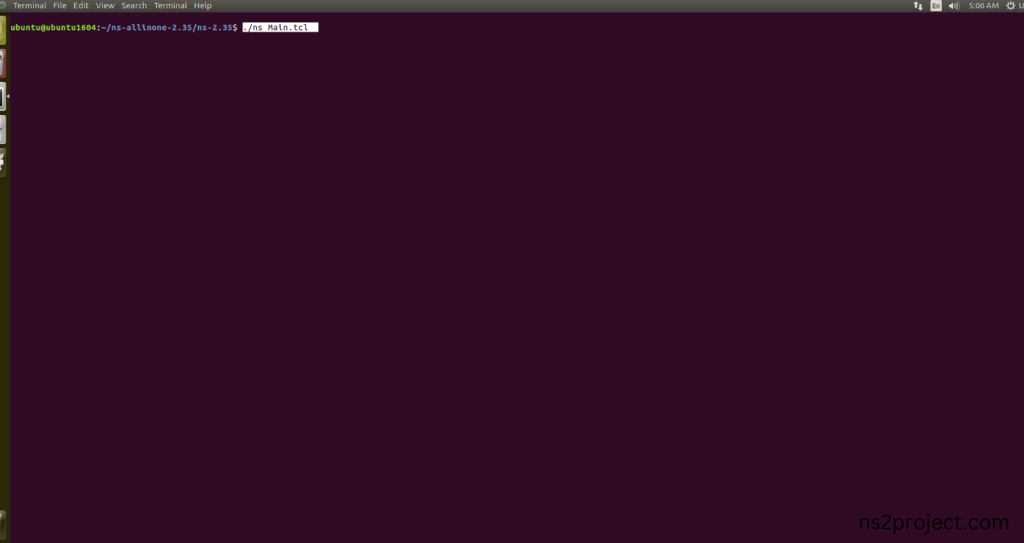
Then we need to run the Example program for Wireless-phy Header to view output of the program.
Command: “./ns Main.tcl”
Screenshot:
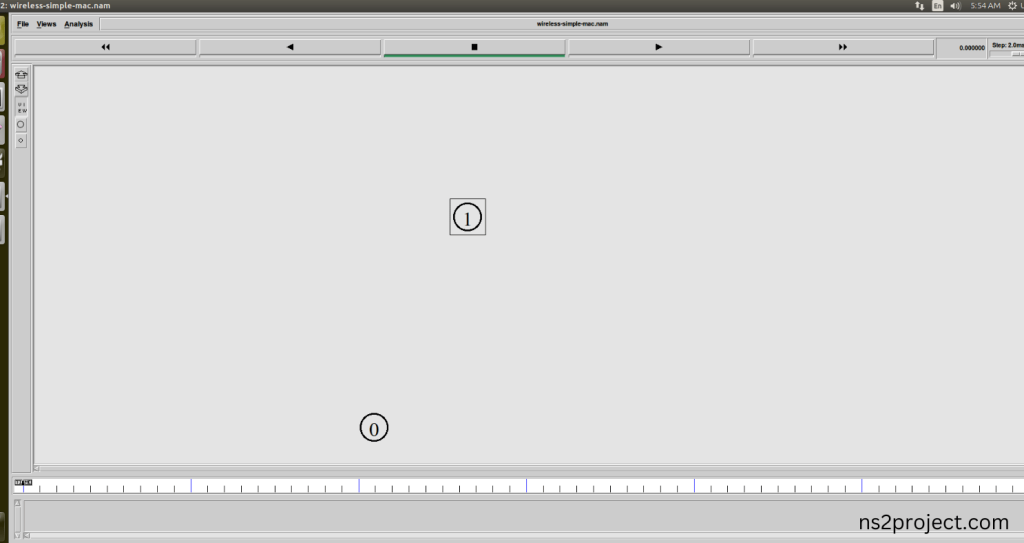
Here we shown the output of the example program by using Wireless-phy.h.
Screenshot:

Screenshot:
Screenshot:
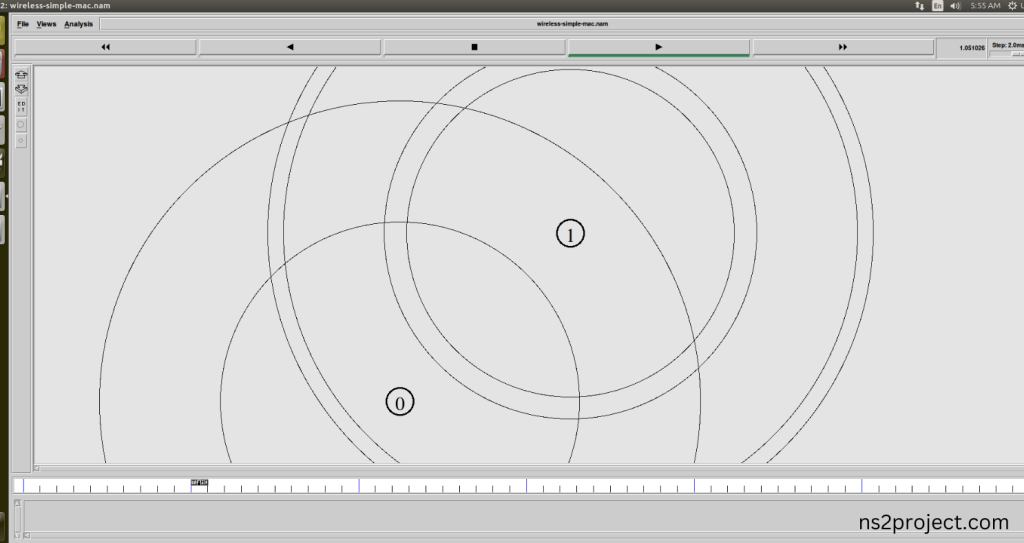
In the NS 2.35 Simulation Example Program, the Wireless-phy.h Header file is successfully imported.


